
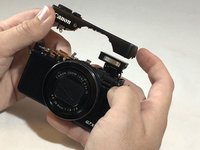
Canon PowerShot G7X Flash Replacement
15 - 20 分
中レベル
はじめに
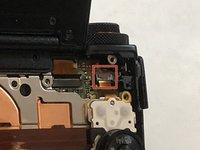
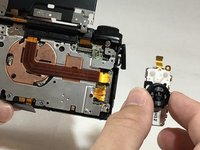
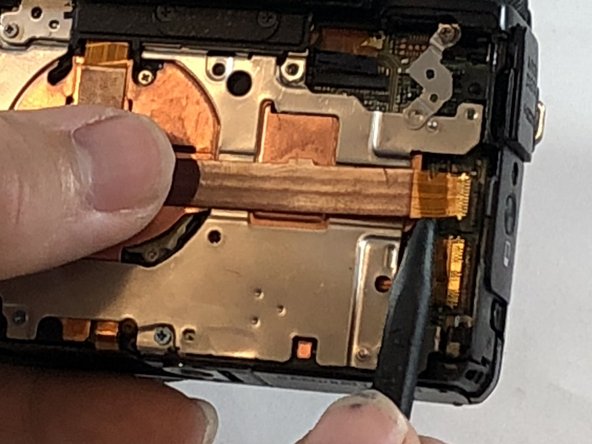
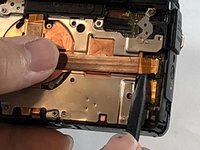
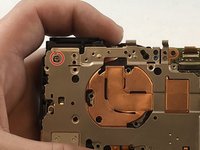
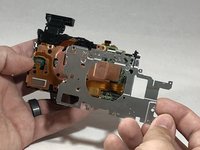
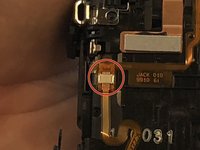
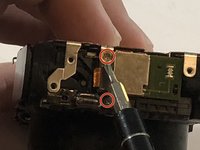
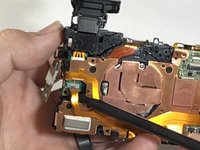
手順 1 に進むThis guide will help you replace the flash for your camera. Caution should be used because a capacitor is attached to the flash which may cause harm if handled carelessly.
必要な工具と部品


もう少しです!
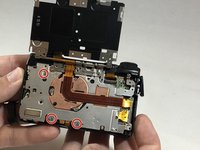
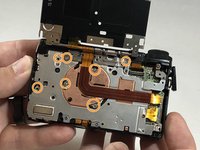
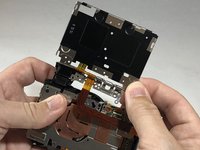
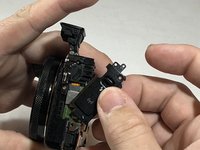
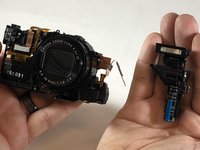
To reassemble your device, follow these instructions in reverse order.
終わりに
To reassemble your device, follow these instructions in reverse order.
チーム

Eastern Washington University, Team S1-G3, Carnegie Spring 2018 Eastern Washington University, Team S1-G3, Carnegie Spring 2018人のメンバー
EWU-CARNEGIE-S18S1G3
4 メンバー
6のガイドは作成済み