
Canon PowerShot G16 Motherboard Replacement

はじめに
手順 1 に進むThis guide will show you how to replace the motherboard in your Canon PowerShot G16 which may be necessary if the motherboard has stopped working. A broken motherboard may result in a camera that doesn't turn on, frozen menus, or general unresponsiveness.


-
-
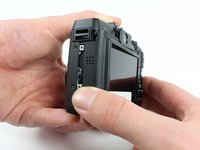
Open the battery flap on the bottom of the camera by applying pressure and pushing in the direction of the arrow.
-
Remove your finger and allow the flap to pop open.
-
-
-
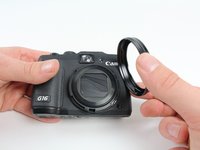
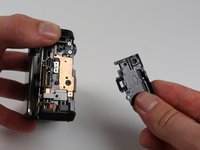
Remove the ring around the lens by simultaneously pressing the black button located at the bottom right of the ring and rotating the ring counterclockwise.
-
-
-
-
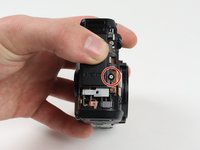
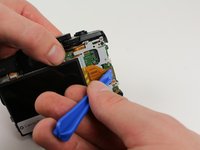
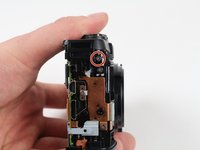
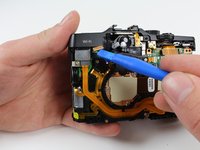
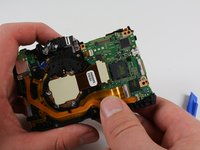
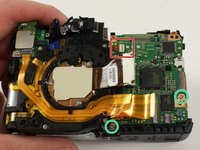
Remove the newly uncovered 2.8 mm screw from the right of the viewfinder using a Phillips #00 screwdriver.
-
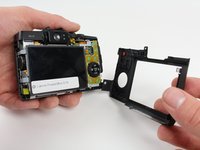
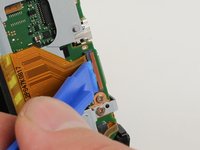
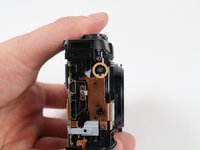
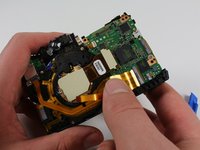
Remove the 4.9 mm screw from top right of the metal casing on the back using a Phillips #00 screwdriver.
-
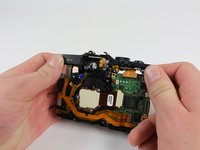
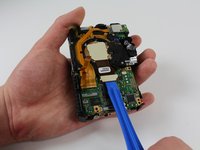
Remove the 4.3 mm screw from bottom right of the metal casing on the back using a Phillips #00 screwdriver.
-
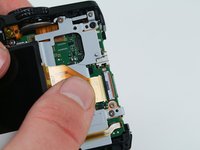
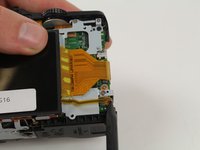
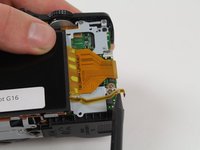
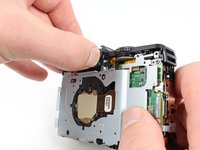
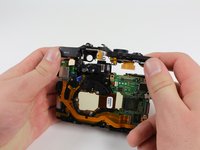
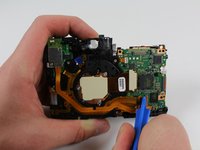
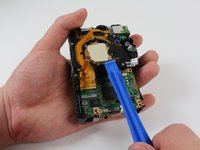
Remove the newly uncovered screws from the right of the viewfinder using a Phillips #00 screwdriver. (Note, they're already removed on the picture)
-


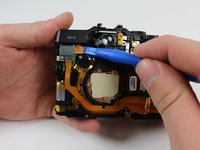


To reassemble your device, follow these instructions in reverse order.
To reassemble your device, follow these instructions in reverse order.
2 の人々がこのガイドを完成させました。

チーム

Cal Poly, Team 70-6, Forte Winter 2016 Cal Poly, Team 70-6, Forte Winter 2016人のメンバー
CPSU-FORTE-W16S70G6
4 メンバー
7のガイドは作成済み
3 件のコメント
FYI, new main boards from Canon arrive without firmware installed. I can find no help in how to initialize a new main PCB from Canon. Anyone have links or advise?
Hello!
I broke a zif connector at a step 11.
Anybody have a part number for it?
Please help!
I have G15, but its not working. Anybody knows, what can be the problem?