メインコンテンツにスキップ

Canon PowerShot A540 Flash Motherboard Replacement

必要な工具と部品

  1. Canon PowerShot A540 Flash Motherboard Replacement, Back Cover: 手順 1、 2の画像 1 Canon PowerShot A540 Flash Motherboard Replacement, Back Cover: 手順 1、 2の画像 2
    • Turn off the camera.

    • Turn the camera upside-down and press the tab to release the battery cover. Remove the batteries.

  2. Canon PowerShot A540 Flash Motherboard Replacement: 手順 2、 1の画像 1
    • Turn the camera upside down to view the "Card/Batt. Open" Cover.

    • Use a Phillips head #000 screwdriver to remove the three (3) 4.0 mm screws.

  3. Canon PowerShot A540 Flash Motherboard Replacement: 手順 3、 1の画像 1
    • Open "Card/Batt. Open" Cover.

    • Remove the one (1) 5.0 mm screw with the Phillips head #000 screwdriver.

  4. Canon PowerShot A540 Flash Motherboard Replacement: 手順 4、 1の画像 1
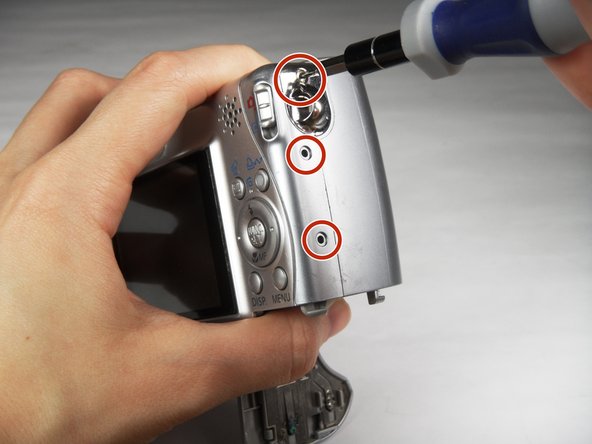
    • Turn the camera to the right side of the LCD screen.

    • Remove the three (3) 4.0 mm screws with the Phillips head #000 screwdriver.

  5. Canon PowerShot A540 Flash Motherboard Replacement: 手順 5、 3の画像 1 Canon PowerShot A540 Flash Motherboard Replacement: 手順 5、 3の画像 2 Canon PowerShot A540 Flash Motherboard Replacement: 手順 5、 3の画像 3
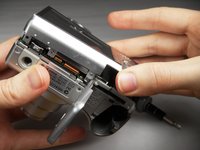
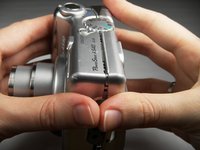
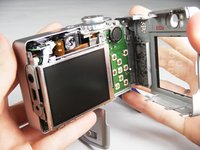
    • Gently remove the back cover.

    • Start at the bottom at the corner of the "Card/Batt. Open" Cover.

    • Then move onto the other edges and the top.

    • It may be tight at the top!

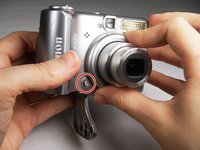
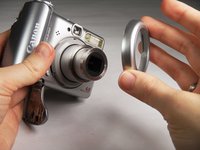
  6. Canon PowerShot A540 Flash Motherboard Replacement, Front Cover: 手順 6、 2の画像 1 Canon PowerShot A540 Flash Motherboard Replacement, Front Cover: 手順 6、 2の画像 2
    • Turn the camera to view the front.

    • Remove the lens guard.

    • Press the lens guard's button as you turn the guard counterclockwise.

  7. Canon PowerShot A540 Flash Motherboard Replacement: 手順 7、 1の画像 1
    • Turn the camera to the side left of the LCD screen.

    • Remove the one (1) 4.0 mm screw with the Phillips head #000 screwdriver.

  8. Canon PowerShot A540 Flash Motherboard Replacement: 手順 8、 1の画像 1
    • Remove the front cover gently.

    • When removing the front cover, a thin, black rubber washer may fall off the lens. If it does, make sure to put it back on the lens before reassembly.

  9. Canon PowerShot A540 Flash Motherboard Replacement, Flash Motherboard: 手順 9、 1の画像 1
    • Turn camera so that you see the top side with the settings wheel.

    • Use a Phillips head #000 screwdriver to remove the one (1) 5.0 mm screw at the top as shown.

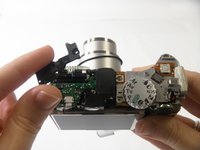
  10. Canon PowerShot A540 Flash Motherboard Replacement: 手順 10、 2の画像 1 Canon PowerShot A540 Flash Motherboard Replacement: 手順 10、 2の画像 2
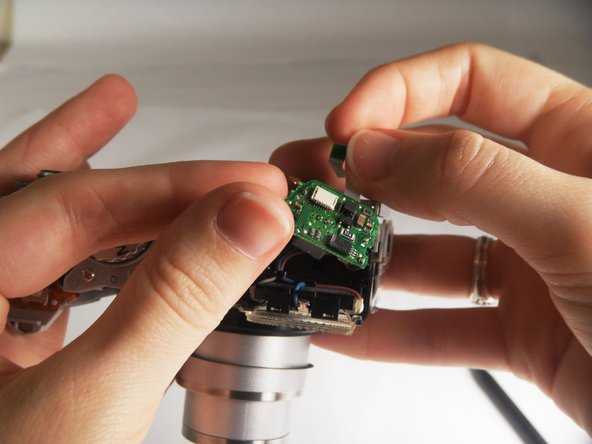
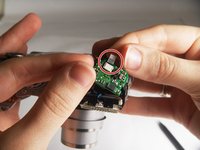
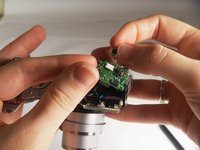
    • Remove plastic cover so that you can see the exposed motherboard.

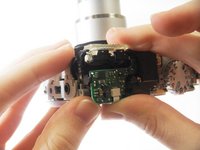
  11. Canon PowerShot A540 Flash Motherboard Replacement: 手順 11、 2の画像 1 Canon PowerShot A540 Flash Motherboard Replacement: 手順 11、 2の画像 2
    • Gently pull the ribbon out.

  12. Canon PowerShot A540 Flash Motherboard Replacement: 手順 12、 1の画像 1
    • Using a soldering iron and a desoldering wick, carefully disconnect all the wires from where they come into contact with the flash motherboard.

    • When all the wires are disconnected, you are ready to replace the flash motherboard.

    • If you have no experience with soldering, do not attempt to replace the flash motherboard. Seek help from someone who has experience with this equipment.

終わりに

To reassemble your device, follow these instructions in reverse order.

作成者

3人の作成者と共同で作成されました。

Jared

メンバー登録日: 03/23/15

113 ポイント

1ガイドが承認済み

チーム

Baylor, Team 7-12, Williams Spring 2015 Baylor, Team 7-12, Williams Spring 2015人のメンバー

BU-WILLIAMS-S15S7G12

3 メンバー

20のガイドは作成済み

0 件のコメント

コメントを追加

統計データ:

過去 24時間: 0

過去 7 日: 1

過去 30 日: 4

今までの合計 807