
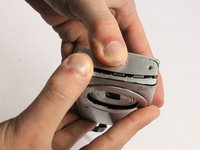
Canon PowerShot A2500 Flash Component Replacement
はじめに
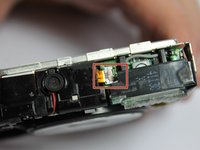
手順 1 に進むThe flash component is critical to proper operation of the Canon PowerShot A2500. Using the flash feature it will assist in achieving proper lighting for dark photos. This will increase the ease of which photos can be taken.


-
-
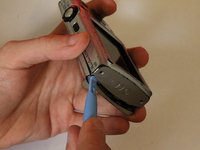
Open the latch at the bottom corner of the device to reveal the battery and SD card housing.
-
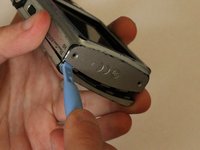
There is an orange latch holding the battery in place which must be pushed back in order to free the battery.
-
Once the battery is removed push the SD card and this will activate a spring ejecting the card from the camera.
-
-


To reassemble your device, follow these instructions in reverse order.
To reassemble your device, follow these instructions in reverse order.
ある他の人がこのガイドを完成しました。
チーム

UMass Dartmouth, Team 3-4, Duarte Spring 2015 UMass Dartmouth, Team 3-4, Duarte Spring 2015人のメンバー
UMASSD-DUARTE-S15S3G4
4 メンバー
12のガイドは作成済み
コメント 1 件
Great tutorial, but I am left with one problem - where can I buy a flash component? Just can’t seem to find any on the internet.
Jonathan, UK