Asus ZenFone 2 Display Replacement
はじめに
手順 1 に進むReplacing the display will take patience and time as you will have to heat up the display to detach it from the adhesive sticking it to its housing. You will also have to unplug the entire antenna, take out the battery, and motherboard before being able to get to the display.
-
-
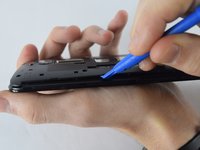
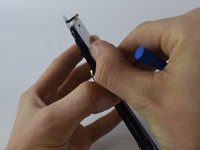
Use your fingernail to gently pry off the phone's back cover at the indicated location. While your fingernail is under the back cover slide your finger around the edges of the phone until the cover pops off.
-
-
-
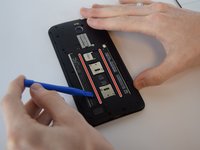
Remove the thirteen black screws and the single silver screw from the back of the phone with a JIS size 00 screwdriver.
-
The black screws are 2.8 mm in length.
-
The silver screw is 5.5 mm in length.
The screw next to the camera with the sticker on (top middle on screen) was T4 not J00
-
-
-
Take the speaker out of the back of the phone. It should come out easily as soon as the inner back is removed because nothing is holding it down in place anymore.
-
-
-
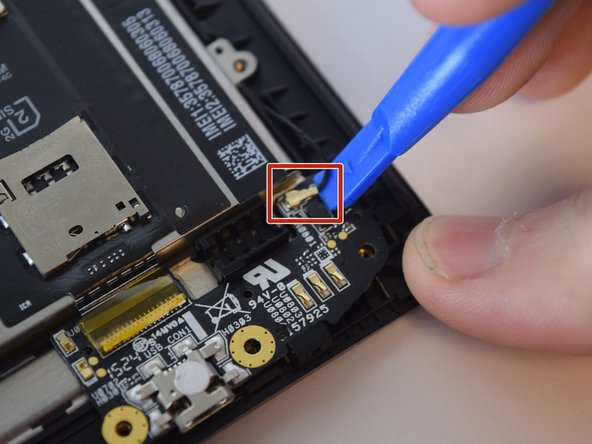
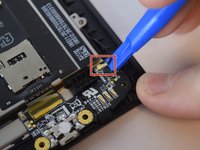
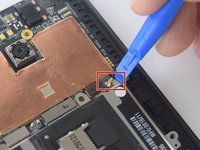
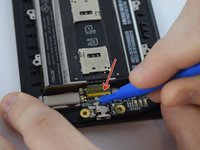
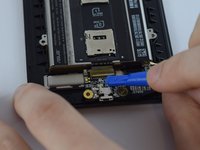
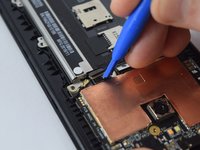
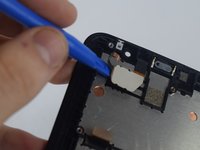
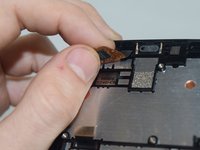
Use a plastic opening tool to gently pry up both ends of the antenna.
-
Carefully remove the antenna wire from the plastic keepers along the side. Note their position for reassembly.
It is very important to lift it form underneath... The connector on the motherboard is very fragile.
Is there any way to actually replace the port? It got ripped off mine.
I am wondering how to repair it, it got ripped off as well.
Hello Guile,
I ripped the connector of gsm antenna on the other side (mainboard side) is there any way to fix it? It May be connect another contact point?
same problem...solutions?
Same problem any solution?
Same problem too... :(
-
-
-
Using the plastic opening tool, unlock the ribbon cable attaching the battery to the circuit board by prying up the yellow tab.
-
-
-
Using a plastic opening tool, gently pry the vibration motor from its mount.
This image is too dark and there is no marker to identify the vibration motor.
-
-
-
-
Gently remove the circuit board from the phone by gently pulling it away from the bottom of the phone.
There´s some adhesive tape holding the ribbon cable on to the flat connector, it needs to be carefully raised before this board can be removed.
-
-
-
Using the plastic opening tool, disconnect the ribbon cables from their connectors by gently prying them up.
-
-
-
Carefully remove the battery pack from the phone using your hand. The battery is glued in placed by a strip of adhesive on the top side so some force may be necessary.
-
-
-
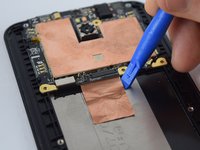
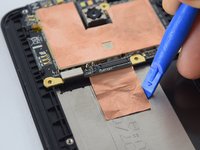
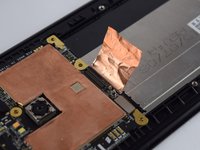
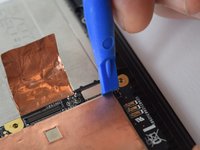
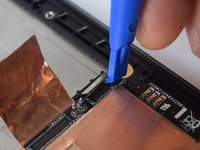
Using a plastic opening tool, lift the copper sheet heat strip from the body of the phone by sticking the tool into one of the upper corner of the copper sheet and slowly sliding it along the edges.
-
-
-
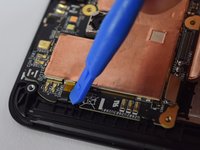
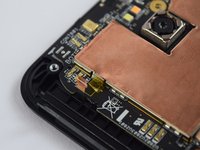
Using a plastic opening tool, unplug the ribbon cable indicated in the picture.
-
-
-
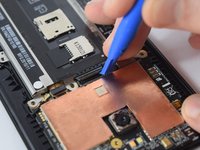
Using a plastic opening tool, disconnect the display cable from the side of the motherboard by carefully sticking the tool underneath the display cable and gently pulling outward.
Yes. I destroyed a motherboard like this. I guess that is what I get for listening to only one instruction.
-
-
-
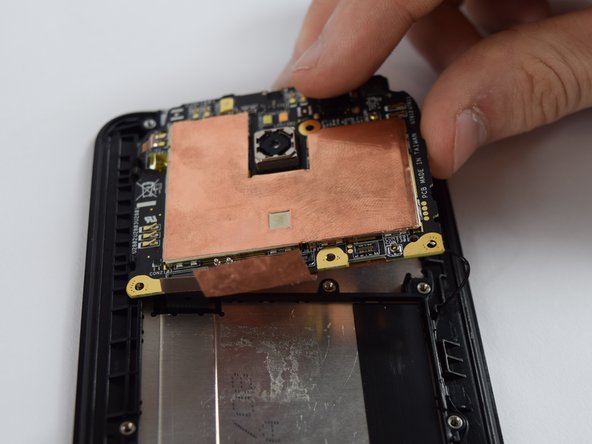
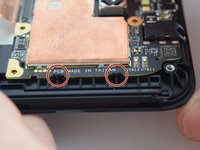
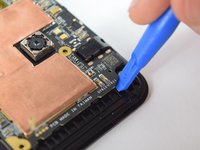
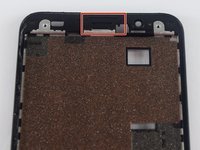
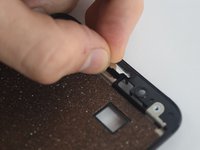
There are four black plastic retainers, two on each side, that keep the motherboard fix in place. To get the motherboard out, stick a plastic opening tool under one top corner of the motherboard and carefully lift upward using a small amount of force to pop this side of the motherboard out of the plastic retainers.
-
-
-
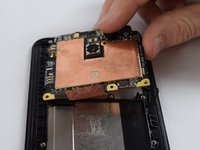
Once one side of the motherboard is out of the black plastic retainers, remove the whole motherboard from the phone.
-
-
-
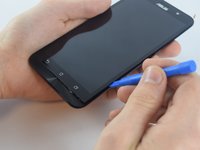
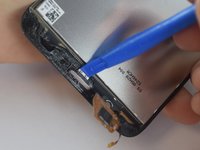
Using a hair dryer or a heat gun, heat up the adhesive that attaches the display to the housing. The adhesive lies around the edges of the display.
-
Reassemble your device by following these instructions in reverse order.
Reassemble your device by following these instructions in reverse order.
75 の人々がこのガイドを完成させました。
11ガイドコメント
You forgot to mention that there is very strong adhesive under the battery!!!!!!!! I ripped through the freaking battery casing because of that!!!!
I used this guide to replace the Zenfone 2 model Z00D display.
The procedure is similar but something change (connectors position for example).
But if you have a Z00D you can follow this guide anyway.
Thank you
Alessandro - 返信
What is the adhesive that has to be used?
This one worked for my Zenfone5 pretty well. Simple intuitive variations. Happy now. Gracias!
I confirm what Dylan Tucker said, that it is very difficult to remove the battery since it is glued with a strong adhesive. Otherwise the tutorial is very clear.
Hi there!
I chaged the display just like told in this tutorial. Only difference is that I used a complete assembled display and didn't have to go through that glue problem. But I now have the problem that the display shines, but no picture is appearing. I checked all contacts twice but none helped. What went wrong? Is there a way to still getting it fixed?


