メインコンテンツにスキップ

Asus EeeBook X205TA Screen Assembly Replacement

必要な工具と部品

  1. Asus EeeBook X205TA Screen Assembly Replacement, Screen Assembly: 手順 1、 2の画像 1 Asus EeeBook X205TA Screen Assembly Replacement, Screen Assembly: 手順 1、 2の画像 2
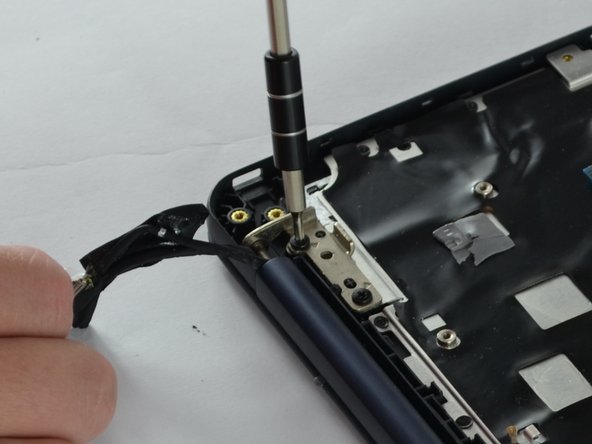
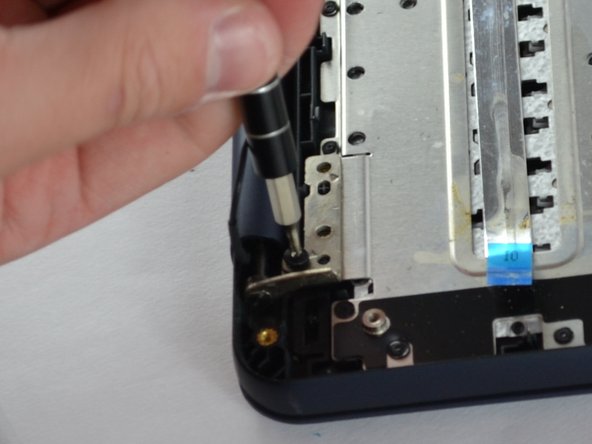
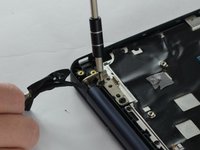
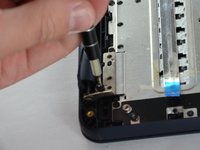
    • Unscrew all 10 screws located on the bottom of the laptop using 2mm Phillips Screwdriver.

    • Keep in mind that some of the screws vary in length, so keep track of which screws were placed in each hole.

  2. Asus EeeBook X205TA Screen Assembly Replacement: 手順 2、 1の画像 1
    • Insert the plastic opening tool in the crevice between the back of the laptop and the rest of the case.

    • Carefully pry open the case from several points.

    • Slowly remove the back of the laptop, revealing the parts inside.

  3. Asus EeeBook X205TA Screen Assembly Replacement: 手順 3、 3の画像 1 Asus EeeBook X205TA Screen Assembly Replacement: 手順 3、 3の画像 2 Asus EeeBook X205TA Screen Assembly Replacement: 手順 3、 3の画像 3
    • Unscrew the four screws using Philips #2 screwdriver that connect the screen to the inside of the case for the laptop.

  4. Asus EeeBook X205TA Screen Assembly Replacement: 手順 4、 1の画像 1
    • Unplug the No-Fuss Ribbon connector of the screen from the motherboard.

    • Carefully lift the screen away from the case.

終わりに

To reassemble your device, follow these instructions in reverse order.

3 の人々がこのガイドを完成させました。

作成者

4人の作成者と共同で作成されました。

Lorena Santiago

メンバー登録日: 10/06/16

712 ポイント

4のガイドは作成済み

チーム

USF Tampa, Team 2-2, Sullivan Fall 2016 USF Tampa, Team 2-2, Sullivan Fall 2016人のメンバー

USFT-SULLIVAN-F16S2G2

3 メンバー

10のガイドは作成済み

コメント 1 件

What's that small black screen hanging out from the laptop

Tayler Grant - 返信

コメントを追加

統計データ:

過去 24時間: 0

過去 7 日: 2

過去 30 日: 3

今までの合計 2,359