メインコンテンツにスキップ
Acer Extensa 4420 Keyboard Replacement

Acer Extensa 4420 Keyboard Replacement

TheMasterG

TheMasterG とその他 人の作成者

最終更新日: August 20, 2024

2 - 5 分
簡単
コミュニティメンバーによる寄稿ガイド

必要な工具と部品

ツール

  • Spudger
    Spudger
  • Phillips #000 Screwdriver
    Phillips #000 Screwdriver
  1. Acer Extensa 4420 Keyboard Replacement, Battery: 手順 1、 2の画像 1 Acer Extensa 4420 Keyboard Replacement, Battery: 手順 1、 2の画像 2
    • First, make sure that the battery lock is turned off.

    • The battery lock makes it so the battery doesn't accidentally fall out of your computer while it is running.

  2. Acer Extensa 4420 Keyboard Replacement: 手順 2、 3の画像 1 Acer Extensa 4420 Keyboard Replacement: 手順 2、 3の画像 2 Acer Extensa 4420 Keyboard Replacement: 手順 2、 3の画像 3
    • Then, slide the other battery lock while pulling the battery out.

  3. Acer Extensa 4420 Keyboard Replacement, Keyboard Cover: 手順 3、 3の画像 1 Acer Extensa 4420 Keyboard Replacement, Keyboard Cover: 手順 3、 3の画像 2 Acer Extensa 4420 Keyboard Replacement, Keyboard Cover: 手順 3、 3の画像 3
    この手順で使用する道具:
    Spudger
    $3.99
    • Open the keyboard cover with a spudger

    • You will need to fold the display all the way back, or else the keyboard cover will get stuck on it.

  4. Acer Extensa 4420 Keyboard Replacement, Keyboard: 手順 4、 3の画像 1 Acer Extensa 4420 Keyboard Replacement, Keyboard: 手順 4、 3の画像 2 Acer Extensa 4420 Keyboard Replacement, Keyboard: 手順 4、 3の画像 3
    この手順で使用する道具:
    Phillips #000 Screwdriver
    $5.49
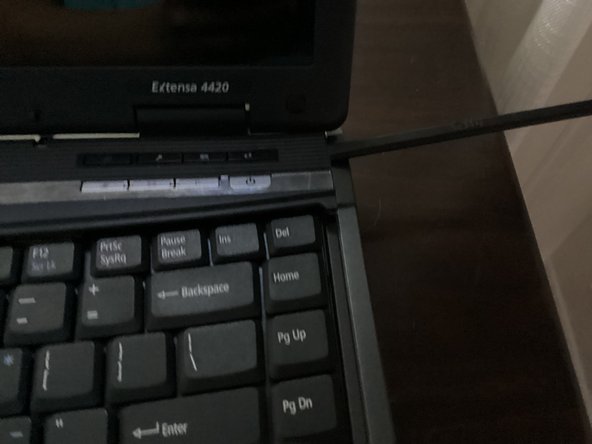
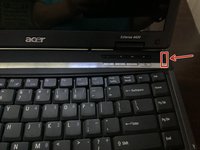
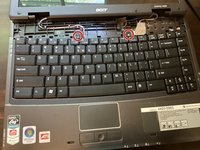
    • Unscrew these 2 screws with a phillips #000 screwdriver.

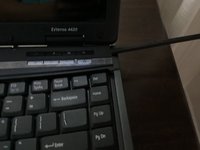
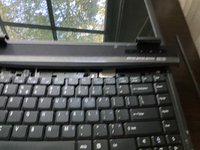
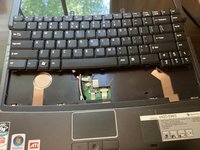
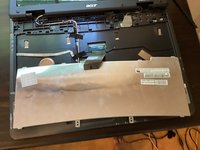
    • Pull the keyboard out. It should come out pretty easily.

    • DO NOT PULL IT OUT TOO HARD, AS YOU WOULD BREAK THE RIBBON CABLE!

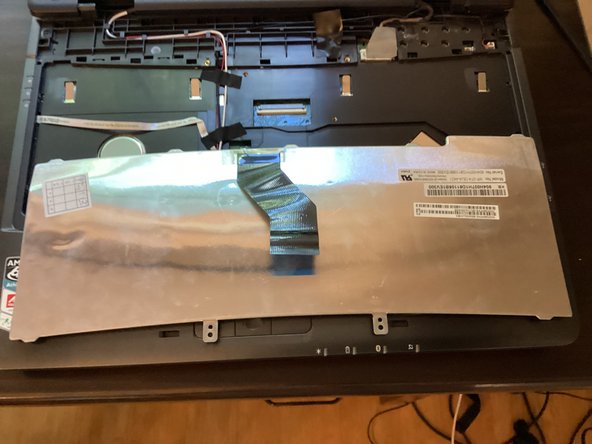
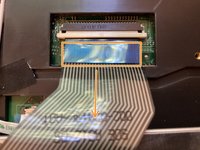
    • Flip the keyboard around, so you have access to the ribbon cable on the back of the keyboard

  5. Acer Extensa 4420 Keyboard Replacement: 手順 5、 3の画像 1 Acer Extensa 4420 Keyboard Replacement: 手順 5、 3の画像 2 Acer Extensa 4420 Keyboard Replacement: 手順 5、 3の画像 3
    • Pull the white part of the connector towards you.

    • Doing so will unlock the ribbon cable.

    • Take the blue tag and pull it towards you.

終わりに

To reassemble your device, follow these instructions in reverse order.

作成者

1人の作成者と共同作成されました。

TheMasterG

メンバー登録日: 07/19/24

1,146 ポイント

10のガイドは作成済み

チーム

TheMasterFixers TheMasterFixers人のメンバー

Community

1 メンバー

14のガイドは作成済み

0件のガイドコメント

コメントを追加

統計データ:

過去 24時間: 1

過去 7 日: 2

過去 30 日: 3

今までの合計 21