はじめに
この修理ガイドでは、ASUS ROG Raikiri Pro コントローラーのバッテリー交換方法を説明します。デバイスの電源が入らない場合や、バッテリーの容量がすぐに減る場合は、この修理ガイドに従ってバッテリーを交換してください。
正常なバッテリーは、コントローラーに電力を供給します。しかし、バッテリーには寿命があり、交換が必要になることがあります。バッテリーが充電できない、または全く充電されない場合は、交換するのが最善の解決策です。
バッテリーが膨張していることに気付いた場合は、適切に取り扱ってから作業を進めてください。
修理を開始する前に、ASUS ROG Raikiri Pro コントローラーを充電器やコンソールから取り外し、電源を切ってください。
必要な工具と部品
-
-
-
-
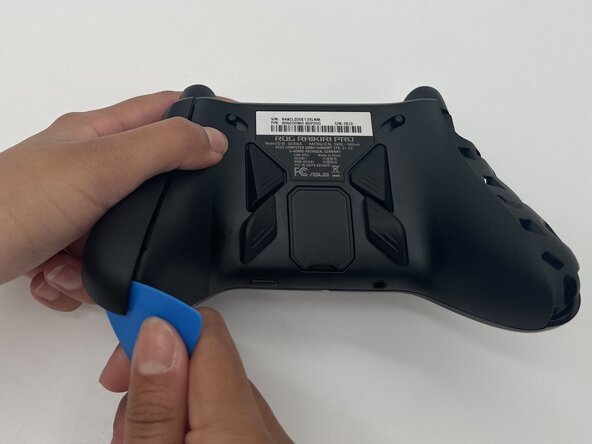
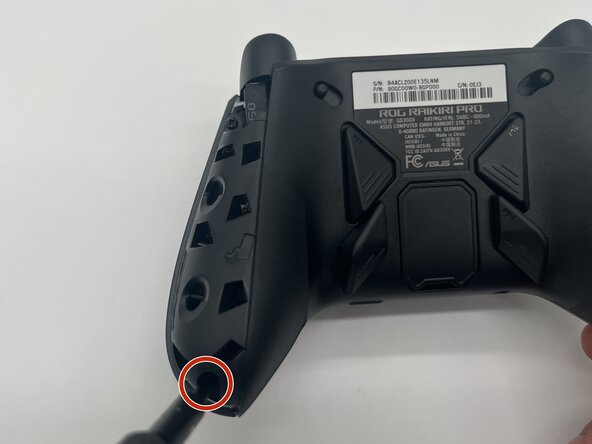
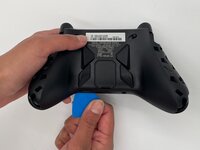
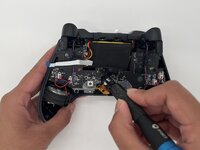
オープニングピックまたはスパッジャーの先端を、背面中央パネルの継ぎ目に差し込みます。
-
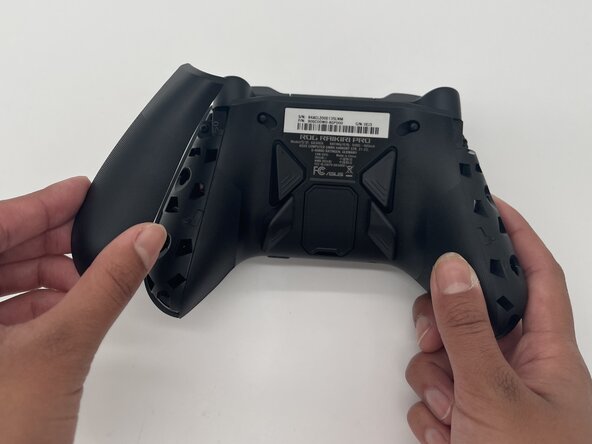
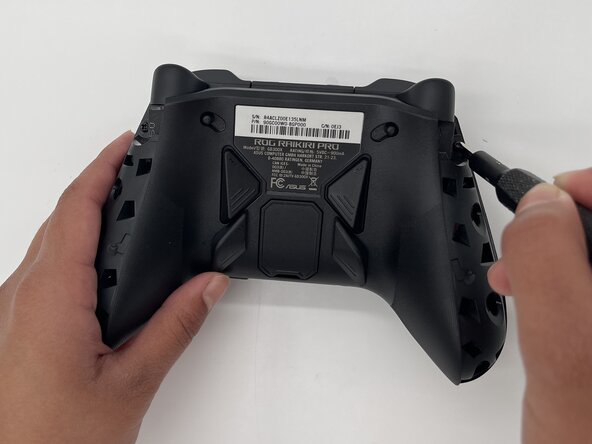
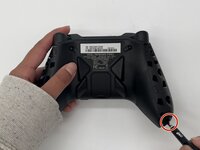
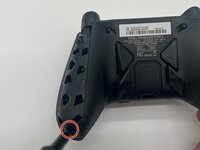
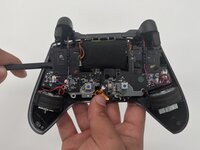
ピックを左から右へ継ぎ目に沿ってゆっくりとスライドさせ、コントローラーの上部と下部をつないでいるクリップを解放します。
-
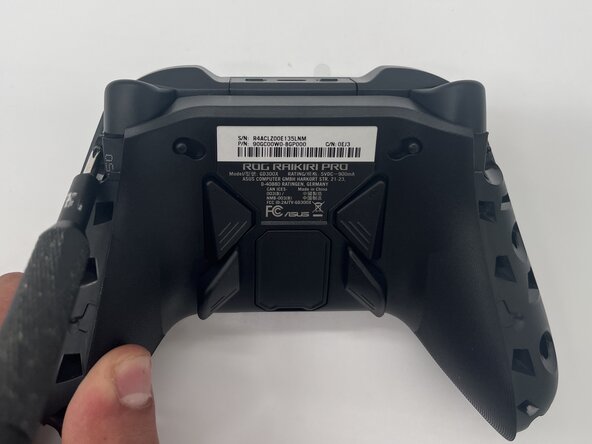
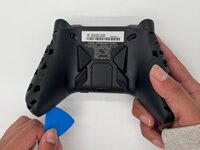
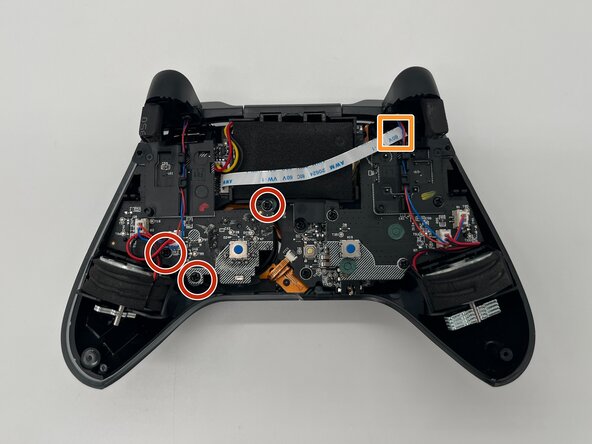
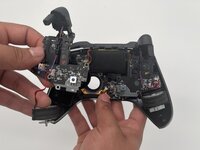
デバイスの上部と下部を分離します。
-


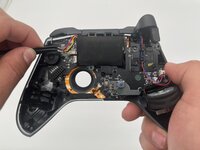

デバイスを再組み立てするには、これらのインストラクションを逆の順番に従って作業を進めてください。e-wasteを処分する場合は、認可済みリサイクルセンターR2を通じて廃棄してください。
ある他の人がこのガイドを完成しました。
以下の翻訳者の皆さんにお礼を申し上げます:
100%

Translation Botさんは世界中で修理する私たちを助けてくれています! あなたも貢献してみませんか?
翻訳を始める ›

チーム

University of North Texas, Team 1-3, Kilpatrick Spring 2025 University of North Texas, Team 1-3, Kilpatrick Spring 2025人のメンバー
UNT-KILPATRICK-S25S1G3
3 メンバー
55のガイドは作成済み