はじめに
このガイドを参照して、お持ちのiPad Mini 2 セルラーモデルを開口し、ディスプレイを交換しましょう。
このガイドの一部はWi-Fiモデルを使用して撮影されているため、内部はLTEモデルとは少し異なって見える場合があります。 特に記載がない限り、手順は両方のモデルで同じです。
必要な工具と部品
-
-
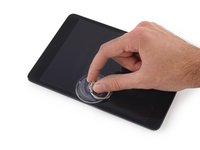
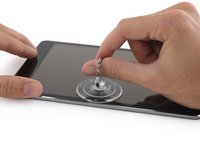
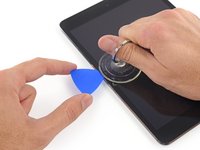
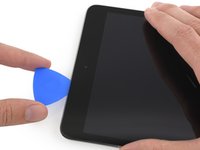
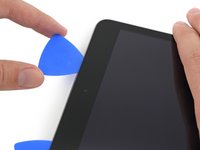
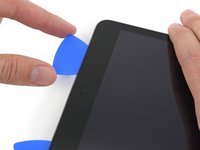
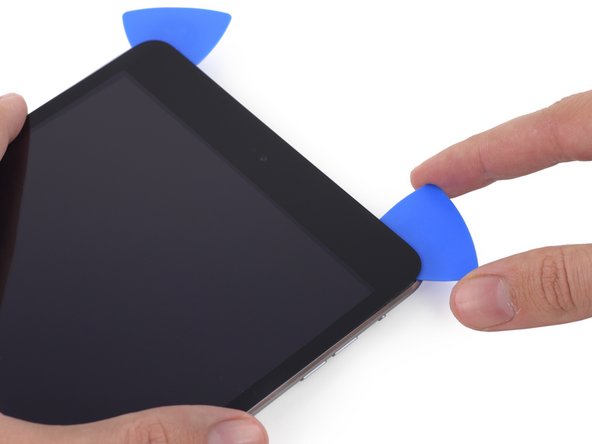
鍋を十分な量のお湯で満たして、iOpener を完全に沈めます。
-
お湯を沸かして熱くなったら火を止めます。
-
iOpenerを熱湯の中に約2−3分間沈めます。iOpener全体が完全に浸かっているか確認してください。
-
トングなどを浸かって、温まったiOpenerをお湯から取り出します。
-
タオルでiOpener全体を拭き取ります。
-
iOpenerの準備は整いました。iOpenerを再度温める必要がある場合は、お湯を沸騰させて、火を止めてからiOpenerを2-3分間浸してください。
-
-
-
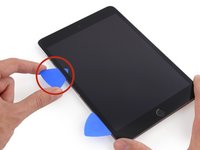
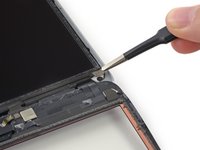
ディスプレイガラスに亀裂が入っている場合、それ以上程度が拡大しないようにガラスの表面をテーピングして、人体への危害を防ぎます。
-
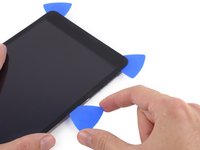
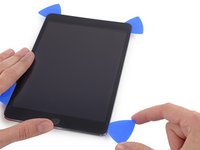
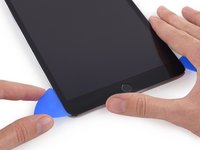
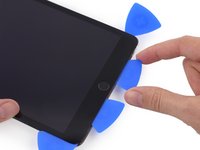
表面全体が覆われるまで、iPadのディスプレイの上に透明なパッキングテープで装着します。
-
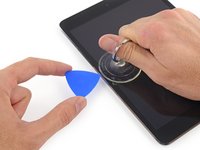
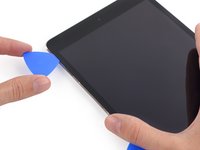
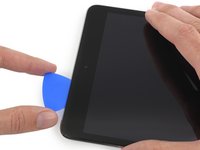
修理ガイドのインストラクションに可能な限り従ってください。 ただし、ガラスが割れている状態であれば、作業中に亀裂のエリカが拡大し続ける可能性があります。この場合、メタル製ツールを使用してガラス全体を除去する必要があります。
-
-


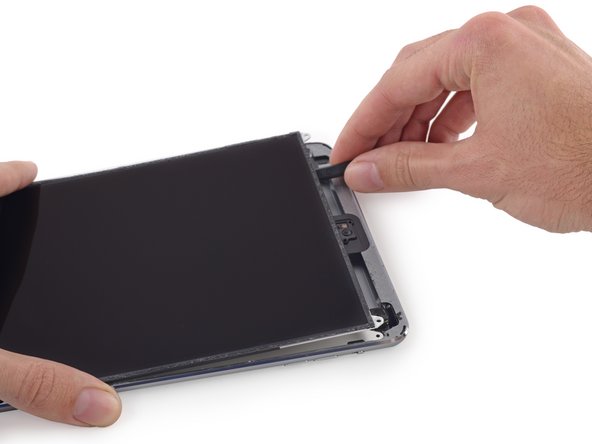


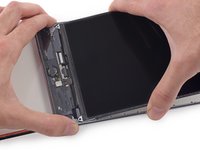


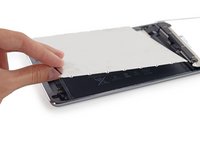


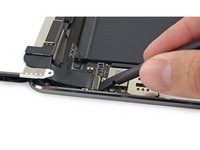
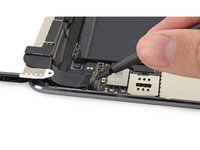

デバイスを再度組み立てるには、この説明書の逆の順番で組み立ててください。
デバイスを再度組み立てるには、この説明書の逆の順番で組み立ててください。
34 の人々がこのガイドを完成させました。
以下の翻訳者の皆さんにお礼を申し上げます:
100%

これらの翻訳者の方々は世界を修理する私たちのサポートをしてくれています。 あなたも貢献してみませんか?
翻訳を始める ›


2 件のコメント
OK, completed this, and all is working…whew! Props to the author for posting this, and it *does* cover getting the display out pretty thoroughly, BUT, it doesn’t cover a lot of things that you need to know when the whole thing goes back together - just saying “follow in reverse” to re-assemble doesn’t get it: What to do about all the adhesive? alcohol prep pads work well for removing all the gunk. What about the magnets attached to the screen (they come off when you clean up all the adhesive), they need to be placed correctly and held with adhesive.
You need new adhesive strips for this to all go back together well. Digitizer cable needs to be tucked in opposite the direction it naturally folds or the entire display won’t close up correctly. In short, it really takes sourcing three or four other repair videos to get through this correctly. Total process (remove and replace LCD screen) took about 2.5 hours.