メインコンテンツにスキップ

iPhone 7 Plusの分解

英語
日本語

手順 4を翻訳中

手順4
iPhone 7 Plus Teardown: 手順 0、 3の画像 1 iPhone 7 Plus Teardown: 手順 0、 3の画像 2 iPhone 7 Plus Teardown: 手順 0、 3の画像 3
  • Apple may have gotten rid of the headphone jack, but clearly stays loyal to the Pentalobe. Two now-familiar screws guard each side of the Lightning connector.

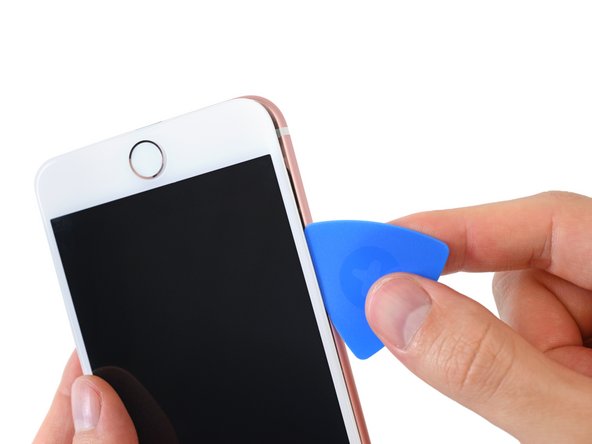
  • Eager to see past the rose gold exterior, we perform some forceful iSclack-ing and a great deal of prying to get past the intense adhesive.

  • The adhesive strip sealing the 7 Plus is considerably stronger than the strip we found in its predecessor. Could this be our first sign of waterproofing?

Appleはヘッドフォンジャックジャックを取り外したのですが、どうやらペンタロープネジには変わらず忠実であるようです。この2本の、今やお馴染みとなったネジは、Lightningコネクターの両側を守るべく留められています。

ローズゴールドの中身を内部までぜひ見たいという思いで、力作業のiSclackを使い、開封作業を始めました。凝固な接着剤をこじ開けるにはかなりの力が必要です。

7 Plusに留められている接着ストリップは前モデルで見られたストリップと比べるとかなり強い接着力です。これがまず始めの耐水性のサインでしょうか?

クリエイティブコモンズのオープンソース著作権のもと、あなたの投稿は著作権の対象となります