メインコンテンツにスキップ

Whirlpool Refrigerator Dispenser Assembly Replacement

必要な工具と部品

  1. Whirlpool Refrigerator Dispenser Assembly Replacement, Safety precautions: 手順 1、 1の画像 1
    • Before you begin your repair, perform the following:

    • Turn off your main water supply

    • Unplug your device

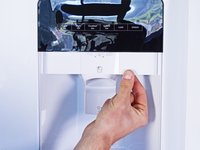
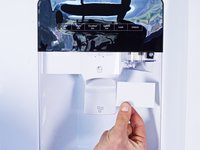
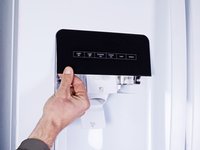
  2. Whirlpool Refrigerator Dispenser Assembly Replacement, Unfasten the dispenser panels: 手順 2、 2の画像 1 Whirlpool Refrigerator Dispenser Assembly Replacement, Unfasten the dispenser panels: 手順 2、 2の画像 2
    • The dispenser panel screws are located under the dispenser as if you're looking up into the dispenser tube (where the ice cubes and water come out).

    • Remove the screw(s) securing the two dispenser panels.

    Does anyone know the part number for these screws? My refrigerator was delivered without them and the panel keeps popping off!

    Dan Austin - 返信

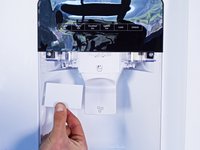
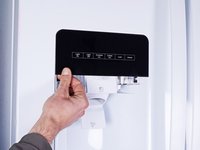
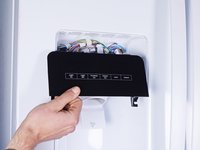
  3. Whirlpool Refrigerator Dispenser Assembly Replacement, Remove the dispenser panels: 手順 3、 3の画像 1 Whirlpool Refrigerator Dispenser Assembly Replacement, Remove the dispenser panels: 手順 3、 3の画像 2 Whirlpool Refrigerator Dispenser Assembly Replacement, Remove the dispenser panels: 手順 3、 3の画像 3
    • Pull the dispenser panels straight down to separate them from the chassis.

    • Remove the dispenser panels.

  4. Whirlpool Refrigerator Dispenser Assembly Replacement, Unfasten the control board: 手順 4、 1の画像 1
    • Remove the screw(s) securing the control board.

  5. Whirlpool Refrigerator Dispenser Assembly Replacement: 手順 5、 3の画像 1 Whirlpool Refrigerator Dispenser Assembly Replacement: 手順 5、 3の画像 2 Whirlpool Refrigerator Dispenser Assembly Replacement: 手順 5、 3の画像 3
    • Tilt the bottom of the control board away from the chassis to release its clips.

    • Pull straight down to separate the control board enough to access its connectors.

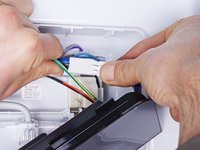
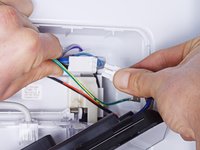
  6. Whirlpool Refrigerator Dispenser Assembly Replacement, Disconnect the control board: 手順 6、 3の画像 1 Whirlpool Refrigerator Dispenser Assembly Replacement, Disconnect the control board: 手順 6、 3の画像 2 Whirlpool Refrigerator Dispenser Assembly Replacement, Disconnect the control board: 手順 6、 3の画像 3
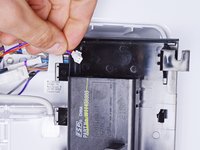
    • Disconnect the connectors attached to the control board.

  7. Whirlpool Refrigerator Dispenser Assembly Replacement, Remove the control board: 手順 7、 1の画像 1
    • Remove the control board.

  8. Whirlpool Refrigerator Dispenser Assembly Replacement, Remove the plastic clip: 手順 8、 3の画像 1 Whirlpool Refrigerator Dispenser Assembly Replacement, Remove the plastic clip: 手順 8、 3の画像 2 Whirlpool Refrigerator Dispenser Assembly Replacement, Remove the plastic clip: 手順 8、 3の画像 3
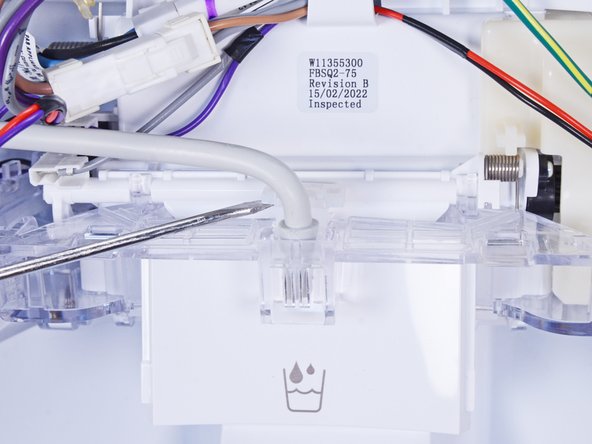
    • Use a flathead screwdriver, or a similar tool, to pry up the plastic clip securing the water hose.

    • Remove the plastic clip.

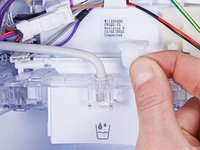
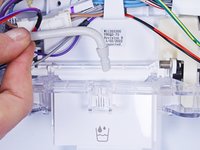
  9. Whirlpool Refrigerator Dispenser Assembly Replacement, Disconnect the water hose: 手順 9、 3の画像 1 Whirlpool Refrigerator Dispenser Assembly Replacement, Disconnect the water hose: 手順 9、 3の画像 2 Whirlpool Refrigerator Dispenser Assembly Replacement, Disconnect the water hose: 手順 9、 3の画像 3
    • Use a flathead screwdriver, or a similar tool, to pry up the water hose enough to grip it with your fingers.

    • Pull the water hose straight up to disconnect it.

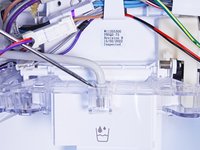
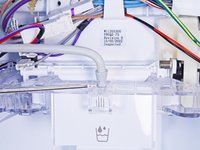
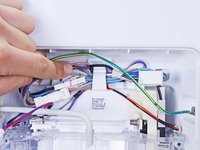
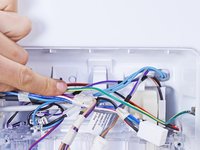
  10. Whirlpool Refrigerator Dispenser Assembly Replacement, Reposition the cables: 手順 10、 2の画像 1 Whirlpool Refrigerator Dispenser Assembly Replacement, Reposition the cables: 手順 10、 2の画像 2
    • Reposition the cables so they lay in front of the top plastic clip.

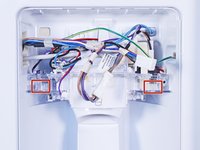
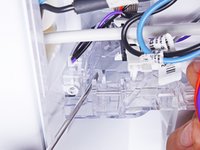
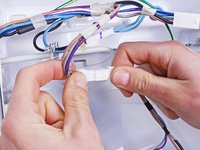
  11. Whirlpool Refrigerator Dispenser Assembly Replacement, Unclip the dispenser assembly: 手順 11、 3の画像 1 Whirlpool Refrigerator Dispenser Assembly Replacement, Unclip the dispenser assembly: 手順 11、 3の画像 2 Whirlpool Refrigerator Dispenser Assembly Replacement, Unclip the dispenser assembly: 手順 11、 3の画像 3
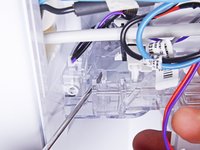
    • Depending on your device, the amount of plastic clips that secure the dispenser assembly can vary.

    • Use a flathead screwdriver, or a similar tool, to press the plastic clip toward the dispenser assembly.

    • Repeat for the other plastic clips to completely separate the dispenser assembly from the chassis.

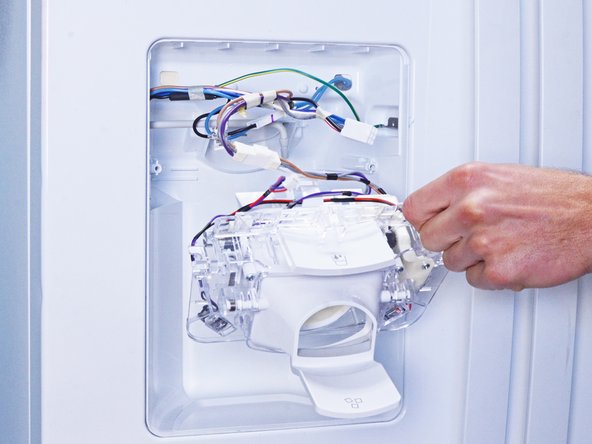
  12. Whirlpool Refrigerator Dispenser Assembly Replacement, Reposition the dispenser assembly: 手順 12、 2の画像 1 Whirlpool Refrigerator Dispenser Assembly Replacement, Reposition the dispenser assembly: 手順 12、 2の画像 2
    • Pull the dispenser assembly away from the chassis enough to access its connectors.

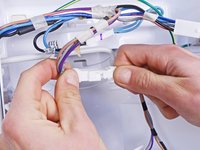
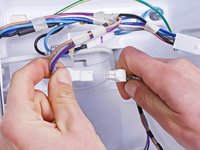
  13. Whirlpool Refrigerator Dispenser Assembly Replacement, Disconnect the dispenser assembly: 手順 13、 3の画像 1 Whirlpool Refrigerator Dispenser Assembly Replacement, Disconnect the dispenser assembly: 手順 13、 3の画像 2 Whirlpool Refrigerator Dispenser Assembly Replacement, Disconnect the dispenser assembly: 手順 13、 3の画像 3
    • While performing this step, support the dispenser assembly so it doesn't fall.

    • Disconnect the connector attached to the dispenser assembly.

  14. Whirlpool Refrigerator Dispenser Assembly Replacement, Remove the dispenser assembly: 手順 14、 1の画像 1
    • Remove the dispenser assembly.

  15. Whirlpool Refrigerator Dispenser Assembly Replacement, Meter the dispenser assembly: 手順 15、 2の画像 1 Whirlpool Refrigerator Dispenser Assembly Replacement, Meter the dispenser assembly: 手順 15、 2の画像 2
    • If you own a multimeter, you can test your solenoid's resistance.

    • With the button in its neutral position, the multimeter should read "open circuit" or "OL."

    • With the button pressed, the multimeter should read close to 0Ω.

終わりに

To reassemble your device, follow these instructions in reverse order.

Take your e-waste to an R2 or e-Stewards certified recycler.

Repair didn’t go as planned? Ask our Answers community for help.

作成者

2人の作成者と共同で作成されました。

nicO

メンバー登録日: 04/14/15

15,927 ポイント

89のガイドは作成済み

チーム

Global Fixers Global Fixers人のメンバー

Community

45 メンバー

702のガイドは作成済み

2 件のコメント

The bottom side of refrigeration is not working but the top inversely working the cooling process

Dawit Muluneh - 返信

I'd take a look at one of two troubleshooting pages:

Freezer Not Freezing or Refrigerator Not Cooling

nicO -

コメントを追加

統計データ:

過去 24時間: 2

過去 7 日: 14

過去 30 日: 70

今までの合計 2,049