メインコンテンツにスキップ
リペアコミュニティに参加 - アカウントの作成

Sonos Roam Battery Replacement

必要な工具と部品

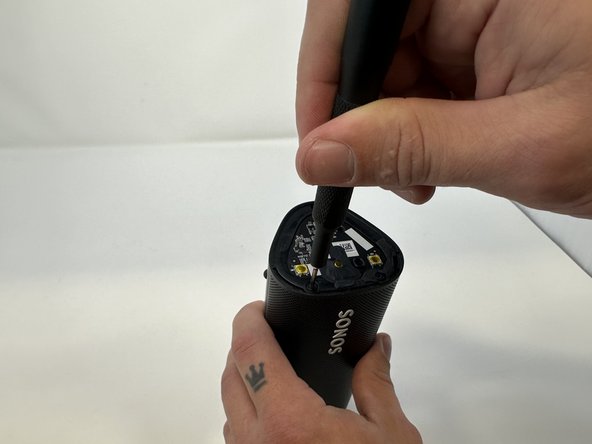
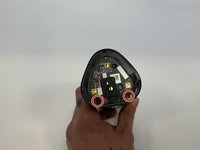
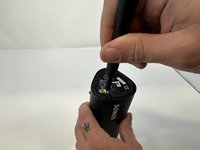
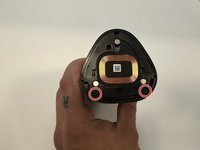
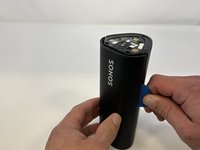
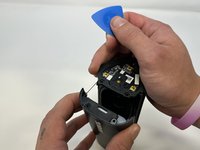
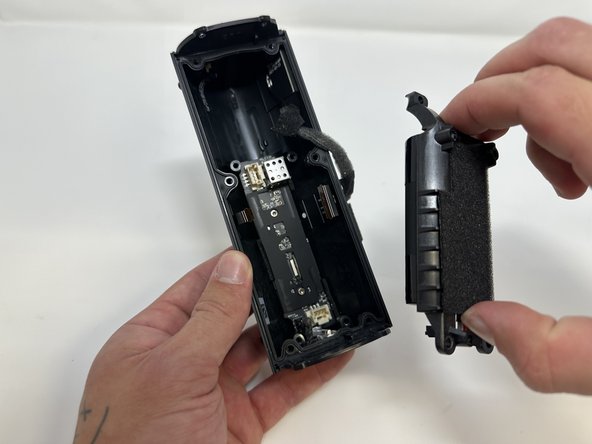
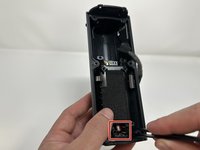
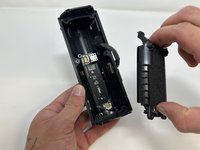
    1. Sonos Roam Battery Replacement, End Caps: 手順 1、 3の画像 1 Sonos Roam Battery Replacement, End Caps: 手順 1、 3の画像 2 Sonos Roam Battery Replacement, End Caps: 手順 1、 3の画像 3
      • Power off your Sonos Roam before beginning disassembly.

      • Use the metal spudger to pry the end cap with the buttons.

      • Pry from all sides to loosen the adhesive.

      • Use the iOpener, a blowdryer, or a similar heating device to loosen the adhesive if having difficulty.

      FixBotに聞いてみる

      コメントを追加

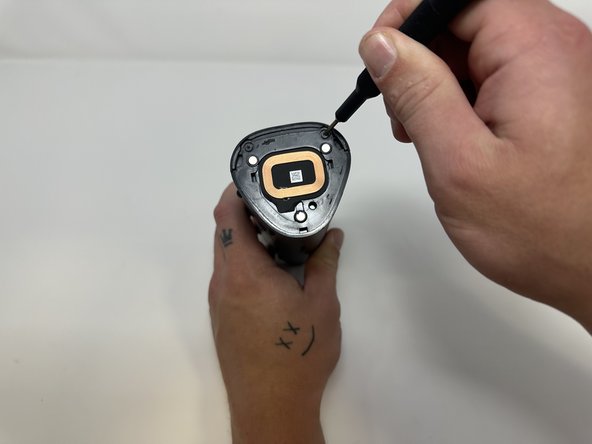
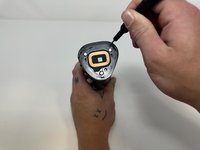
    2. Sonos Roam Battery Replacement: 手順 2、 2の画像 1 Sonos Roam Battery Replacement: 手順 2、 2の画像 2
      • Flip the device to the other end cap.

      • Use the metal spudger to loosen the adhesive.

      • Use the iOpener, a blowdryer, or a similar heating device to loosen the adhesive if having difficulty.

      FixBotに聞いてみる

      コメントを追加

    1. Sonos Roam Battery Replacement, Speaker Grille: 手順 3、 2の画像 1 Sonos Roam Battery Replacement, Speaker Grille: 手順 3、 2の画像 2
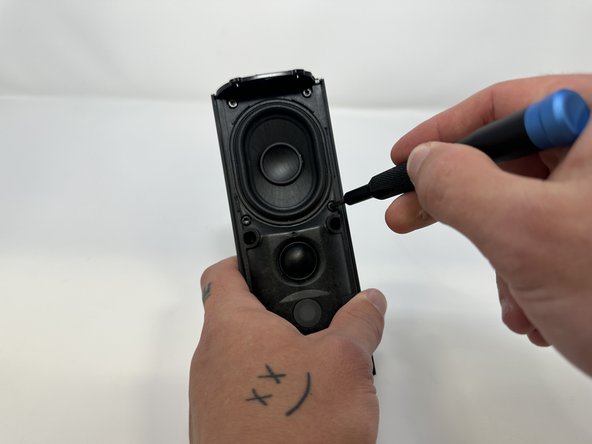
      • Flip the device so that the Sonos logo is on the top.

      • Use the Torx T6 screwdriver to remove the two 6 mm screws.

      FixBotに聞いてみる

      コメントを追加

    2. Sonos Roam Battery Replacement: 手順 4、 2の画像 1 Sonos Roam Battery Replacement: 手順 4、 2の画像 2
      • Flip the device.

      • Use the Torx T6 screwdriver to remove the two 6 mm screws.

      FixBotに聞いてみる

      コメントを追加

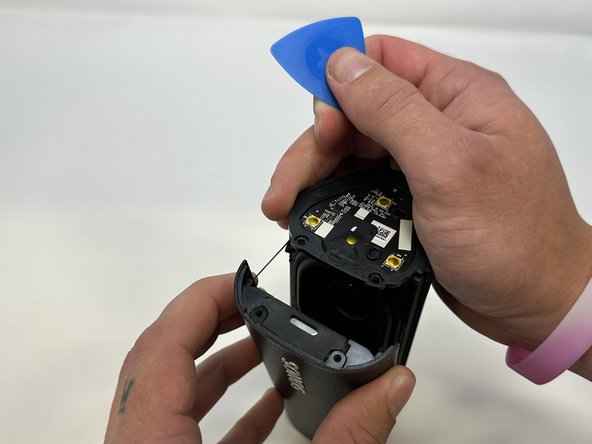
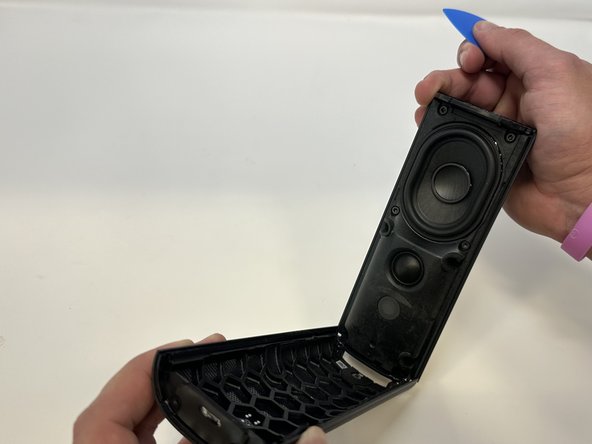
    3. Sonos Roam Battery Replacement: 手順 5、 3の画像 1 Sonos Roam Battery Replacement: 手順 5、 3の画像 2 Sonos Roam Battery Replacement: 手順 5、 3の画像 3
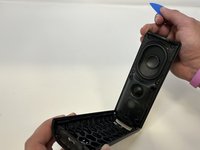
      • Flip the device so the Sonos logo is on the top.

      • Use the iFixit opening picks to wedge between the split of the grille and the back of the speaker to pry the grille apart.

      • Use the iOpener, a blowdryer, or a similar heating device to loosen the adhesive if having difficulty.

      FixBotに聞いてみる

      コメントを追加

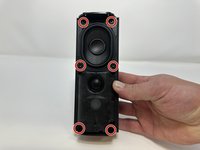
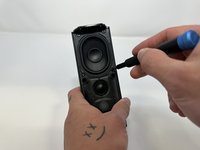
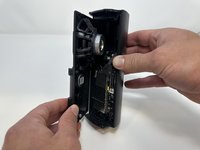
    1. Sonos Roam Battery Replacement, Speaker Module: 手順 6、 2の画像 1 Sonos Roam Battery Replacement, Speaker Module: 手順 6、 2の画像 2
      • Use the TR10 Torx screwdriver to remove the six 7 mm screws.

      FixBotに聞いてみる

      コメントを追加

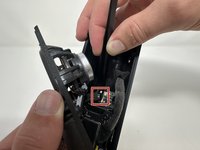
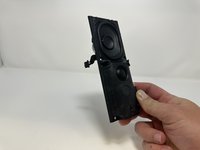
    2. Sonos Roam Battery Replacement: 手順 7、 3の画像 1 Sonos Roam Battery Replacement: 手順 7、 3の画像 2 Sonos Roam Battery Replacement: 手順 7、 3の画像 3
      この手順で使用する道具:
      Tweezers
      $4.99
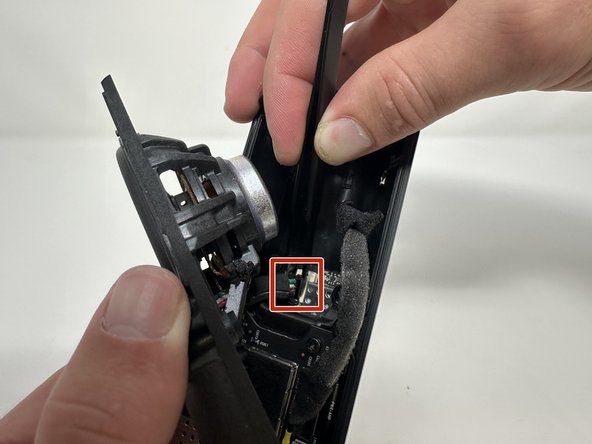
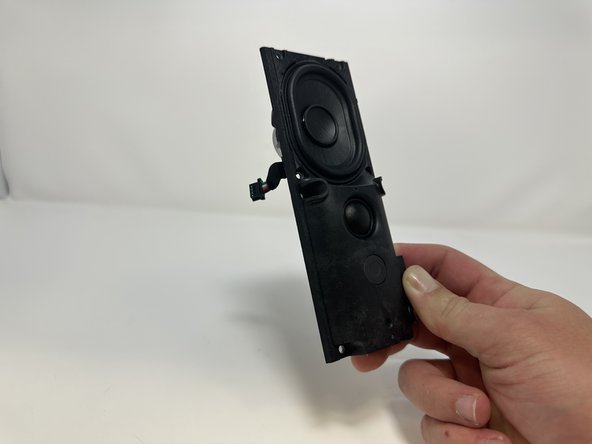
      • Begin to carefully separate the speaker module from the device.

      • Firmly squeeze the middle of the plug using the tweezers to pull it out of the socket.

      • Separate the speaker module from the device.

      FixBotに聞いてみる

      コメントを追加

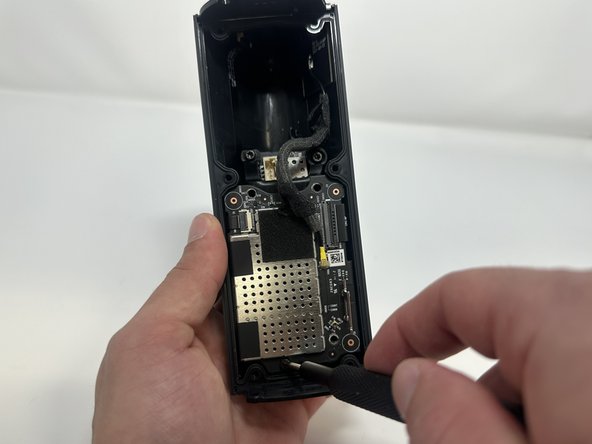
    1. Sonos Roam Battery Replacement, Outer Circuit Board: 手順 8、 2の画像 1 Sonos Roam Battery Replacement, Outer Circuit Board: 手順 8、 2の画像 2
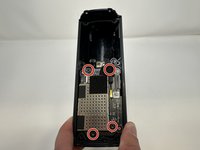
      • Use the TR10 Torx screwdriver to remove the four 7 mm screws.

      FixBotに聞いてみる

      コメントを追加

    2. Sonos Roam Battery Replacement: 手順 9、 3の画像 1 Sonos Roam Battery Replacement: 手順 9、 3の画像 2 Sonos Roam Battery Replacement: 手順 9、 3の画像 3
      この手順で使用する道具:
      Tweezers
      $4.99
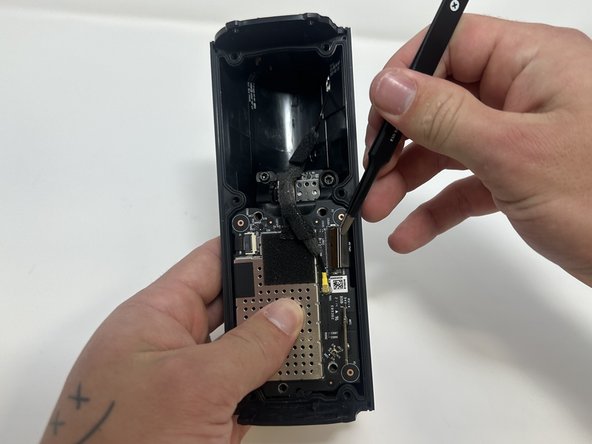
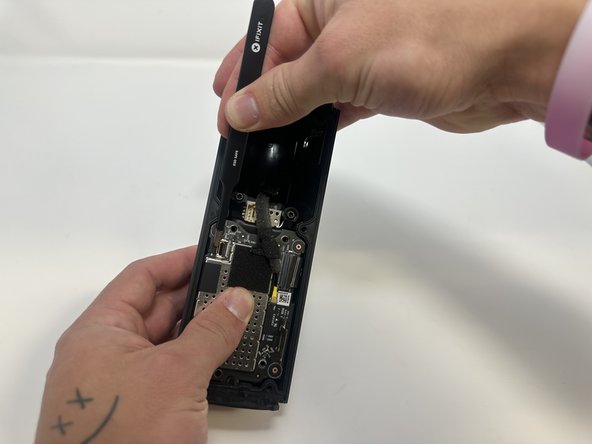
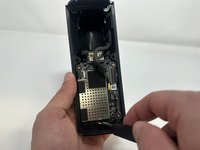
      • Use the tweezers to flip the latch holding the large ribbon in place.

      • Grab the large ribbon with the tweezers and pull upwards to remove it.

      • Use the tweezers to flip the latch holding the small ribbon in place.

      • Grab the small ribbon with the tweezers and pull upwards to remove it.

      FixBotに聞いてみる

      コメントを追加

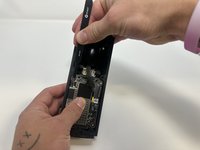
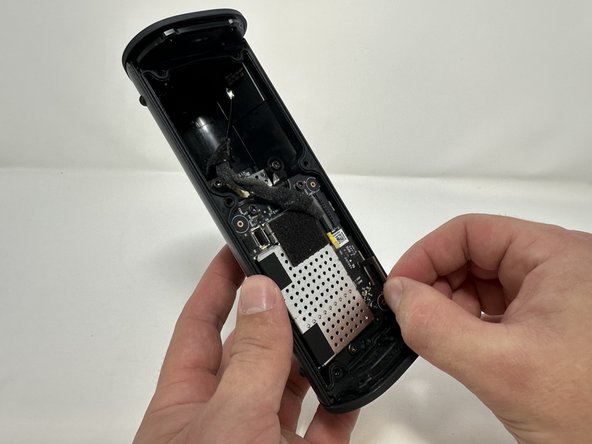
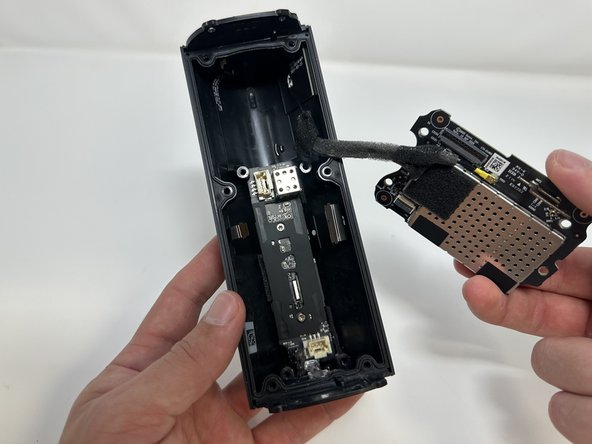
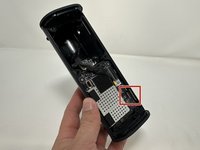
    3. Sonos Roam Battery Replacement: 手順 10、 3の画像 1 Sonos Roam Battery Replacement: 手順 10、 3の画像 2 Sonos Roam Battery Replacement: 手順 10、 3の画像 3
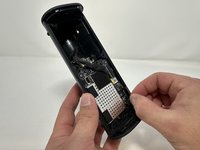
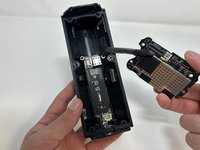
      • Grab the metal piece sticking out of the outer circuit board.

      • Pull upwards to remove the outer circuit board.

      FixBotに聞いてみる

      コメントを追加

    4. Sonos Roam Battery Replacement: 手順 11、 2の画像 1 Sonos Roam Battery Replacement: 手順 11、 2の画像 2
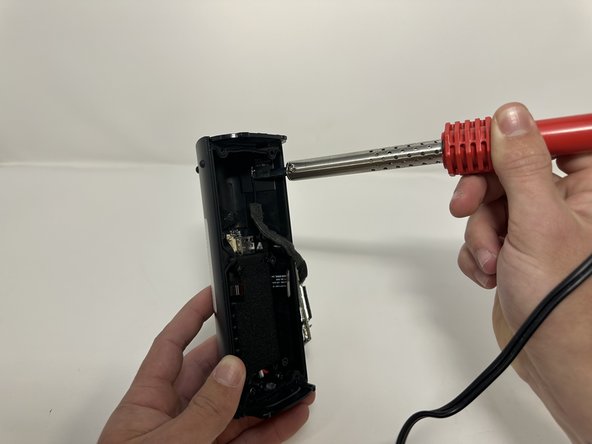
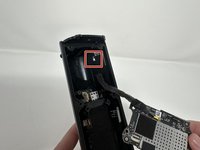
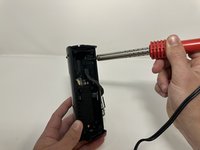
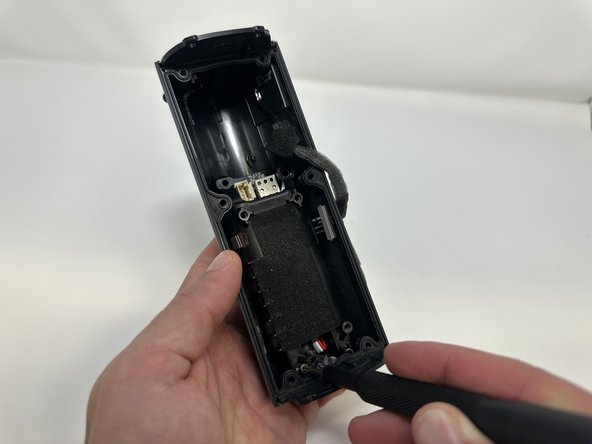
      • Soldering Iron is very hot and can cause injury if not used properly.

      • Use a soldering iron to desolder the outer circuit board from the speaker casing.

      FixBotに聞いてみる

      コメントを追加

    1. Sonos Roam Battery Replacement, Battery: 手順 12、 2の画像 1 Sonos Roam Battery Replacement, Battery: 手順 12、 2の画像 2
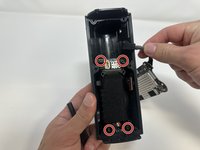
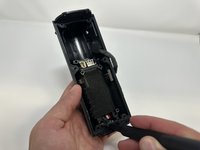
      • Use the TR10 Torx screwdriver to remove the four 7 mm screws.

      FixBotに聞いてみる

      コメントを追加

    2. Sonos Roam Battery Replacement: 手順 13、 2の画像 1 Sonos Roam Battery Replacement: 手順 13、 2の画像 2
      この手順で使用する道具:
      Tweezers
      $4.99
      • Use the tweezers to firmly squeeze the middle of the plug.

      • Pull the plug out to remove it from its socket.

      • Remove the battery from the device.

      FixBotに聞いてみる

      コメントを追加

    3. Sonos Roam Battery Replacement: 手順 14、 3の画像 1 Sonos Roam Battery Replacement: 手順 14、 3の画像 2 Sonos Roam Battery Replacement: 手順 14、 3の画像 3
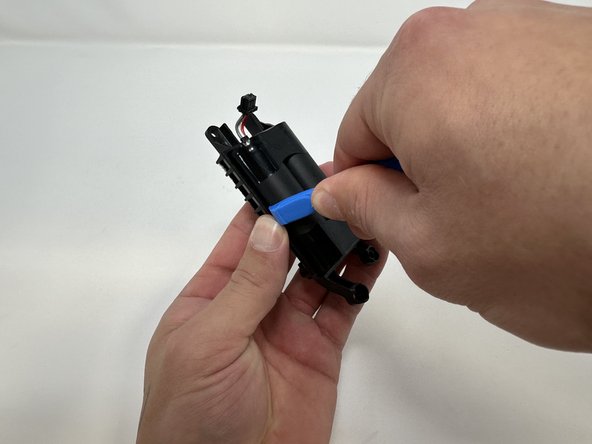
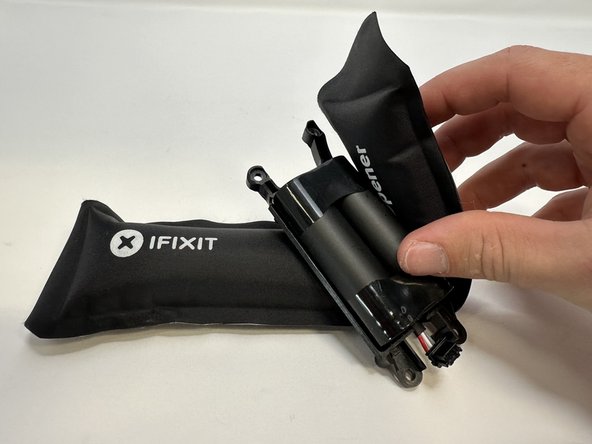
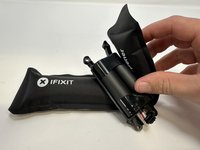
      • Use the iFixit opening tool to pry the battery out of its casing.

      • Use the iOpener, blowdryer, or a similar heating device to loosen the adhesive if having difficulty.

      FixBotに聞いてみる

      コメントを追加

    4. Sonos Roam Battery Replacement: 手順 15、 1の画像 1
      • Remove the battery from its casing.

      FixBotに聞いてみる

      コメントを追加

終わりに

To reassemble your device, follow these instructions in reverse order.

キャンセル: このガイドを終了できませんでした。

25 の人々がこのガイドを完成させました。

作成者

4人の作成者と共同で作成されました。

Lauren Young

メンバー登録日: 09/20/23

884 ポイント

5のガイドは作成済み

チーム

Utah Tech University, Team 1-2, McMurrin Fall 2023 Utah Tech University, Team 1-2, McMurrin Fall 2023人のメンバー

UTAHTECH-MCMURRIN-F23S1G2

3 メンバー

18のガイドは作成済み

17件のガイドコメント

Great guide. Do you have information on the battery needed? I dont see one available from Sonos, so I presume a 3rd party is required?

mt - 返信 共有
Mit welchem Kleber befestige ich die Abschlusskappen nach Abschluss des Akkutausch am besten wieder?

DocHofer - 返信 共有
Fantastic instructions, saved my roam from being a brick. iOpener is worth every penny! Not a paid advertisement

msdavis4 - 返信 共有

The teardown was easy with these instructions, as was the re-assembly. I replaced the battery with one from AMAZON (they have a lot of them) but no joy - the problem appears too be with the PC board or defective switch - so I bought a new Sonos ROAM 2. Oh well - everything eventually obsoletes and Sonos offered no solutions out of warrantee. Next stop - rep[lace a 3TB fusion drive on an iMac.

Richard - 返信 共有

Just completed this and speaker back to working - only issue i had was step 11 and the wire became disconnected form the board end, not the case - end. All good though as a resoldered it to the board. Was a little nervous about that as I know some boards can't take the heat from resoldering directly to the board. So far so good - enjoying my Jazz channel right now :)

avro57 - 返信 共有

コメントを追加

統計データ:

過去 24時間: 42

過去 7 日: 245

過去 30 日: 910

今までの合計 32,996