はじめに
Follow this guide to remove and replace the interconnect cable on a Motorola Edge.
必要な工具と部品
-
-
Heat an iOpener, then apply it along the bottom edge of the back cover for two minutes.
 FixBotに聞いてみる
-
-
-
Apply a suction cup to the back of the phone, as close to the center of the bottom edge as possible.
-
Pull up on the suction cup with strong, steady force to create a gap between the back cover and the frame.
-
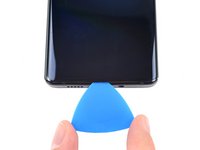
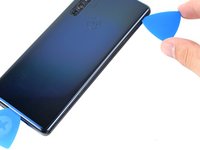
Insert an opening pick into the gap.
-
-
-
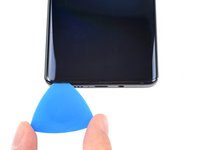
Slide the pick back and forth along the bottom edge to slice through the adhesive.
-
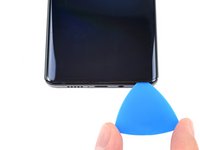
Leave the pick in to prevent the adhesive from resealing.
-
-
-
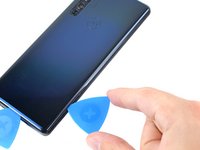
Apply a heated iOpener to the back cover's right edge for two minutes.
-
-
-
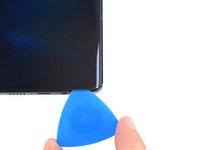
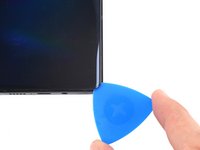
Rotate the opening pick around the bottom-right corner of the phone.
-
-
-
-
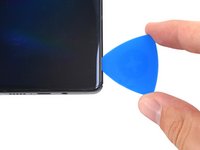
Insert a new opening pick into the gap you just created.
-
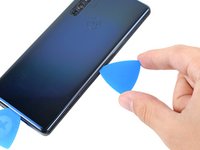
Slide the pick along the right edge of the phone to separate the adhesive.
-
Repeat the heating, slicing, and leaving opening picks for the remaining edges of the device.
-
-
-
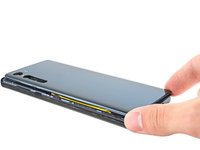
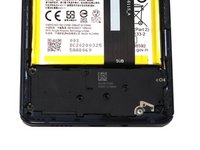
Remove the back cover, taking care not to damage the components inside the phone.
-
-
-
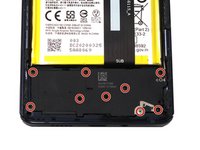
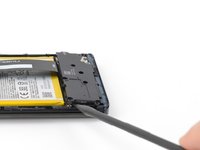
Use a T5 Torx screwdriver to remove the twelve 3.4 mm-long screws securing the motherboard cover.
-
-
この手順で使用する道具:Tweezers$4.99
-
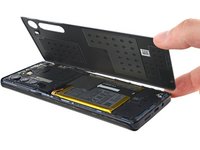
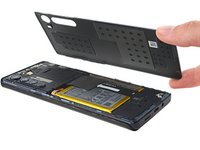
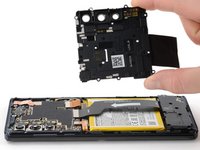
Use a pair of blunt tweezers or your fingers to lift up and remove the motherboard cover.
-
-
-
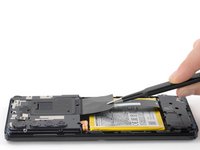
Use a spudger to pry up and disconnect the battery cable's press connector from the motherboard.
-
-
-
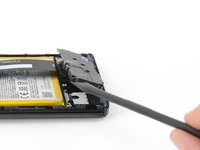
Use a T5 Torx screwdriver to remove the nine 3.4 mm screws securing the daughterboard.
-
-
-
Use a spudger to pry up the plastic daughterboard cover and disconnect it from the rest of the phone.
-
-
-
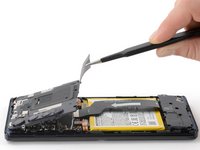
Use a spudger to pry up and disconnect the interconnect cable's press connector from the motherboard.
-
-
-
Use a spudger to pry up and disconnect the interconnect cable's press connector from the daughterboard.
-
-
-
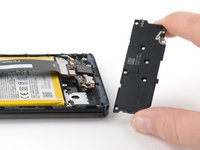
Use your fingers to remove the interconnect cable after it has been disconnected from both the motherboard and daughterboard.
-


To reassemble your device, follow these instructions in reverse order.
For optimal performance, calibrate your newly installed battery after completing this guide.
Take your e-waste to an R2 or e-Stewards certified recycler.
Repair didn’t go as planned? Try some basic troubleshooting, or ask our Answers Community for help.
