はじめに
If the screen on your Moto G4 has become cracked or distorted then it may be time for a replacement. Follow this easy guide to do it yourself.
Before you begin, download the Rescue and Smart Assistant app to backup your device and diagnose whether your problem is software or hardware related.
For your safety, discharge your battery below 25% before disassembling your phone. This reduces the risk of a dangerous thermal event if the battery is accidentally damaged during the repair.
Before you begin, skip to the last step and make sure your replacement part matches the one shown. This guide is for replacing a screen/display that is already installed in a new frame. If you bought a bare display instead, you will need to carefully separate your old display from your phone’s existing frame, and then glue the new display in. Those steps are not covered by this guide.
必要な工具と部品
-
-
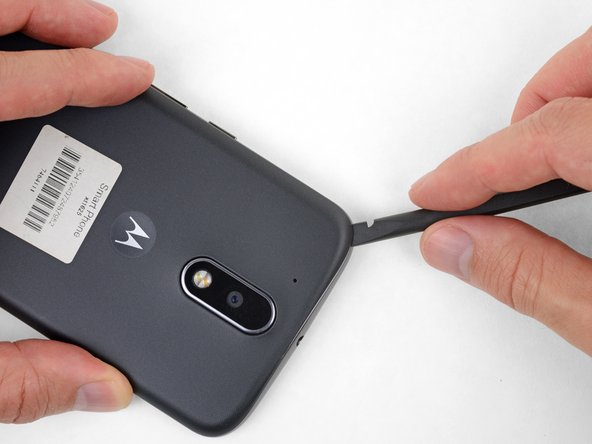
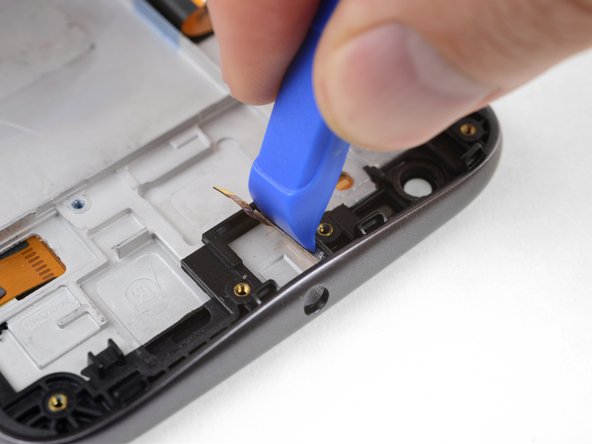
Insert a fingernail or a spudger into the notch on the bottom edge of the phone, near the charge port.
-
Gently twist or pry to open a small gap between the back cover and the body of the phone.
-
While keeping your tool (or fingernail) inserted into the gap between the back cover and the body of the phone, slide it around the corner to begin loosening the plastic clips holding the cover in place.
-
-
-
-
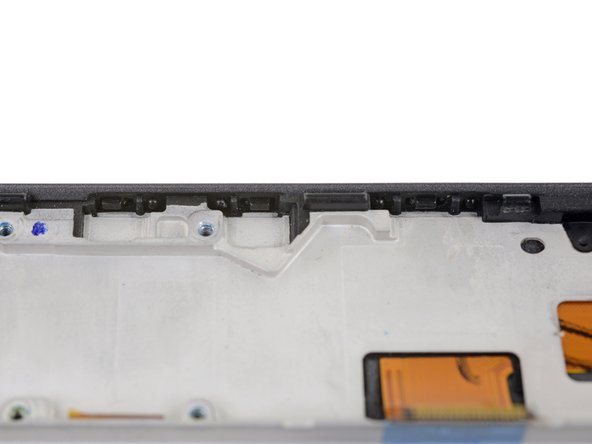
Peel up and remove the black rubber cover from the charging port and vibration motor connector.
-
-
-
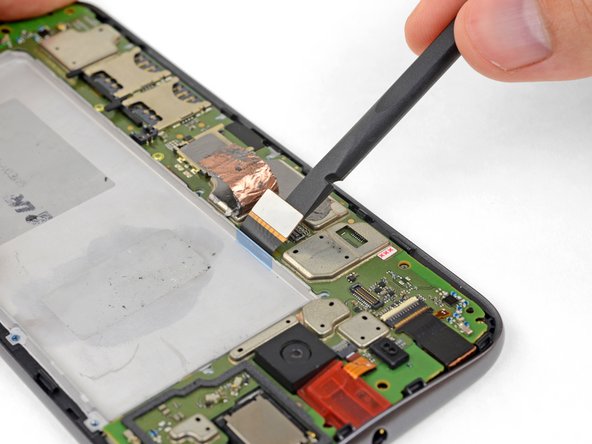
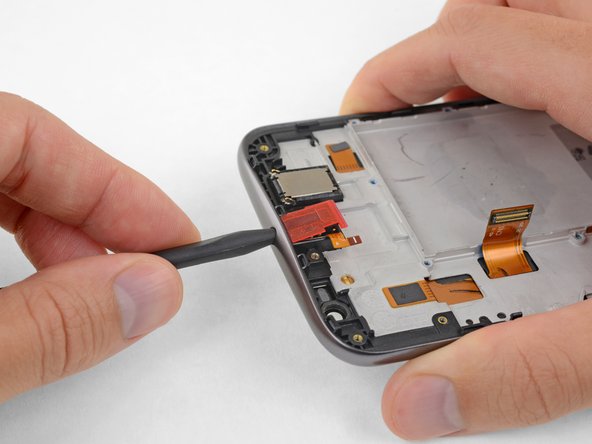
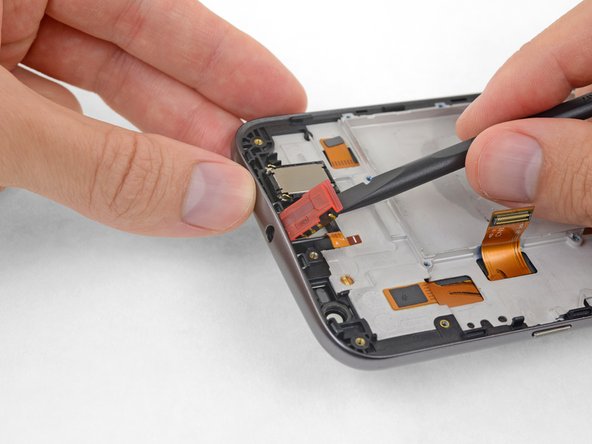
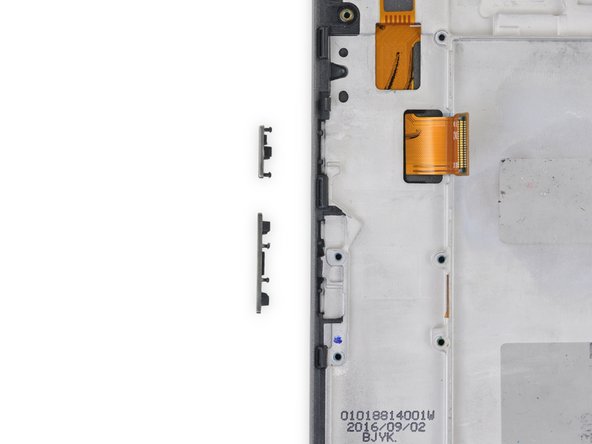
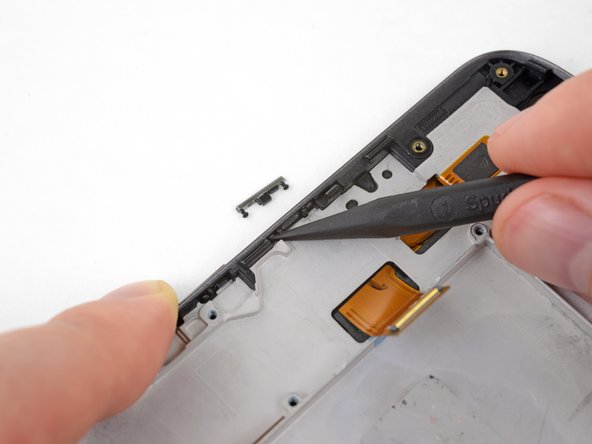
Pry up with your spudger to flip open the locking flap on the headphone jack's ZIF connector.
-
-
-
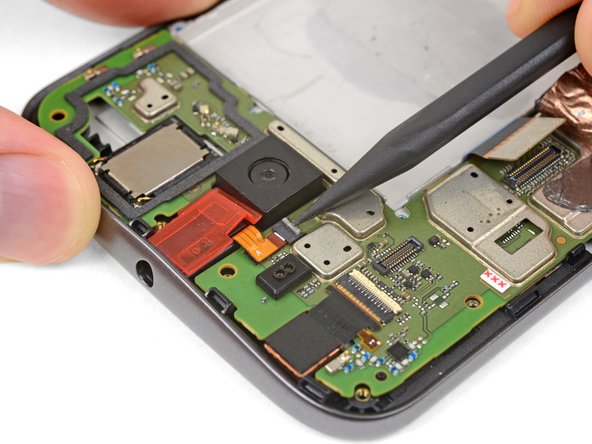
Grasping the motherboard by its edges, left the bottom end up at an angle, while keeping the top edge close to the phone.
-
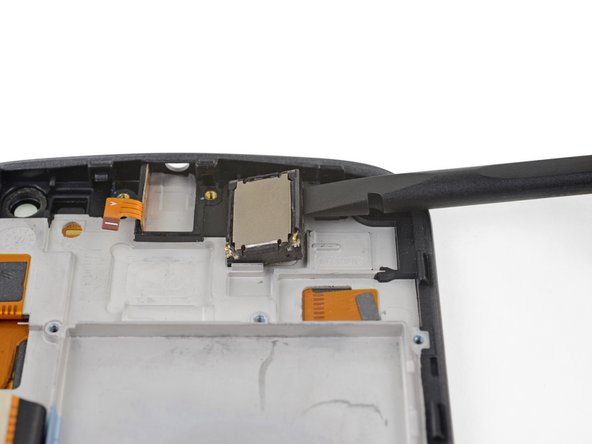
Use your spudger to pry up the front-facing camera and make sure it separates safely from the frame. The camera can remain attached to the motherboard.
-
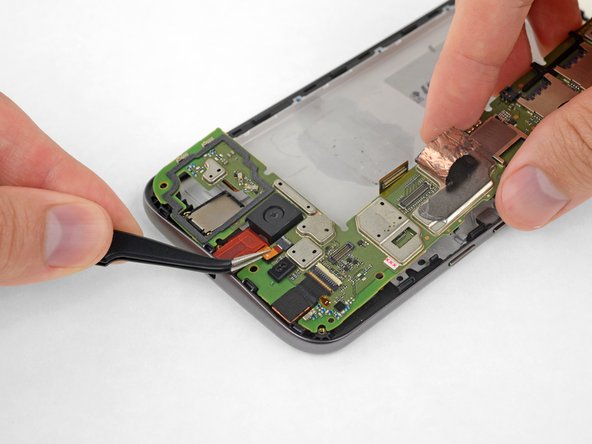
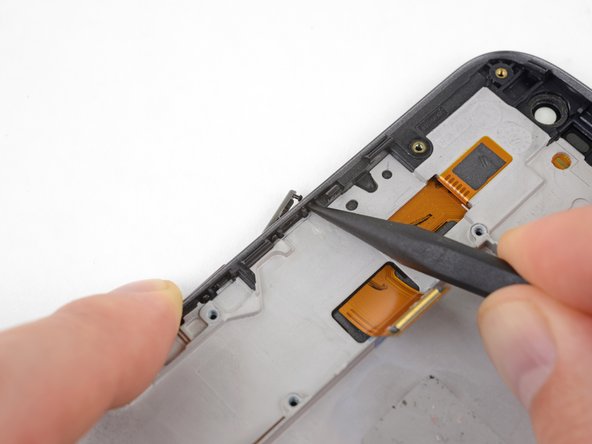
Using your tweezers, grasp the headphone jack flex cable and carefully pull it out of its socket as you remove the motherboard.
-
Remove the motherboard.
-


Carefully compare your new replacement part to the original part. Remove any adhesive backings before installing your new battery.
To reassemble your device, follow the above steps in reverse order.
Take your e-waste to an R2 or e-Stewards certified recycler.
Repair didn’t go as planned? Check out our Answers community for troubleshooting help.
10 の人々がこのガイドを完成させました。


2 件のコメント
I would not recommend it. The adhesive between the screen and the frame was too strong for me to separate, so a screen with a new frame pre-installed would be a better bet.
I used this: