はじめに
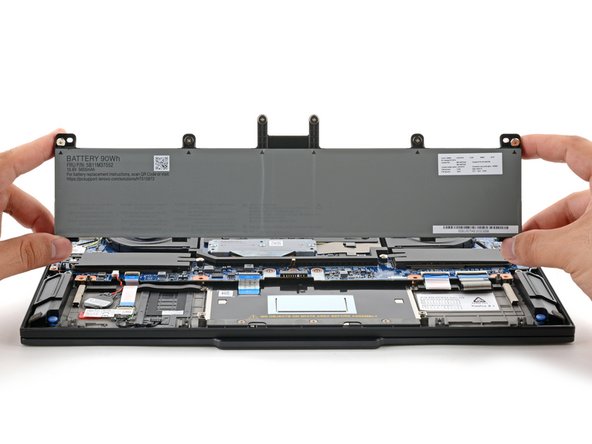
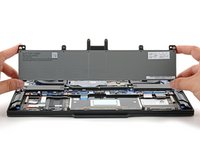
This guide shows how to remove and replace the battery for your Lenovo ThinkPad P1 Gen 7 laptop.
For your safety, discharge your battery below 25% before disassembling your device. This reduces the risk of a dangerous fire if the battery is accidentally damaged during the repair. If your battery is swollen, take appropriate precautions.
必要な工具と部品
-
-
Shut down your laptop (don't just put it in sleep mode) and disconnect all cables.
-
Flip the laptop upside-down, and rotate it so the screen hinge faces towards you.
-
-
-
Use a Phillips screwdriver to loosen the six captive screws securing the base cover.
-
-
-
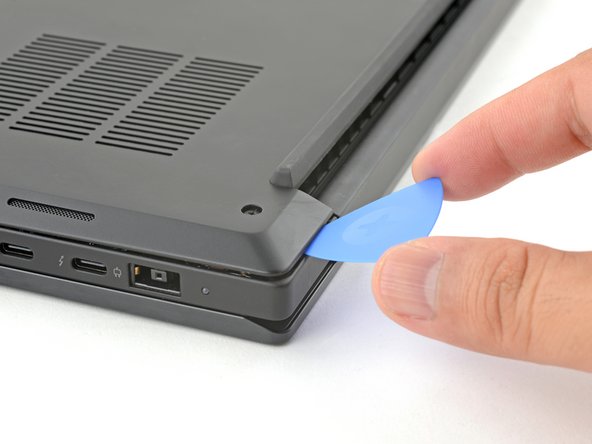
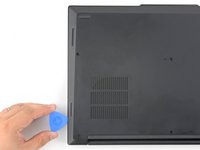
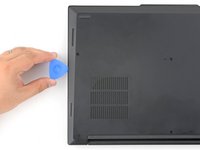
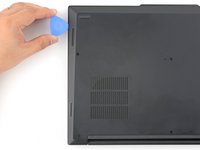
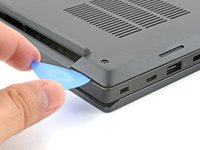
Press the tip of an opening pick into the seam between the base cover and the bottom-left corner of the frame (near the screen hinge).
-
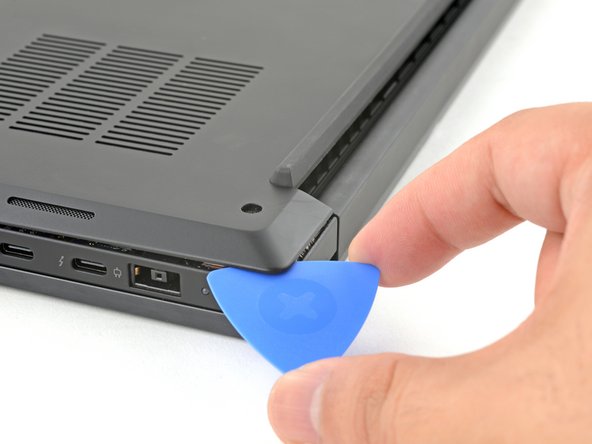
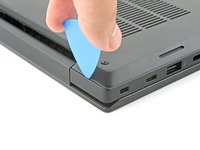
Pivot the pick down and slide it around the corner to release the clips.
-
-
-
-
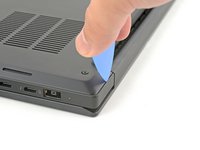
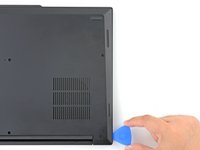
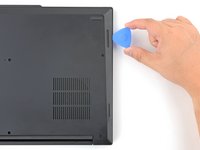
Press the tip of an opening pick into the seam between the base cover and the bottom-right corner of the frame (near the screen hinge).
-
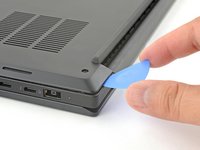
Pivot the pick down and slide it around the corner to release the clips.
-
-
-
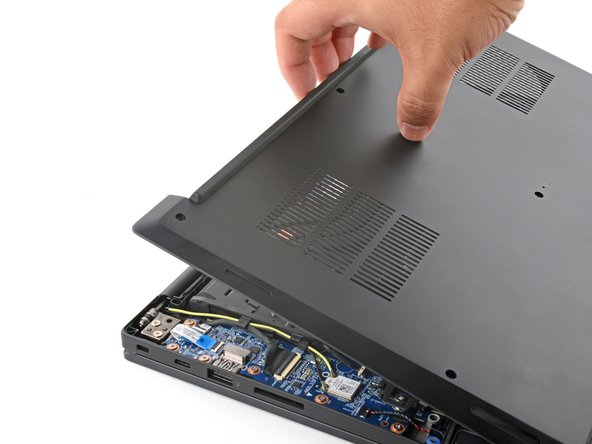
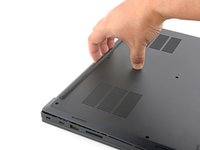
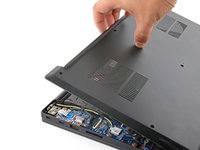
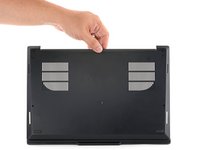
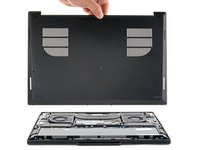
Grasp the base cover along the screen hinge edge and pull up to loosen the cover.
-
-
-
Use a Phillips screwdriver to loosen the six captive screws securing the battery.
-
To reassemble your device, follow these instructions in reverse order.
For optimal performance, after completing this guide, calibrate your newly installed battery.
Take your e-waste to an R2 or e-Stewards certified recycler.
Repair didn’t go as planned? Try some basic troubleshooting, or ask our Answers community for help.


