はじめに
Follow this guide to remove the bottom loudspeaker for the Pixel 3. Due to the phone’s ingress design, removing the loudspeaker will compromise the phone’s water resistance capability.
必要な工具と部品
-
-
Heat an iOpener and apply it to the bottom of the phone for one minute.
-
-
-
Apply a suction cup to the heated bottom edge of the back cover.
-
Lift on the suction cup with strong, steady force to create a gap.
-
Insert an opening pick into the gap.
-
-
-
Slice the adhesive along the bottom edge of the phone and around the right corner.
-
Leave a pick in the bottom edge to prevent the adhesive from re-sealing.
-
-
-
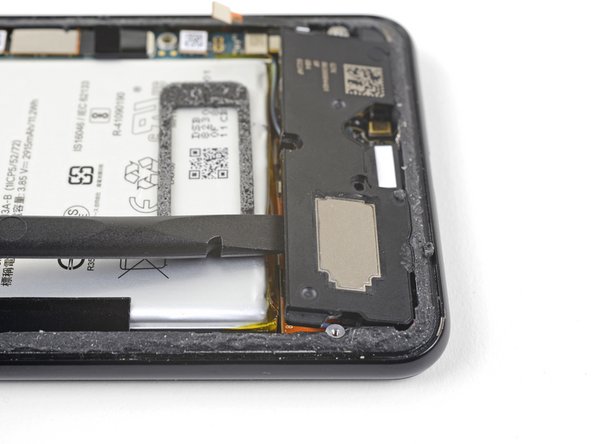
Once you have sliced around the perimeter of the phone, carefully lift the left edge of the back cover.
-
Flip the back cover along its long axis and rest it so that the fingerprint sensor cable is not strained.
-
-
-
-
Remove the two 4.1 mm-long Phillips screws securing the fingerprint connector bracket.
-
-
-
Use the point of a spudger to slide the fingerprint connector bracket out from under the NFC coil.
-
Remove the fingerprint connector bracket.
-
-
-
Use the point of a spudger to pry up and disconnect the fingerprint connector from its socket.
-
-
-
Remove the five Phillips screws securing the wireless charging coil:
-
Two 1.9 mm screws
-
Two 4.2 mm screws
-
One 4.3 mm screw
-
-
-
Use the point of a spudger to pry up and disconnect the battery press connector from its socket near the right edge of the phone.
-
-
-
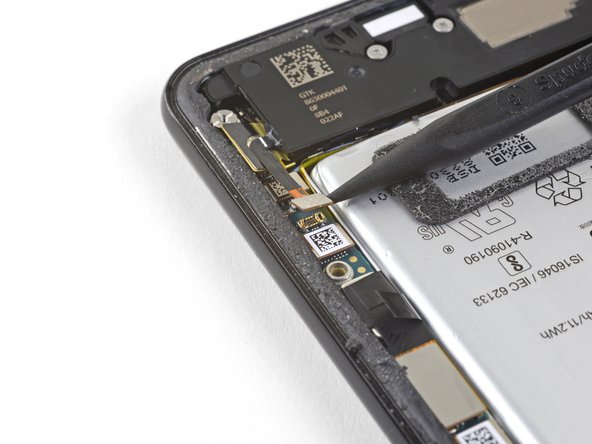
Use the point of a spudger to pry up and disconnect the loudspeaker connector from its motherboard socket near the right edge of the phone.
-


To reassemble your device, follow these instructions in reverse order.
Repair didn’t go as planned? Check out our Google Pixel 3 Answers community for troubleshooting help.
To reassemble your device, follow these instructions in reverse order.
Repair didn’t go as planned? Check out our Google Pixel 3 Answers community for troubleshooting help.
4 の人々がこのガイドを完成させました。

