はじめに
Replacing the buttons of the Garmin Vívoactive 4 (M/N: 03618) is a difficult process and requires multiple steps and tools.
If the buttons on your Garmin Vívoactive 4 seem unresponsive and don't operate correctly, it is recommended that you replace the entire housing unit as the buttons will come attached to replacement housing units.
Nonetheless, this guide will take you through the steps required to replace the buttons on your Garmin Vívoactive 4 watch.
This guide requires the use of a heat gun and iOpener. See these articles, How to Use a Heat Gun to Soften Adhesive and iOpener Instructions for instructions and safety information.
必要な工具と部品
-
-
-
Wedge your fingernail or the tip of a spudger underneath the watch band's small metal pin.
-
Push on the pin to release the strap from it's hinge.
-
Pull the strap away from the watch to disconnect it.
-
-
-
-
Use a heatgun to loosen the adhesive beneath the screen, it should take a 5-10 minutes for adhesive to loosen.
-
-
-
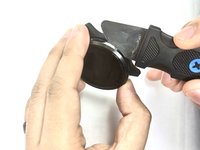
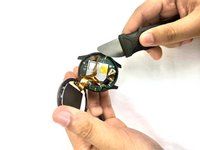
Wedge a thin opening tool or your iFixit Jimmy in between the seam where the screen and the watch’s housing connect.
-
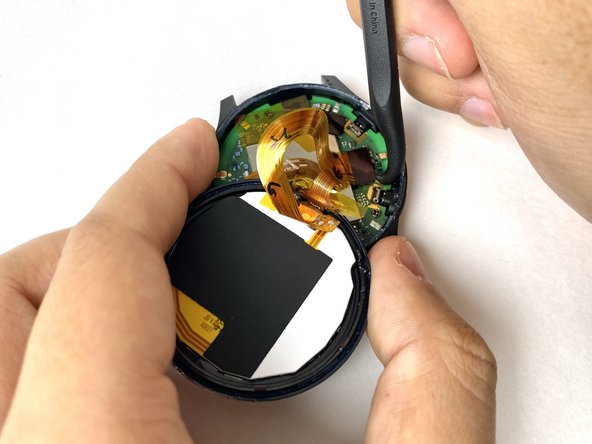
Pry the screen off the device.
-
-
-
-
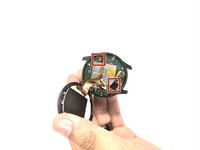
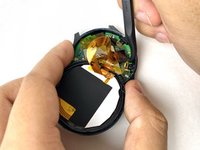
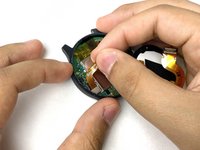
Carefully disconnect both cables from the motherboard by placing the tip of your spudger under the edge of the connector, and prying the connector straight up from its socket.
-
-
-
-
-
Carefully peel off the ribbon tape that is holding down the motherboard.
-
-
-
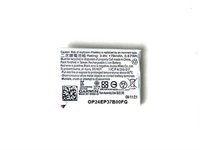
Place the tip of your spudger under the edge of the connector, and pry the connector straight up from its socket to disconnect the battery from the motherboard.
-
-
-
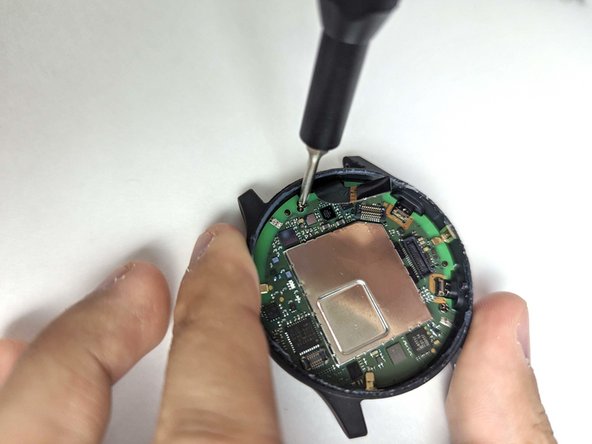
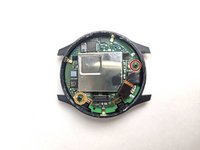
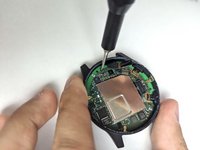
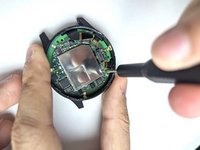
Use a Phillips #00 screwdriver to remove the 3.2 mm screw on the motherboard.
-
Use a Phillips #00 screwdriver to remove the 4.8 mm screw on the motherboard.
-
-
-
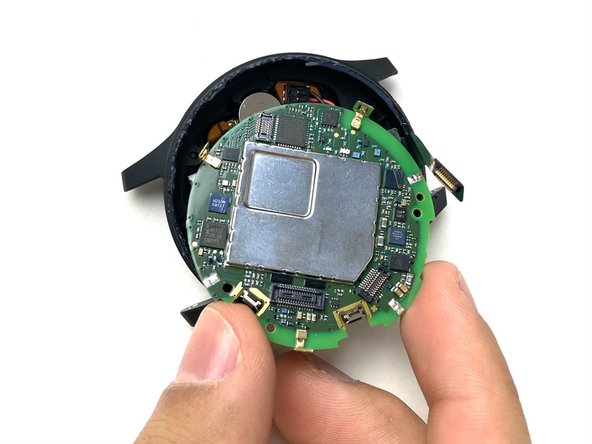
Pull the battery cable up to dislodge the motherboard.
-
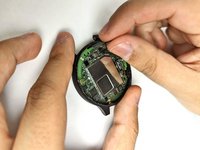
Gently remove the motherboard from the socket.
-
-
-
-
-
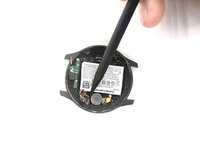
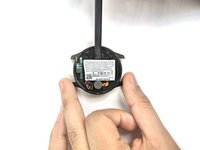
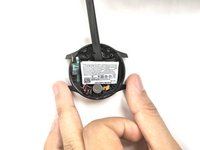
Use the pointed tip of a spudger to carefully push on each side of the battery connector to disconnect the battery from the motherboard.
-
-
-
-
-
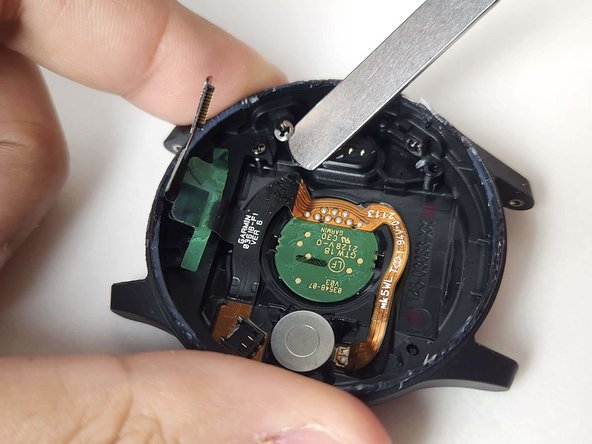
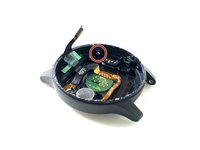
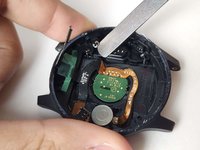
Wedge a spudger or your iFixit Jimmy in between the button's snap ring and the watch housing.
-
Carefully pry the snap ring off the button.
-
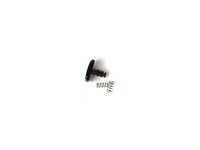
Remove the button and components from the watch housing.
-
-

 FixBotに聞いてみる









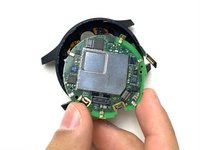
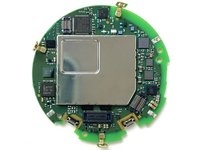

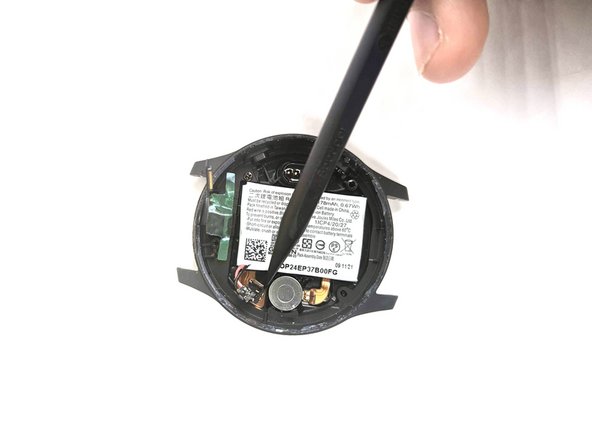
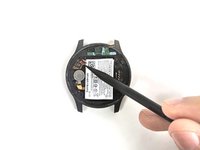




To reassemble your device, follow these instructions in reverse order.

チーム

UMass Dartmouth, Team 1-3, Petersen Fall 2023 UMass Dartmouth, Team 1-3, Petersen Fall 2023人のメンバー
UMASSD-PETERSEN-F23S1G3
4 メンバー
16のガイドは作成済み
