はじめに
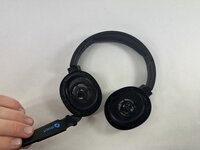
If you are experiencing bad or no audio from your Edifier W820NB Plus, you might need to replace one or both drivers. The drivers are the part responsible for producing sound in headphones, See this troubleshooting page for more information.
This guide requires soldering. If you're unfamiliar with soldering, review the How to Solder and Desolder Connections guide and take appropriate precautions before beginning.
必要な工具と部品
-
-
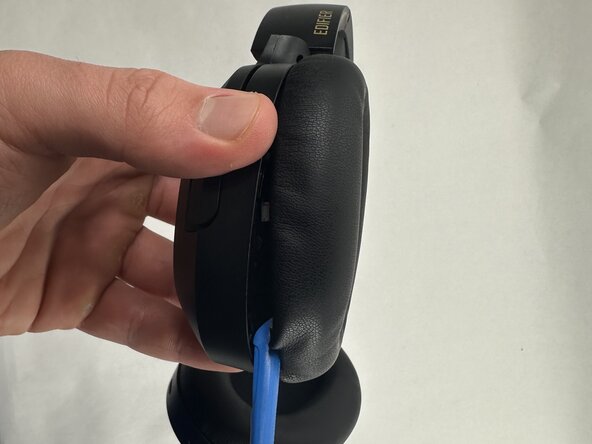
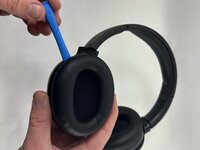
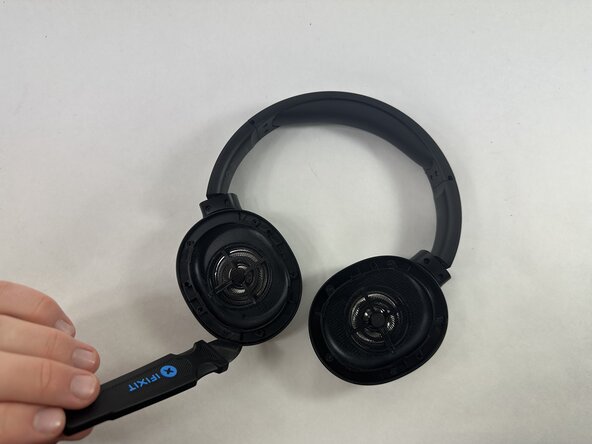
Hold the driver housing in one hand and insert an opening tool into the seam between the earpad and driver housing.
-
-
-
With your inserted opening tool, pry around the perimeter of the ear pad until it fully releases.
-
-
-
-
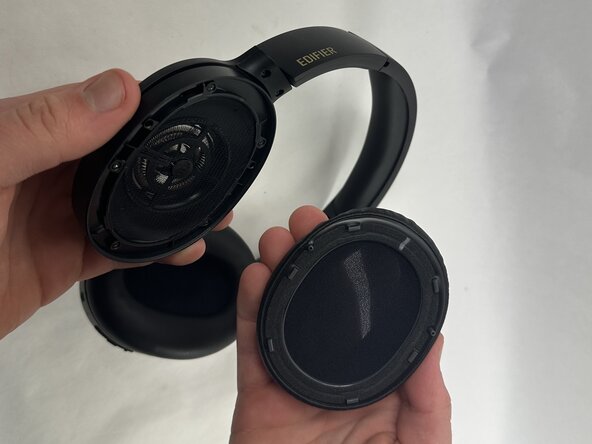
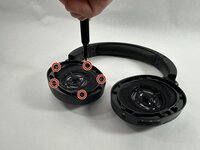
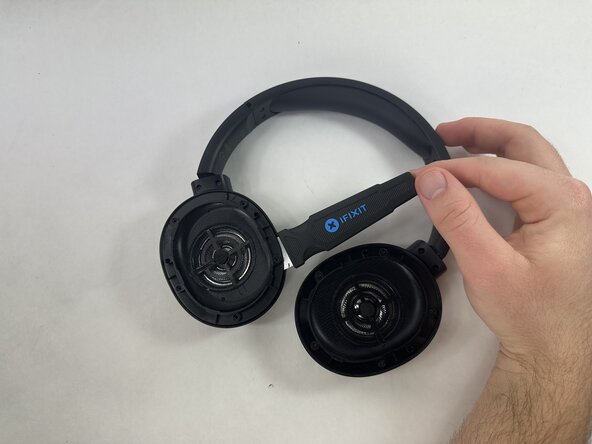
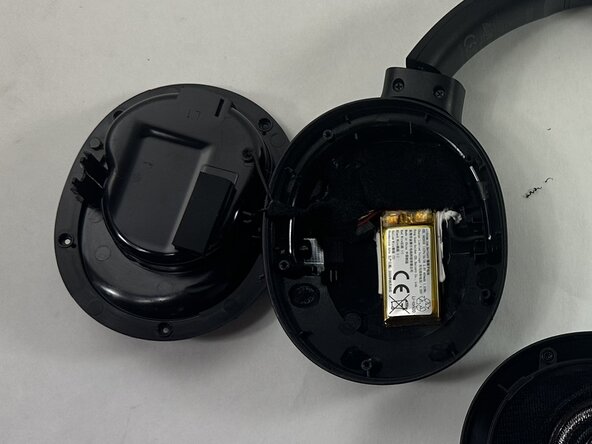
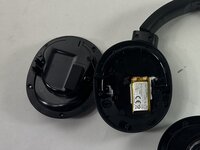
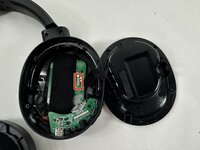
Insert a Jimmy in the seam between the driver assembly and driver housing.
-
Rotate the Jimmy along the entire perimeter of the innermost edge to pry it out of place.
-
-
-
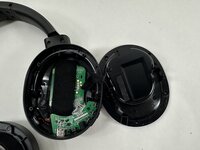
Gently remove the driver assembly from the rest of the headphone, with care not to strain the connected wire.
-
-
-
Repeat the procedure for the other driver if necessary.
-
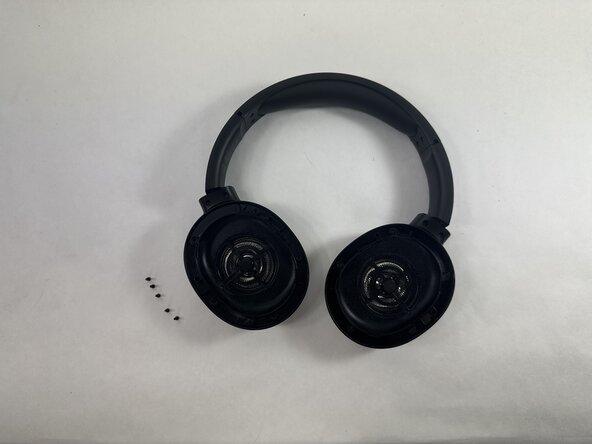
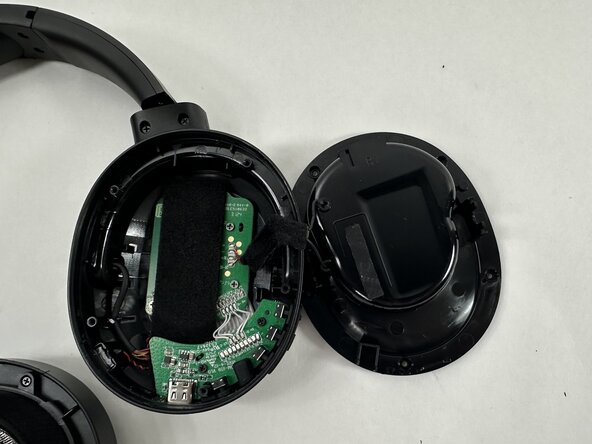
Desolder the four driver connections from the motherboard.
-
Remove the driver assembly.
-


To reassemble your device, follow the above steps in reverse order.
Take your e-waste to an R2 or e-Stewards certified recycler.
Repair didn’t go as planned? Try some basic troubleshooting or ask our Answers community for help.
チーム

UMass Dartmouth, Team 2-7, Botvin Spring 2025 UMass Dartmouth, Team 2-7, Botvin Spring 2025人のメンバー
UMASSD-BOTVIN-S25S2G7
3 メンバー
6のガイドは作成済み