はじめに
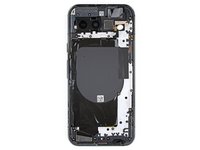
本ガイドはお使いのGoogle Pixel 8aのバッテリーの接続を解除する方法を紹介しています。
必要な工具と部品
-
-
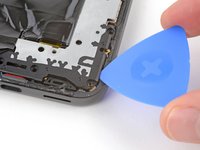
特に異なる指示がない場合、工具を3mm(オープニングツールの平らになっている部分の幅)以上深く縁に差し込まないでください。
-
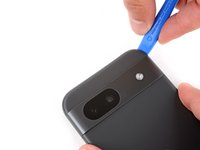
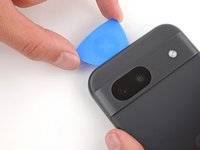
カメラ部の突起の縁には工具を差し込まないでください。
-
-
-
-
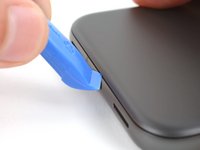
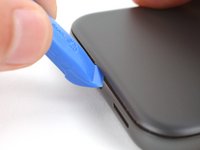
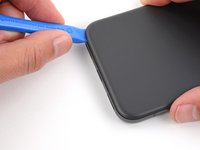
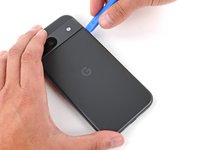
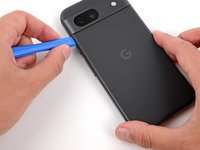
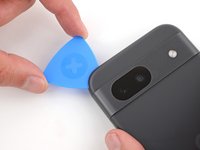
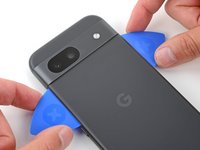
オープニングピックを背面カバーの左上の角に差し込み、先端が先端がカメラ部の突起の上端付近に届くまで差し込んでください。
-
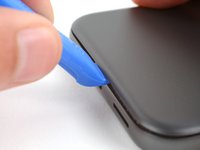
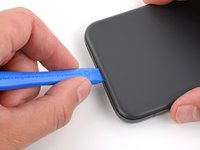
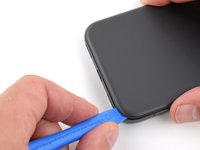
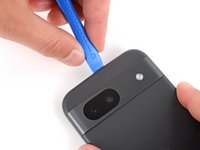
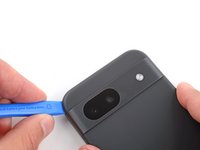
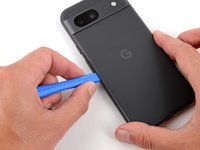
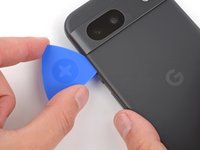
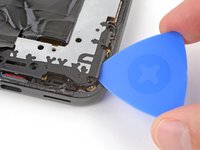
オープニングピックを右に滑らせて、カメラの右端まで動かしたら止めて下さい。
-
-
-
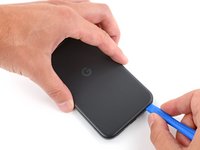
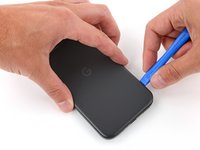
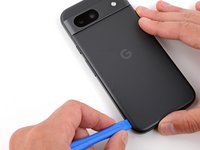
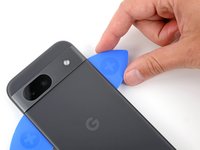
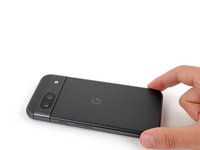
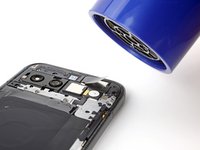
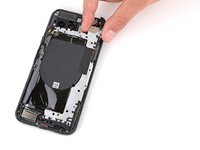
これで背面カバーが外せるようになりました。
-
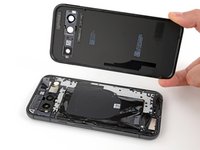
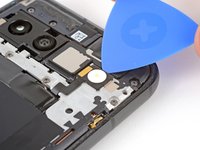
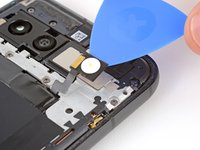
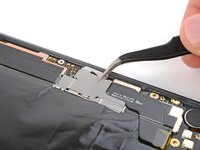
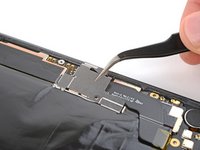
スマートフォンを密封する前にテストするなら、今がちょうど良いタイミングです。電源を入れて正しく機能するか確認して下さい。組み立て直しを続ける前に電源を切るのを忘れないでください。
-
こちらのガイドを参照して、新しい接着剤と背面カバーを取り付けて下さい。
-
-
この手順で使用する道具:FixMat$36.95
-
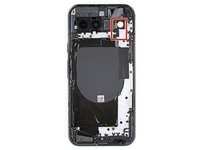
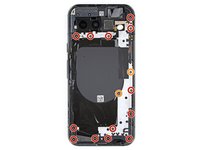
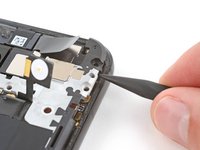
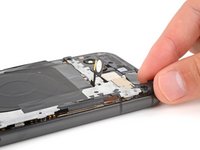
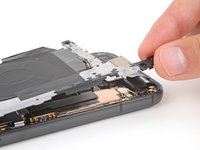
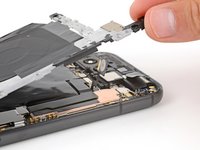
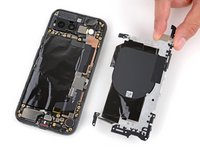
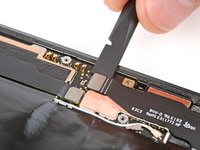
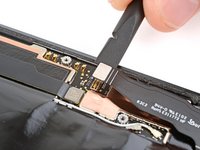
トルクスプラス3IPドライバーを使って、ロジックボードカバーを固定している合計15本のネジを外して下さい。
-
長さ4.3mmのネジ 13本
-
長さ1.9mmのネジ 2本
-


終わりに
組み立て直す際は、上記の手順と逆の順番で作業を行なって下さい。

