メインコンテンツにスキップ
リペアコミュニティに参加 - アカウントの作成

Anker Soundcore Motion 300 Battery Replacement

必要な工具と部品

  1. Anker Soundcore Motion 300 Battery Replacement, Speaker Grille: 手順 1、 2の画像 1 Anker Soundcore Motion 300 Battery Replacement, Speaker Grille: 手順 1、 2の画像 2
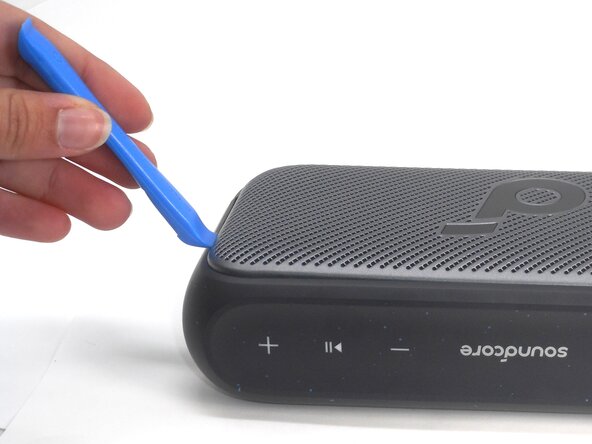
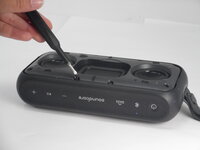
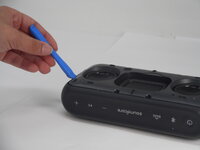
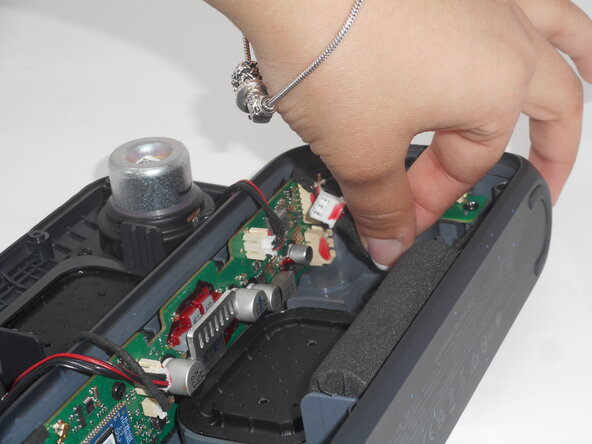
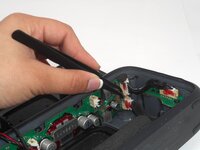
    • Insert an opening tool into a seam between the grille and chassis.

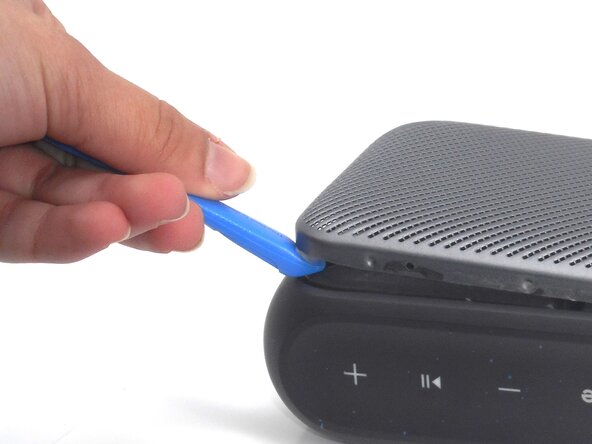
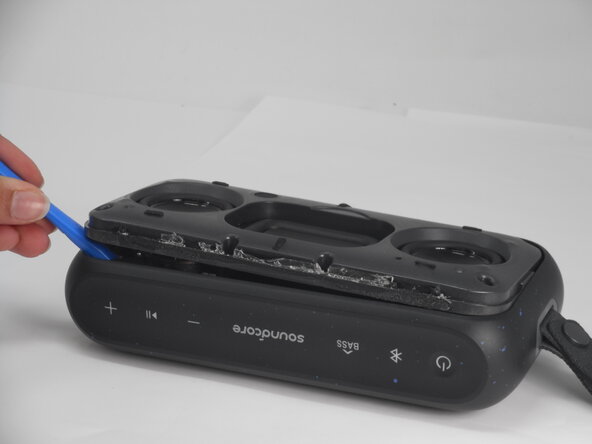
    • Gently pry the grille up to begin disengaging the retaining clip.

    • Once a corner starts to lift, slowly slide the tool along the edge to loosen more of the grille.

  2. Anker Soundcore Motion 300 Battery Replacement: 手順 2、 2の画像 1 Anker Soundcore Motion 300 Battery Replacement: 手順 2、 2の画像 2
    • Keep working around the edges until all the clips are loose.

    • You may hear soft clicking sounds as the clips come undone.

  3. Anker Soundcore Motion 300 Battery Replacement: 手順 3、 1の画像 1
    • Carefully remove the grille from the speaker.

  4. Anker Soundcore Motion 300 Battery Replacement, Battery: 手順 4、 3の画像 1 Anker Soundcore Motion 300 Battery Replacement, Battery: 手順 4、 3の画像 2 Anker Soundcore Motion 300 Battery Replacement, Battery: 手順 4、 3の画像 3
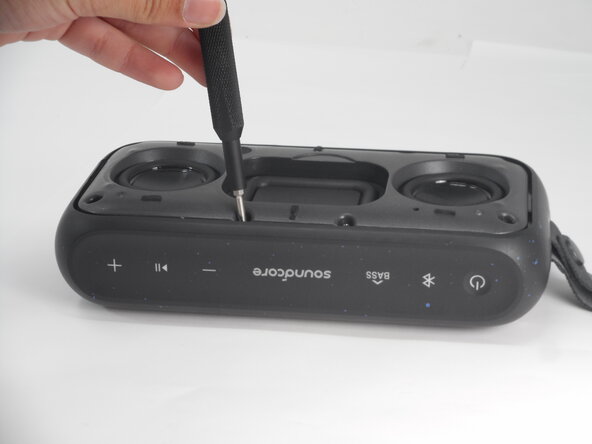
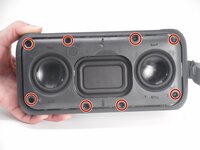
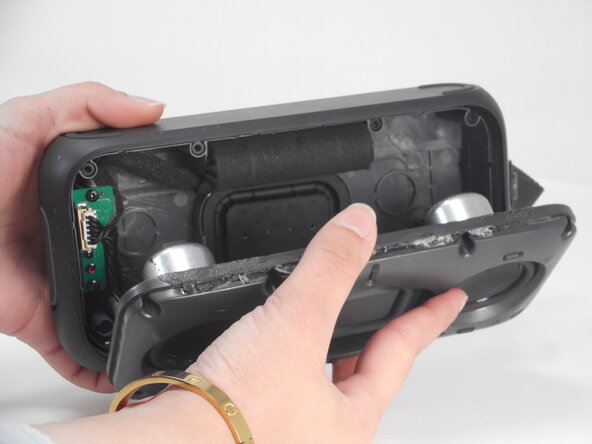
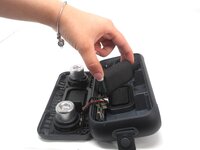
    • Use a Phillips #0 screwdriver to remove all eight 11.5 mm screws that secure the driver housing.

  5. Anker Soundcore Motion 300 Battery Replacement: 手順 5、 3の画像 1 Anker Soundcore Motion 300 Battery Replacement: 手順 5、 3の画像 2 Anker Soundcore Motion 300 Battery Replacement: 手順 5、 3の画像 3
    • Use an opening tool to pry up the speaker housing.

    • Set the speaker housing beside the speaker, with care not to strain the cables connected to the drivers.

    • The speaker housing may be very difficult to remove due to adhesive. If necessary, use a hairdryer to lightly heat the perimeter of the housing to loosen the adhesive.

  6. Anker Soundcore Motion 300 Battery Replacement: 手順 6、 3の画像 1 Anker Soundcore Motion 300 Battery Replacement: 手順 6、 3の画像 2 Anker Soundcore Motion 300 Battery Replacement: 手順 6、 3の画像 3
    • Use tweezers to remove the sealant that secures the battery connector.

    • Pull the battery connector directly out of its port.

    • Lift the battery up and out of the chassis.

終わりに

To reassemble your device, follow the above steps in reverse order.

For optimal performance, after completing this guide, calibrate your newly installed battery.

Take your e-waste to an R2 or e-Stewards certified recycler.

Repair didn’t go as planned? Try some basic troubleshooting or ask our Answers community for help.

ある他の人がこのガイドを完成しました。

作成者

3人の作成者と共同で作成されました。

Holly Hoffman

メンバー登録日: 02/17/25

487 ポイント

5のガイドは作成済み

チーム

University of Memphis, Team 1-2, Sneed Spring 2025 University of Memphis, Team 1-2, Sneed Spring 2025人のメンバー

UM-SNEED-S25S1G2

4 メンバー

5のガイドは作成済み

0件のガイドコメント

コメントを追加

統計データ:

過去 24時間: 0

過去 7 日: 13

過去 30 日: 85

今までの合計 743