はじめに
If your Amazon Fire Max 11 isn't connecting to the charger, it's not holding a stable connection or just overall having a hard time keeping a charging connection, the charging port may need to be replaced. This guide will walk you through the replacement process.
Before you begin this repair, be sure to power off your laptop and unplug it from the charger.
必要な工具と部品
-
-
Use a heat gun along the edges of the screen to loosen the adhesive.
-
Insert the iFixit opening tool along the seam between the screen and back case and gently pry around the perimeter of the screen.
 FixBotに聞いてみる
-
-
-
Once the screen has been separated from the case, lift it slightly to reveal the display cable connected to the motherboard.
-
Gently push the tip of a spudger under the metal buckle to unclip it, then swing it over the socket.
-
Next, hold the buckle and cable together and gently pull the connector straight out of its socket.
-
Grip the cable and buckle together and insert the connector fully into its socket.
-
Flip the buckle over the socket and use a spudger to press the buckle down until it clicks into place.
-
Remove the screen.
-
-
-
-
Use a Phillips #00 screwdriver to remove the two screws securing the bracket covering the charging port.
-
Remove the black bracket.
-
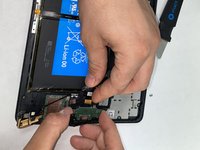
Use a spudger or a clean fingernail to flip up the locking flap—this is the unlocked position.
-
Once the flap is in the unlocked position, use tweezers or your fingers to gently pull the cable out of its socket by the brown tab.
-
-
-
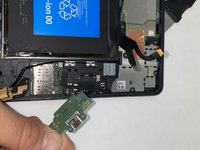
Use a Phillips #00 screwdriver to remove the remaining two screws from the charging port.
-
-
-
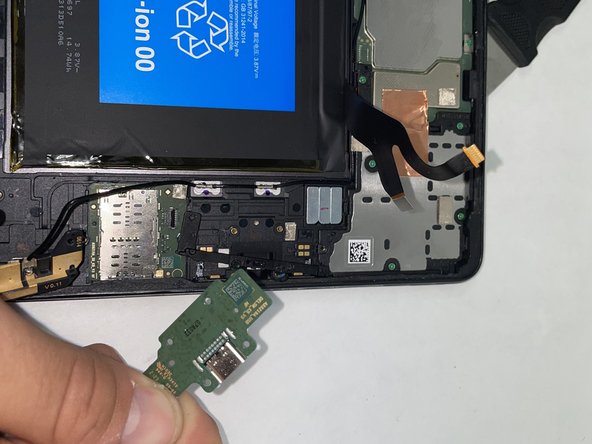
Lift the charging port up slightly at an angle.
-
Disconnect the cable on the back of the board.
-
Slide the charging port out from the tablet.
-


To reassemble your device, follow these instructions in reverse order. Take your e-waste to an R2 or e-Stewards certified recycler.
チーム

UMass Dartmouth, Team 1-3, Konn Spring 2024 UMass Dartmouth, Team 1-3, Konn Spring 2024人のメンバー
UMASSD-KONN-S24S1G3
4 メンバー
4のガイドは作成済み