はじめに
This guide will help you replace the battery for the Alienware Pro Wireless Gaming Mouse (model name PRO-MS and PRO-M-D). The battery provides power to the motherboard of the mouse to enable normal function. Before replacing the battery, please refer to the troubleshooting guides.
This guide will walk you through step by step how to replace the lithium-ion battery in your mouse.
Caution: Handling the electrical parts may shock you. If you have a swollen battery please refer to the battery swollen guide for proper identification and safe removal. For information on where to recycle the battery, please refer to the page on proper device disposal.
Before you begin this repair, make sure the mouse is powered off and unplugged from the charger or other device.
必要な工具と部品
-
-
-
Use a TR6 Torx security screwdriver to remove the four 6 mm screws under the foot pads.
-
-
-
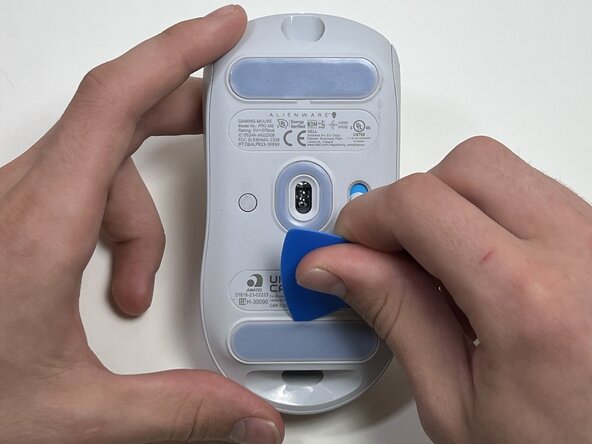
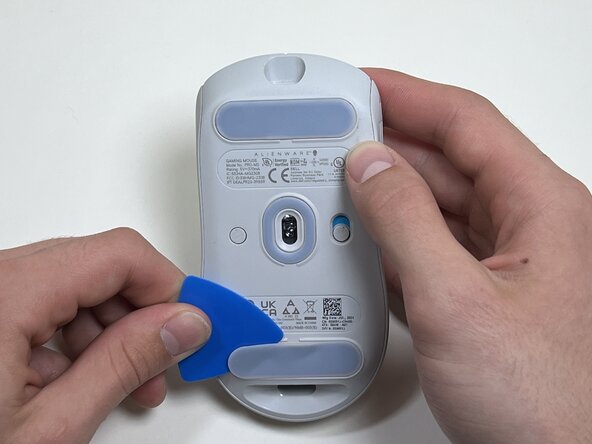
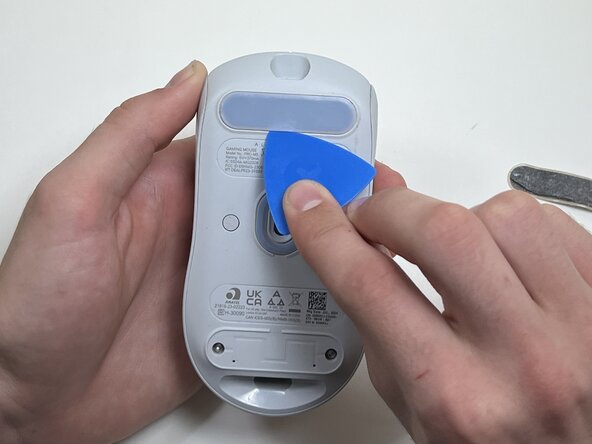
Use your hands or a spudger to separate the bottom and top of the mouse.
-
Insert the end of the spudger in the seam between the top and bottom case, and slide it around the perimeter to release the clips holding it together.
-
-
-
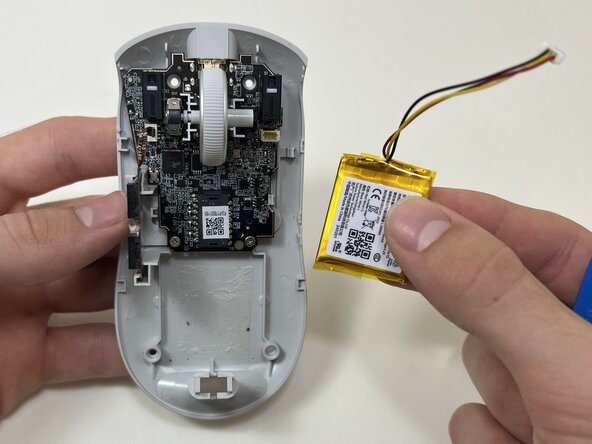
Use the pointed end of a spudger to push on alternating sides of the battery connector to "walk" it out of its socket.
-
-
-
Use an opening tool or spudger to loosen the adhesive under the battery.
-
Remove the battery.
-


To reassemble your device, follow these instructions in reverse order. Take your e-waste to an R2 or e-Stewards certified recycler.
ある他の人がこのガイドを完成しました。

チーム

Austin Community College, Team 10-3, Watkins Fall 2025 Austin Community College, Team 10-3, Watkins Fall 2025人のメンバー
AUSTINCC-WATKINS-F25S10G3
4 メンバー
7のガイドは作成済み