はじめに
Use this guide if you are experiencing issues with the battery for the ASUS ROG Spatha X. This is a very easy replacement guide; the necessary tool should be included with your mouse in the box.
必要な工具と部品
-
-
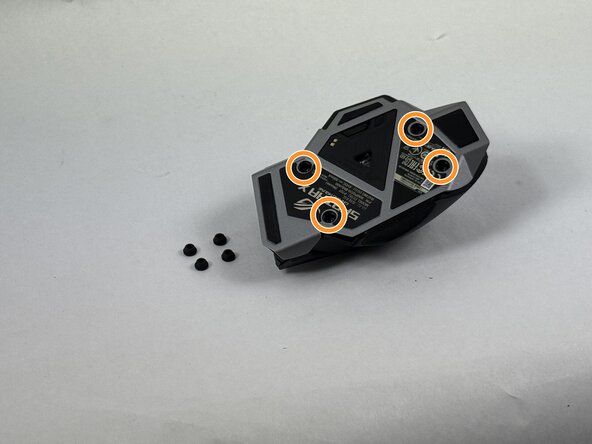
Use the pointed edge of a spudger to remove the four soft rubber covers on the underside of the mouse.
-
Use the included Torx screwdriver, or a T3 Torx screwdriver, to remove the four 4 mm screws.
 FixBotに聞いてみる
-
-
-
-
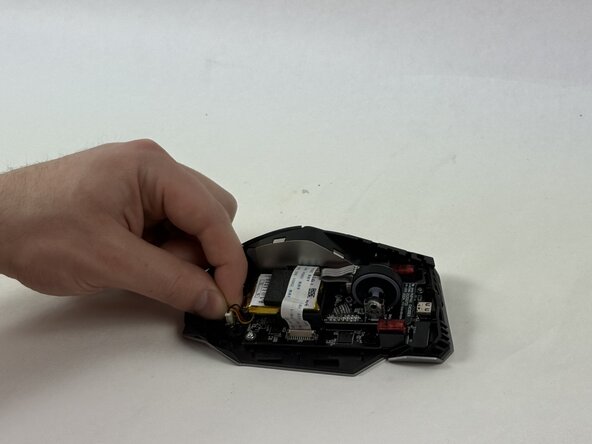
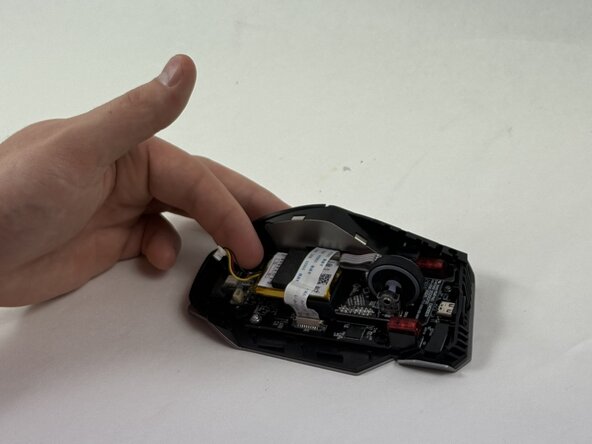
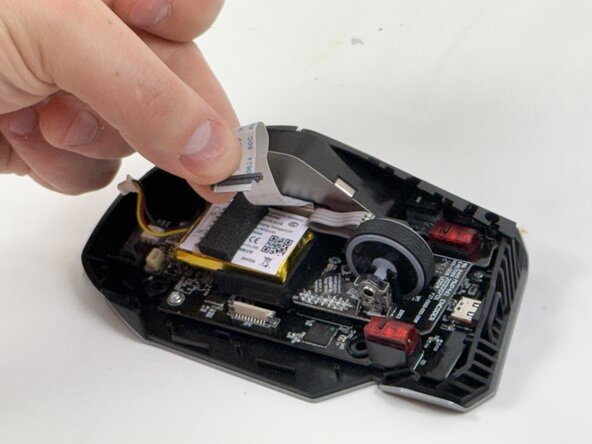
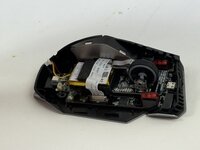
Grip the white battery connector and pull it up and out of its motherboard socket.
-
-
-
Disconnect the side button assembly ribbon cable from the motherboard.
-
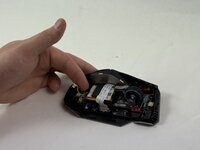
Use an opening tool to gently pry the battery up and out of the chassis.
-


For optimal performance, calibrate your newly installed battery after completing this guide.
To reassemble your device, follow the above steps in reverse order.
Take your e-waste to an R2 or e-Stewards certified recycler.

チーム

UMass Dartmouth, Team 3-4, Botvin Spring 2025 UMass Dartmouth, Team 3-4, Botvin Spring 2025人のメンバー
UMASSD-BOTVIN-S25S3G4
3 メンバー
5のガイドは作成済み