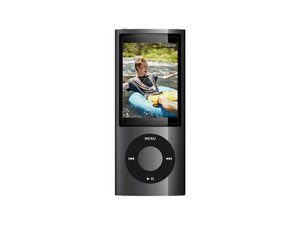

How to replace hold switch with new one
hold switch broke and need to install new one. Can anyone help?
評価: 2.3千
 23
23
 11
11
 6
6
The hold switch is thankfully pretty repairable as it is not soldered on like the iPod nano 4 and earlier models, but is instead mounted on a flex that also integrates the microphone, speaker, and 3.5mm earphone jack. In where I live you can directly buy the flex but just in case that wasn't an option I'm afraid you'll have to find a donor device and migrate the flex.
First of all though if it is simply torn then you can follow this if you have experience with soldering:
iPod nano第4/5世代モデルのホールドスイッチケーブル補修
If you can't or if it's broken in an unrepairable way then you'll have to swap the whole flex. Swapping one would be pretty hard tho, you might want to find a video on this but just in case there isn't, here's my advice:
iPod Nano 5th Generation ディスプレイの交換
iPod Nano 第5世代のバッテリーの交換
follow them to get to the bare motherboard with the hold switch & a metal frame attached (ofc you don't absolutely have to but removing them means there's a smaller chance of breaking stuff), then have a look at iFixit's teardown guide to get an idea of how to remove the rest of the components. The press connector of the hold switch flex is buried under a metal frame that you'll need to remove.
iPod Nano 第5世代の分解
I also did this repair but unfortunately I did not take any photos and iFixit's teardown didn't mention it (they tore the whole flex apart when removing it), so you might have to figure out how to remove the frame by yourself. It should slide out if you pull it from the charging port side, but from what I recall the hold switch flex and speaker is adhered to the frame so you'll need to peel them off first. If you have to take it from a donor Nano 5 remember to be very careful and practice on the broke one.
Hopefully this can help!

ガイド
難易度:
中レベル

ガイド
難易度:
とても難しい
—
2 - 3 hours

ガイド
難易度:
難しい

ガイド
難易度:
中レベル
このアンサーは役に立ちましたか?
過去 24時間: 0
過去 7 日: 6
過去 30 日: 35
今までの合計 50

