手順 20を翻訳中
手順20


-
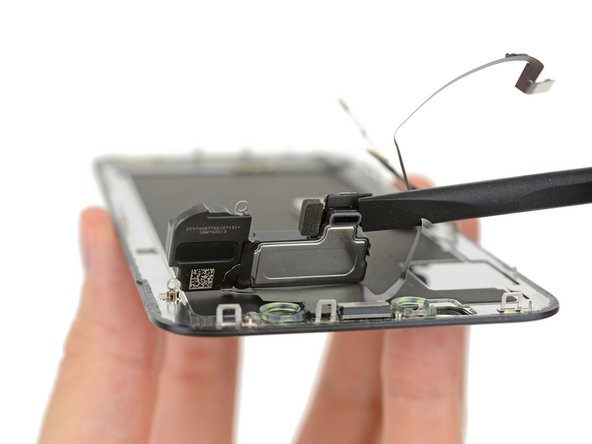
With the main assembly picked to bits, we turn our attention back to the display. The first thing to pop out at us is the earpiece speaker, newly redesigned with a cool duct to channel sound out of the display.
-
Carefully extricating the upper display components yields the most complex upper display component collection we've seen yet. It's home to a loudspeaker, microphone, ambient light sensor, flood illuminator, and proximity sensor.
-
After picking off all the modular bits, we're left with a bare display.
クリエイティブコモンズのオープンソース著作権のもと、あなたの投稿は著作権の対象となります。