手順 10を翻訳中
手順10

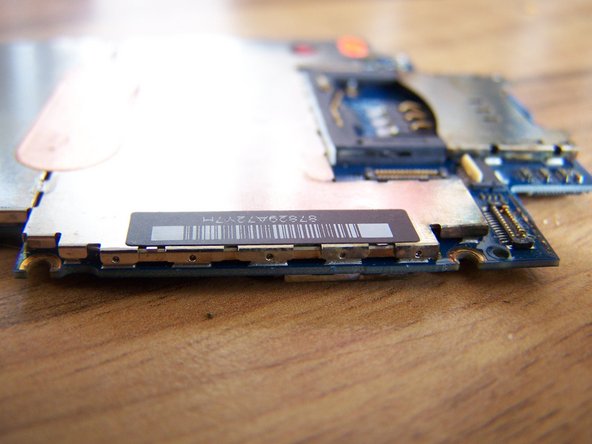


Removing the logic board shield cover
-
Look for the dimpled tabs on the shield that reach down over the tabs attached to the mother board.
-
Using your plastic tool, catch the edge of a dimpled tab near a corner of the shield, and pry it up away from the logic board.
-
Being careful of all the tiny surface mounted components, work your way around the available edges until the shield comes free.
クリエイティブコモンズのオープンソース著作権のもと、あなたの投稿は著作権の対象となります。