メインコンテンツにスキップ

左側ジョイコンのジョイスティックの交換

英語
日本語

手順 14を翻訳中

手順14
Left Joy-Con Joystick Replacement: 手順 0、 3の画像 1 Left Joy-Con Joystick Replacement: 手順 0、 3の画像 2 Left Joy-Con Joystick Replacement: 手順 0、 3の画像 3
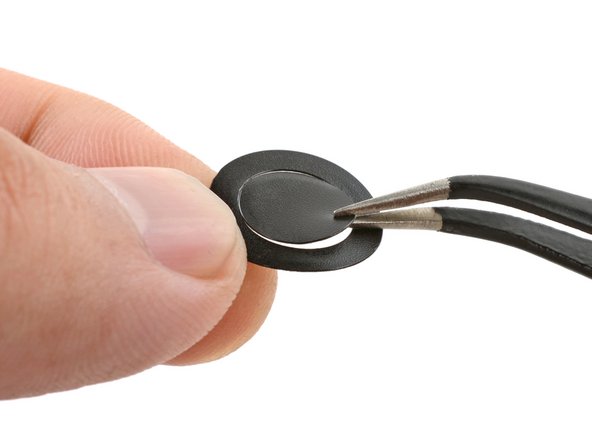
  • Peel the ring sticker from its liner.

  • If the sticker center is still attached, separate and remove it from the ring.

  • Set the ring sticker in the joystick recess and press it with your fingers for a few seconds to attach it.

リング型のステッカーを剥離紙から剥がして下さい。

ステッカーのリングの内側の部分も一緒に剥がれてしまった場合は、リング型の部分と切り離して取り除いて下さい。

リング型のステッカーをジョイスティックの取り付け穴に合わせて置いてから、指で数秒間押し付けて貼り付けて下さい。

クリエイティブコモンズのオープンソース著作権のもと、あなたの投稿は著作権の対象となります