-
-
-
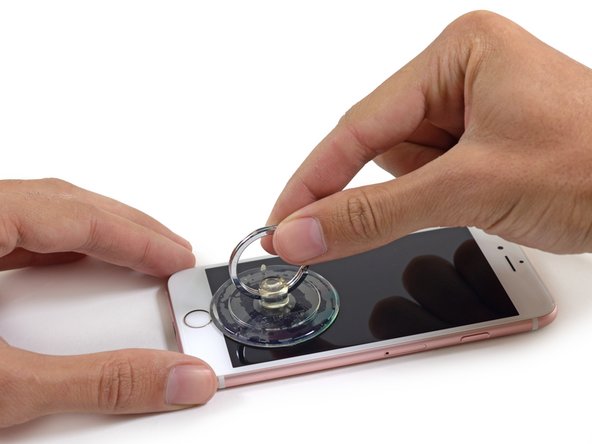
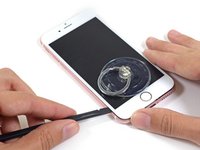
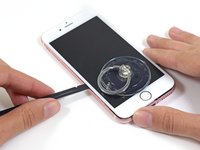
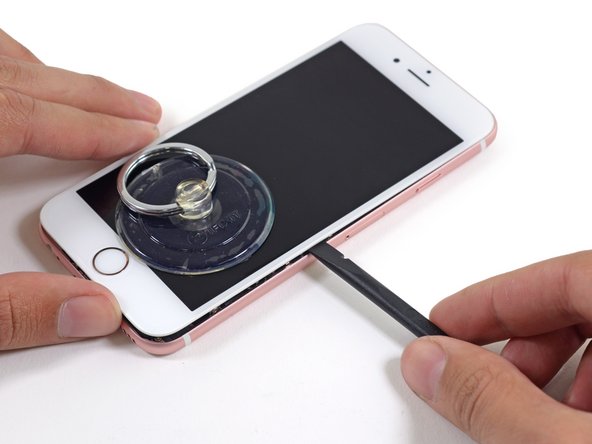
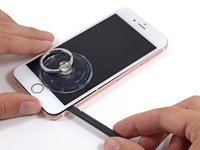
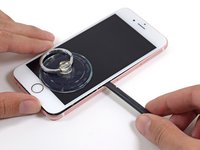
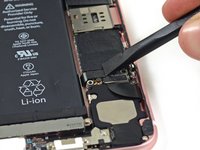
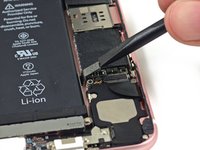
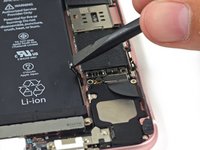
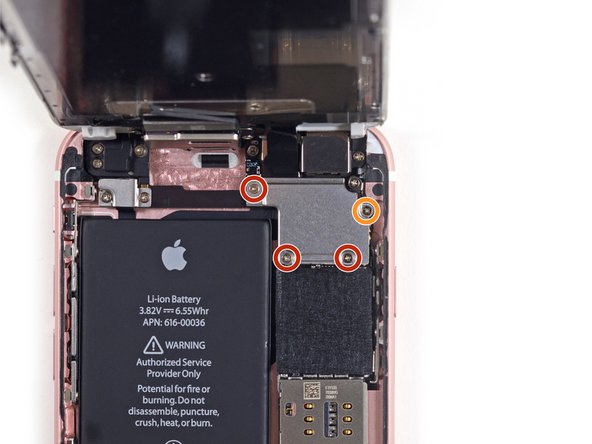
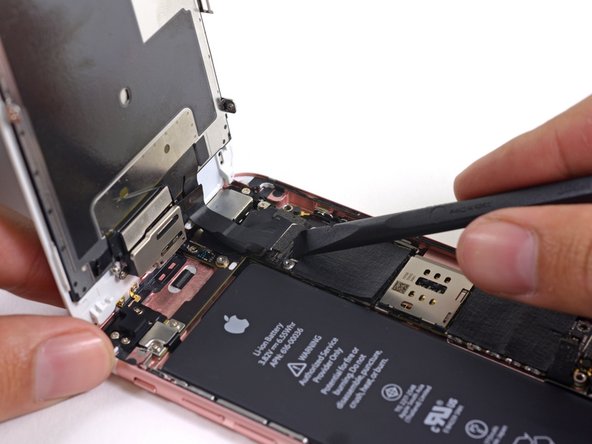
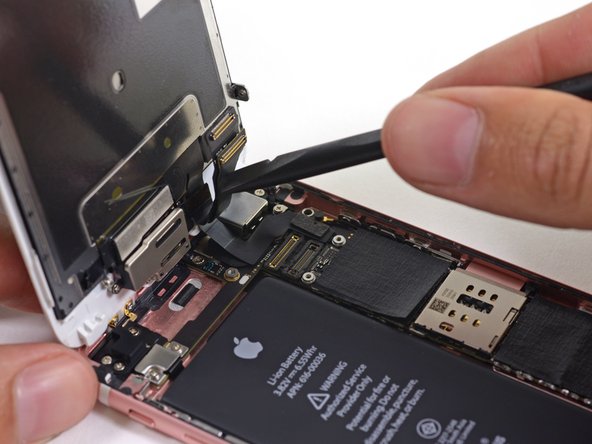
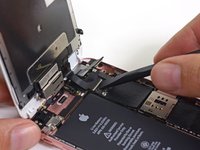
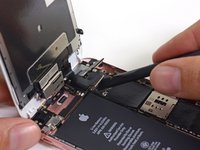
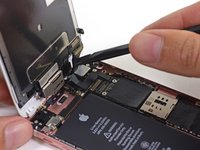
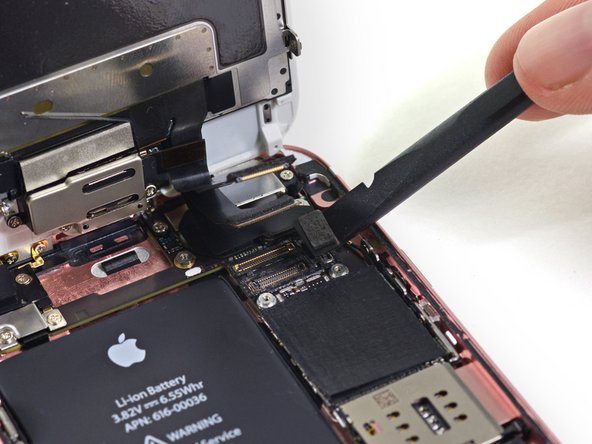
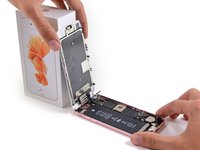
フロントパネルを90度に開いて固定する間、フロントパネルアセンブリのケーブルブラケットから次のネジを外します。
-
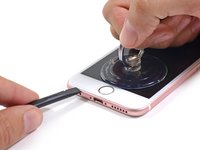
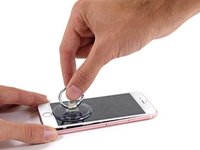
1.3 mm プラス #00ネジー3本
-
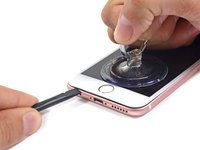
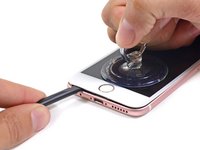
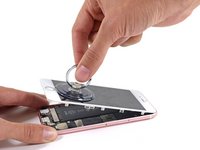
3.0 mm プラス #00ネジー1本
-


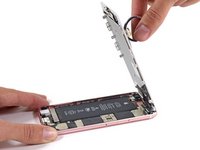


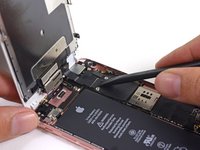
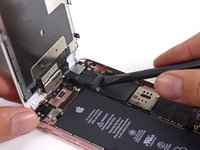


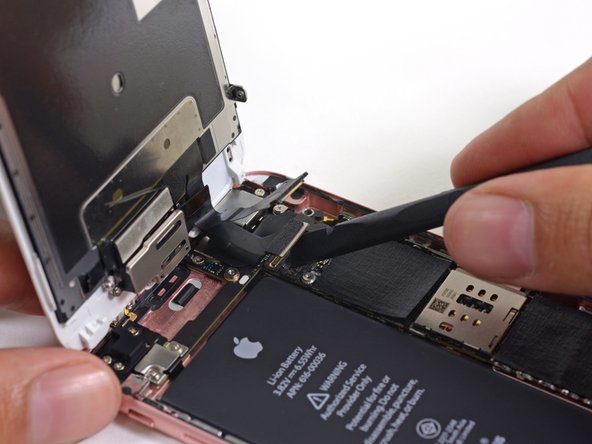

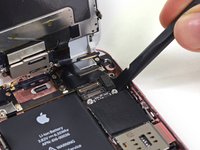

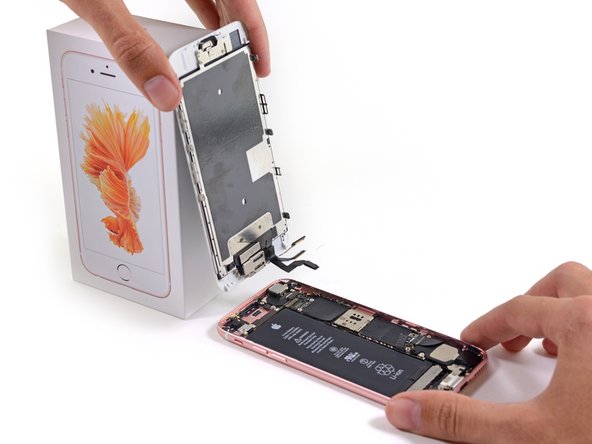

デバイスを再組み立てする際は、このインストラクションを逆の順番に従って作業を進めてください。
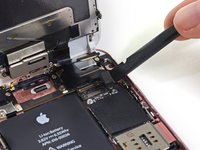
デバイスを再組み立てする際は、このインストラクションを逆の順番に従って作業を進めてください。
153 の人々がこのガイドを完成させました。
以下の翻訳者の皆さんにお礼を申し上げます:
100%

Midori Doiさんは世界中で修理する私たちを助けてくれています! あなたも貢献してみませんか?
翻訳を始める ›


21 件のコメント
while technically correct, this guide is not complete in the sense that a new tech cannot follow it step-by-step to successfully complete a screen replacement. You should include the steps necessary to move the parts over from the old screen. Yes you can buy screen replacements with small parts but most repair operations don't do that as it isn't that hard to move them and much less expensive.
There are many small parts involved in moving from one screen to another. There are also a few steps that require prying a flex from the frame that is taped down. Having the additional steps in this guide that point out exactly where each small parts go and how to successfully pull the flex off without tearing it would be a huge improvement to this guide (and all the other screen replacement guides as they all have the same gap)
thanks - this is a great site and my techs use it for training every day.
The demo ends before it does what is stated in the heading (Display Replacement.) This demo is for Front Panel Assembly Replacement.
PJL500 -
As stated in the intro, this is just the full front panel assembly guide. We'll be posting more thorough screen replacement guides in the future. Stay tuned ;)
When will you be selling the 6S replacement screen. I only see on for the 6 and it says not compatible with the 6S.
Additionally is it possible to replace just the glass and not all the other parts?
That is what i am curious about as well!!!
just cracked the glass in the bottom left corner of my 6s Plus.
brink28 -