はじめに
正面カメラとセンサーアセンブリを交換するにはこのガイドをご利用ください。
必要な工具と部品
-
この手順で使用する道具:Clampy - Anti-Clamp$24.95
-
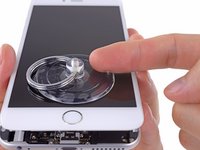
青いハンドルを後方に引き、リバースクランプのアームのロックを解除します。
-
iPhoneの左/右側の端に向けてアームをスライドします。
-
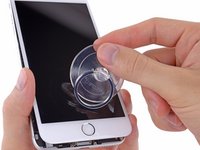
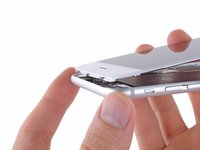
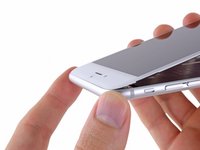
吸盤カップを、ホームボタンすぐ上のiPhoneの下端付近に装着します。上部に一つ、下部に1つずつ取り付けます。
-
両側のカップをしっかりと押し付けて、取り付けたい位置に装着します。
-
-
-
-
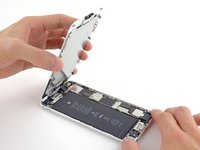
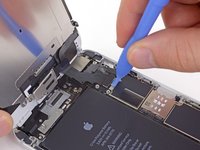
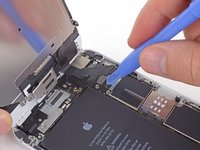
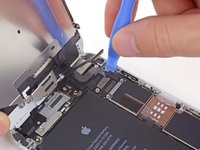
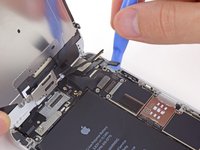
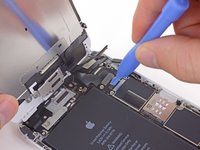
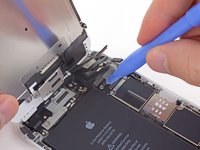
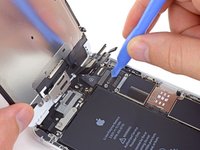
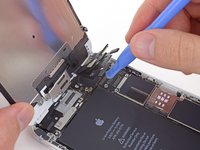
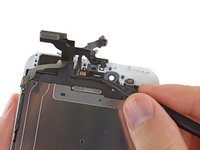
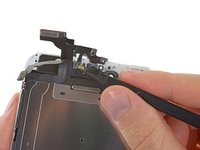
正面カメラとセンサーケーブルアセンブリをディスプレイアセンブリから取り出します。
-
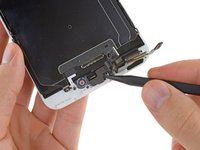
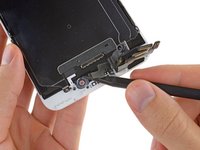
交換用のアセンブリにスピーカー用のメッシュがインストールされている場合があります。(インストールされていない場合もあります。)付いていない場合は、古いアセンブリから取り出して移植してください。ヘアドライヤーを使って温めて、ピンセットで慎重に剥がすかこじ開けて外します。
-


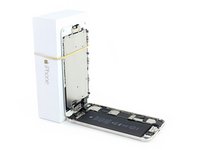


デバイスを元に戻すにはこれらのインストラクションを逆の順番に従って作業を進めてください。
デバイスを元に戻すにはこれらのインストラクションを逆の順番に従って作業を進めてください。
126 の人々がこのガイドを完成させました。
以下の翻訳者の皆さんにお礼を申し上げます:
100%

Midori Doiさんは世界中で修理する私たちを助けてくれています! あなたも貢献してみませんか?
翻訳を始める ›

13 件のコメント
My front microphone had completely stopped working exactly a week out of warranty. I replaced the front assembly with a new one from Fixit and afterwards it still did not work. Then I realized the microphone did pick up very soft sound if I shouted directly into it. I eventually repeated the entire disassembly and found a very thin yellow film glued to the microphone grill which had been muffling 97% of the sound. After peeling this off my microphone is working perfectly! I did not notice this on the microphone the first time and assume it was the backing for the self adhesive. Make sure you remove this - it is not obvious to spot!
Fantastic instructions! fixed my problem first time. Just be patient and try not to touch anything to roughly. Thanks for the tip from a previous comment saying to remove the yellow piece of film over the microphone. This saved me a lot of hassle. Thanks
Glad to have siri, dictation, sound in videos and hansfree calls back :)
Is the picture quality the same