はじめに
iPad Air Wi-Fi のフロントガラスとデジタイザーアセンブリを交換するにはこのガイドをご利用ください。
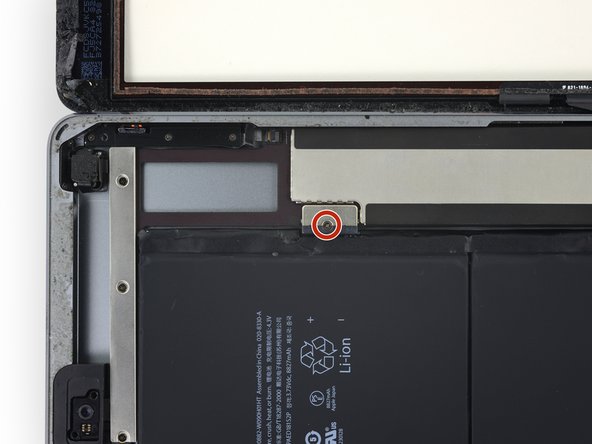
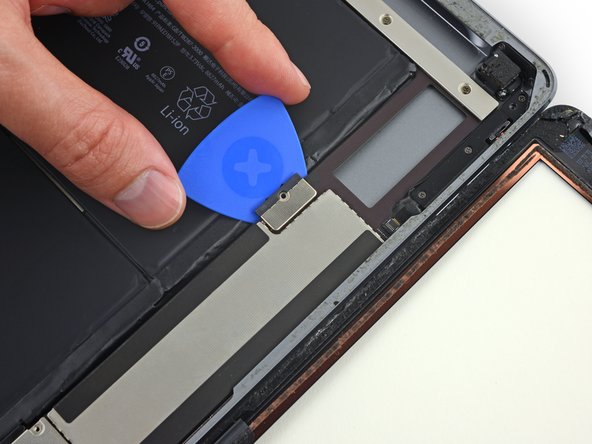
ご注意: バッテリーブロッカーを使って、バッテリーの絶縁をする際は、慎重に作業を進めてください。バッテリーコンタクトはデリケートで、破損してしまうと取り返しのつかないことになってしまいます。このガイドに沿ってバッテリーを外す場合、表記された全ての警告に注意し、慎重に作業を行なってください。 バッテリーを絶縁せずに作業をすすめる場合は、バッテリーのショートやデリケートな回路基板の損傷を防ぐために、完全に必要な場合(ネジを外す時)を除いて、メタルツールの使用を避けてください。
必要な工具と部品
-
-
鍋を十分な量のお湯で満たして、iOpener を完全に沈めます。
-
お湯を沸かして熱くなったら火を止めます。
-
iOpenerを熱湯の中に約2−3分間沈めます。iOpener全体が完全に浸かっているか確認してください。
-
トングなどを浸かって、温まったiOpenerをお湯から取り出します。
-
タオルでiOpener全体を拭き取ります。
-
iOpenerの準備は整いました。iOpenerを再度温める必要がある場合は、お湯を沸騰させて、火を止めてからiOpenerを2-3分間浸してください。
-
-
-
ディスプレイガラスにひびが入ってしまった場合、割れてしまった部分が広がらないようにガラス表面上にクリアテープを貼るなどして、怪我がないようご注意ください。
-
iPadディスプレイ上にクリアタイプのテープを何重にも貼り、全体を覆います。
-
ここに書かれている手順にできるだけ従ってください。しかしながら、ガラスが一旦割れてしまうと、作業を続けていくにつれてひびが広がってしまう可能性があります。この場合、ガラスを取り出すためにはメタル製工具を使用する必要があります。
-
-
-
青いハンドルを後方に引き、リバースクランプのアームのロックを解除します。
-
青いハンドルをヒンジ側に引くと、オープニングモードが解除されます。
-
吸盤を左端の中央付近に配置し、上下に1つずつ装着します。
-
リバースクランプの下部をしっかりと固定し、上部カップをしっかりと押し下げて吸盤を装着ます。
-
-
-
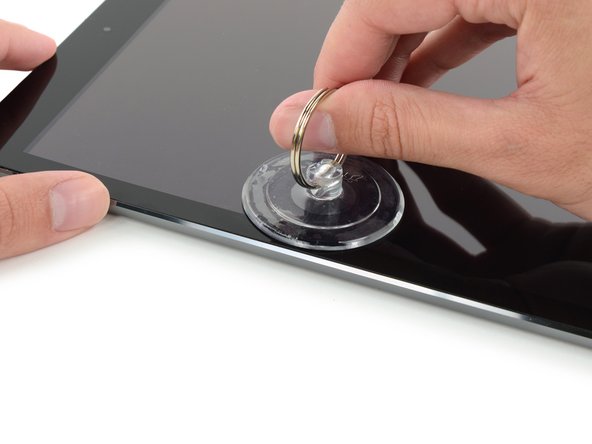
温めた側の真ん中から少し上辺りに、吸盤カップを取り付けます。
-
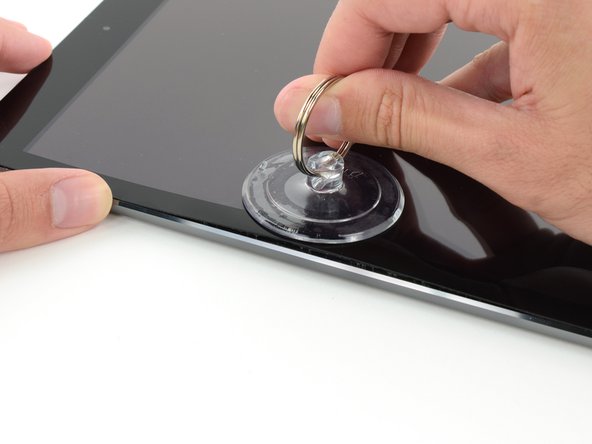
しっかりと吸盤がスクリーンに装着されるにはカップがスクリーン上に完全に平らに付いているか確認してください。
-
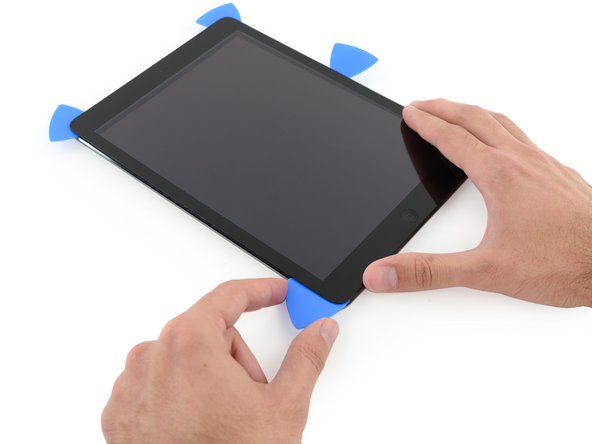
iPadを片手で押さえながら、背面ケースをフロントパネルのガラスから離すために吸盤カップを上部に向けて引っ張りあげます。
-
iPadのスクリーンの破損がひどい場合は、透明なパッキングテープで表面を覆うと、吸盤がうまく接着します。 または、強力なテープ(ダクトテープなど)を使用して、ハンドルに折りたたんでください。
-
-
-
-
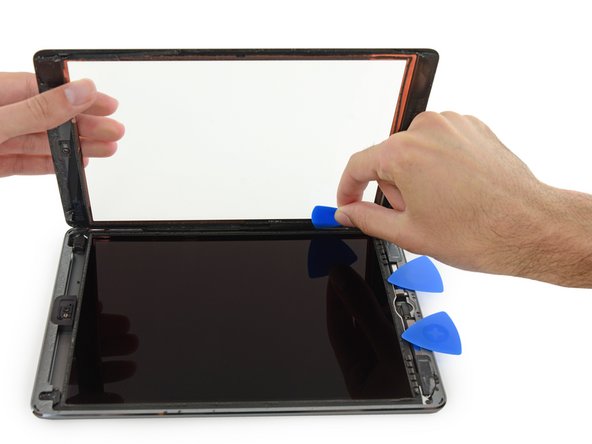
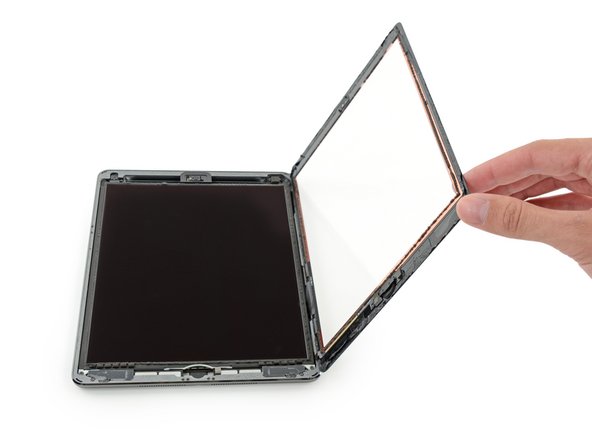
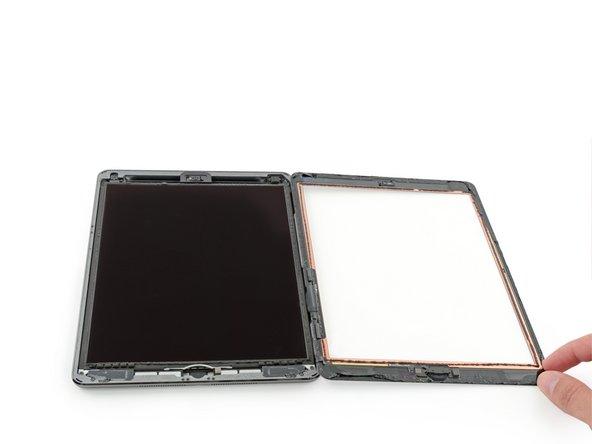
フロントパネルアセンブリを取り外します。
-
もしも画面をタッチしていないにも関わらず反応してしまう等の不具合が新しい画面で生じるようであれば、カプトン(ポリアミド)テープのような非常に薄い絶縁テープをパネルの裏のオレンジで囲まれた部分に貼ることで解決することが出来ます。iFixitのパネルは適切な絶縁が施された状態で出荷されているため、テープを追加で貼る必要はありません。
-
デバイスを再組み立てする際は、このページを逆の順番に従って作業を進めてください。
デバイスを再組み立てする際は、このページを逆の順番に従って作業を進めてください。
632 の人々がこのガイドを完成させました。
以下の翻訳者の皆さんにお礼を申し上げます:
100%
これらの翻訳者の方々は世界を修理する私たちのサポートをしてくれています。 あなたも貢献してみませんか?
翻訳を始める ›
89 件のコメント
Actually, I didnt remove the crashed front panel(the old one) as this guide. The edge of front panel didnt stick so much with the cover case, so I use force to tear off the crumbled edge. Be prepared for the "dust of glass", it will really hurt your body, if you plan to do as my way.
Additionally, there is another difficulty part of me. When I stick the new panel on. There is always some small dust between the screen and the front panel.
Great guide, a lot harder with a cracked screen due to no flat surfaces for suction cup but eventually got it off, thanks
How to put it back? LCD + digitizer do not want to "cooperate" in ribbons area
Use the spudger to gently push or pull them into the slot. That's what I did. It's charging now so I don't know if it works yet or not
Assembled back with a new digitizer. Powered on.
1. Screen keeps to be black, no image. Put on a charger, iPad makes "boing" sound very quite every 10 seconds or so. Plugged it into a Macbook Air, iPad show up in iTunes and iFoto, all data can be accessed.
2. Suddenly, after few minutes connected to the Macbook Air, iPad boot screen appears on iPad and device boots-up.
3. Now, input is very sporadic and unreliable. Device keeps selecting items on its own and starting apps on its own, doesn't react reliably to user input. Seems as if the digitizer or its connection is damaged. Hard to tell, everything went ok, only problem was the removal of the old adhesive to have a plain surface for the new one.
As is, this is a failure, device does not work as expected. Data is safe though.


