はじめに
注意:このガイドはフロントパネルの交換に関する完全なガイドです。もし、フロントパネルアセンブリを交換する場合は古いフロントパネルからホームボタンを取り外す前に止まって、新しいフロントパネルの組み立てと逆の手順を行ってください。
必要な工具と部品
-
-
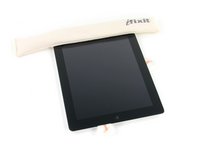
鍋を十分な量のお湯で満たして、iOpener を完全に沈めます。
-
お湯を沸かして熱くなったら火を止めます。
-
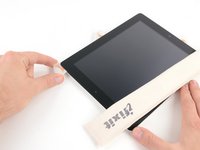
iOpenerを熱湯の中に約2−3分間沈めます。iOpener全体が完全に浸かっているか確認してください。
-
トングなどを浸かって、温まったiOpenerをお湯から取り出します。
-
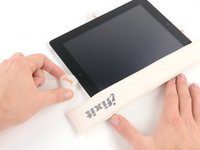
タオルでiOpener全体を拭き取ります。
-
iOpenerの準備は整いました。iOpenerを再度温める必要がある場合は、お湯を沸騰させて、火を止めてからiOpenerを2-3分間浸してください。
-
-
-
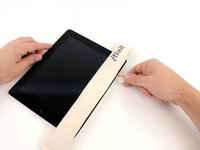
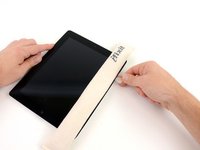
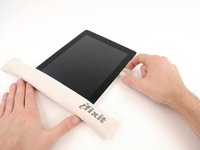
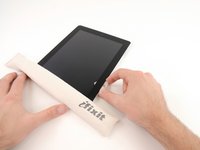
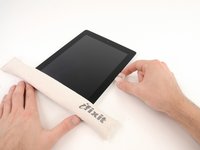
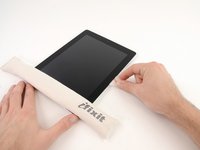
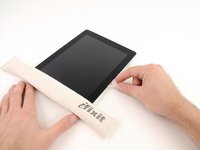
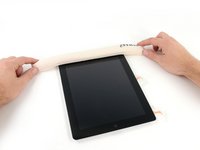
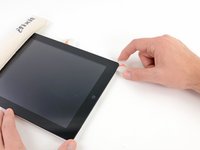
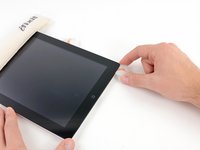
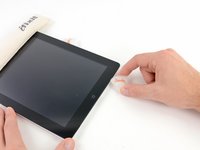
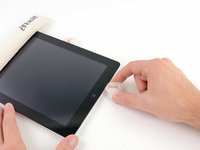
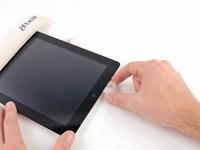
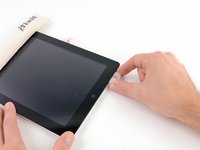
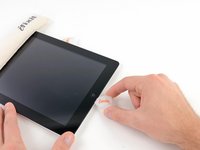
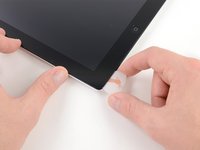
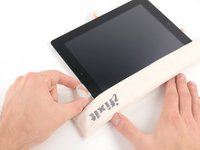
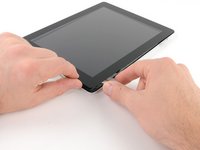
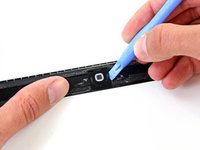
液晶画面に割れがある場合、画面がさらに割れるのと破片によって怪我するのを防ぐため、画面にテープなどを貼って保護してください。
-
iPadの液晶画面全体に透明なテープを端を重ねるようにして貼ります。
-
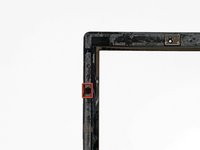
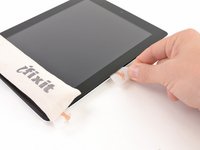
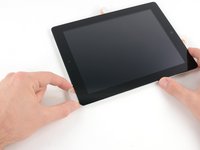
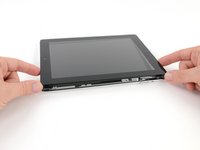
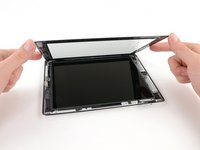
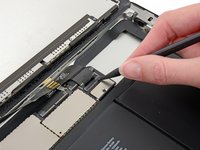
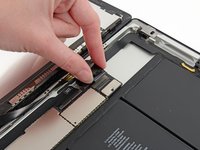
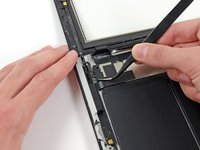
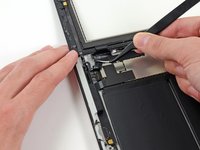
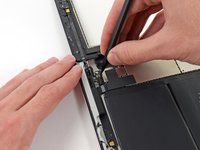
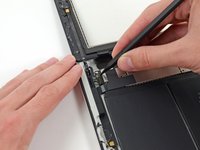
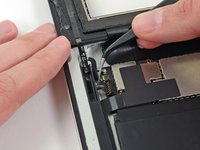
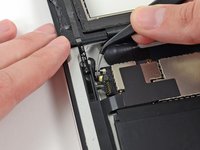
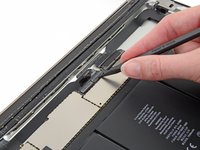
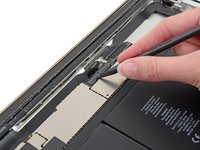
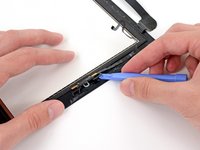
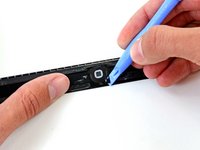
この修理ガイドの記述通りに作業を進められるようベストを尽くしてください。しかしガラスが壊れてしまった場合、作業を続けるに従ってひび割れは広がっていきます。ガラスを取り出すために、メタル製のこじ開け用ツールを使用してください。
-
-


デバイスを組み立て直すには、これらの手順と逆の順序に従ってください。フロントパネルを再び取り付けるには私たちのiPad 4 Wi-Fiのフロントパネルの接着ストリップガイドをご覧ください。
338 の人々がこのガイドを完成させました。


25件のガイドコメント
Step 27. Reassembly. Test the connections by dry fitting the front glass to the chassis prior to removing the white adhesive strip protection. Power on the unit to ensure the LCD panel powers on and that the digitizer functions. Power the unit down. Remove the clear front glass protector from the rear of the glass. Then proceed to perform the final install by removing the white adhesive protection. Seat the front glass. Remove the protective cover from the front of the front glass.
what does the bit at the start mean : "Note: this is a complete guide for replacing a plain front panel. If you have a Front Panel Assembly replacement part, stop before removing the home button from your old front panel, and reverse the steps to install your new front panel assembly."
sorry for being a noob do i have to do the guide diffrently or what
thanks
The front panel assembly will come with the HB attached to the glass already. So you would not have to remove the HB from your original screen, only disconnect it from the socket
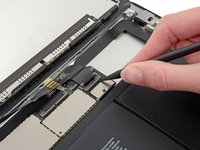
Step 37:
My logic board is damaged. http://i1044.photobucket.com/albums/b447...
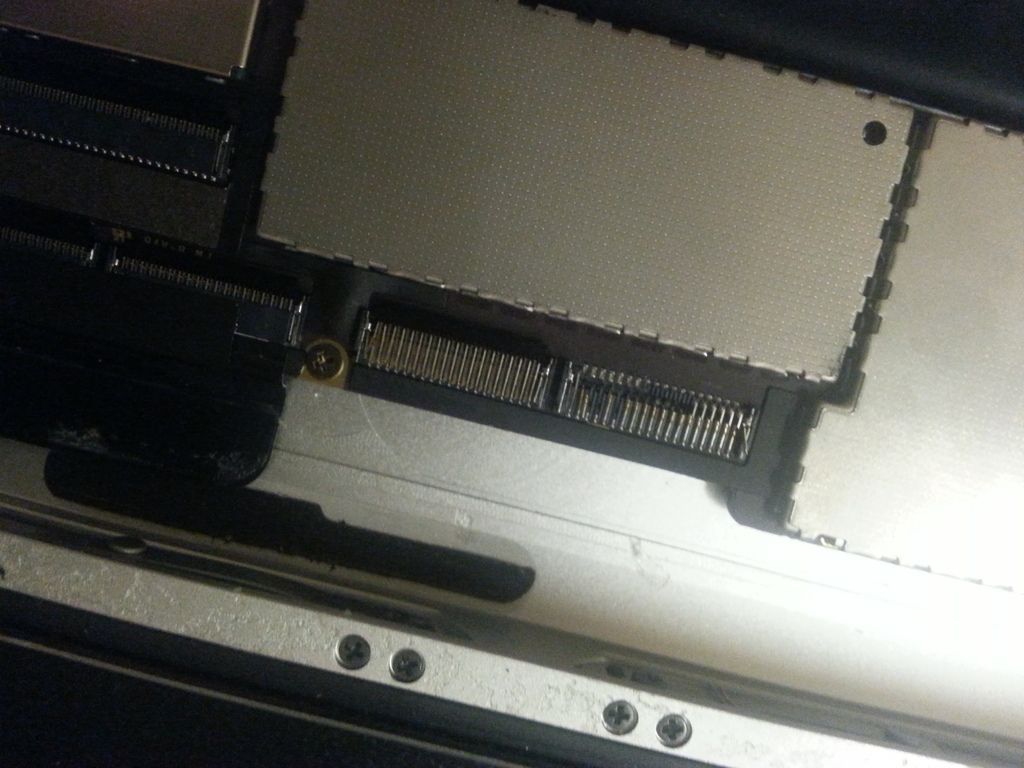
Too much force was used to remove the connector. Is there a way to repair this or does the logic board need to be replaced.