はじめに
このガイドを参照して、iMac Intel 21.5" Retina 4K Display 2019のRAMを交換/アップグレードをします。
このガイド中の画像で、旧モデルのiMacが使用されているものが複数かります。外見上の若干の違いはありますが、作業に影響はありません。
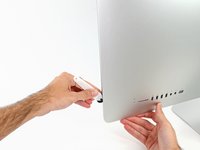
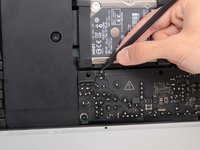
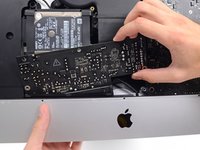
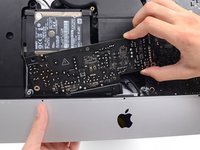
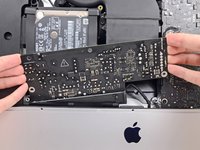
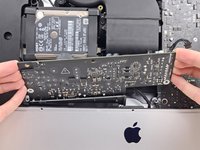
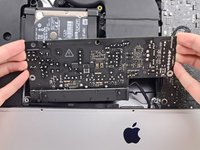
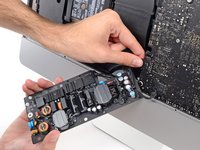
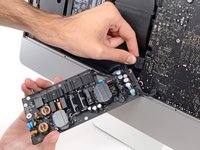
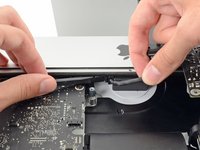
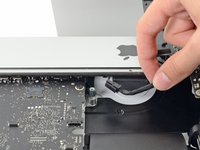
このガイドでは、大型コンデンサを含む電源を取り扱います。 iMacのプラグを抜き、電源ボタンを10秒以上長押しして、コンデンサを放電します。 電源ボードの端を持ち、表面のコンポーネントに触れないでください。
必要な工具と部品
-
この手順で使用する道具:iMac Intel 21.5" Cardboard Service Wedge$4.99
-
ヒンジを外すと、iMacはバランスが取れなくなり、作業が難しくなります。iMac Service Wedgeがあれば修理作業は素早く、簡単ですが、なくても対応できます。
-
-
-
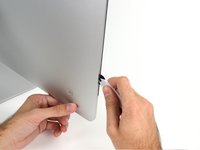
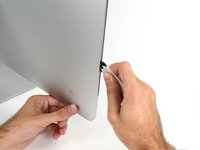
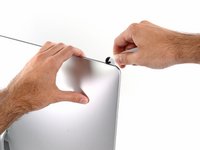
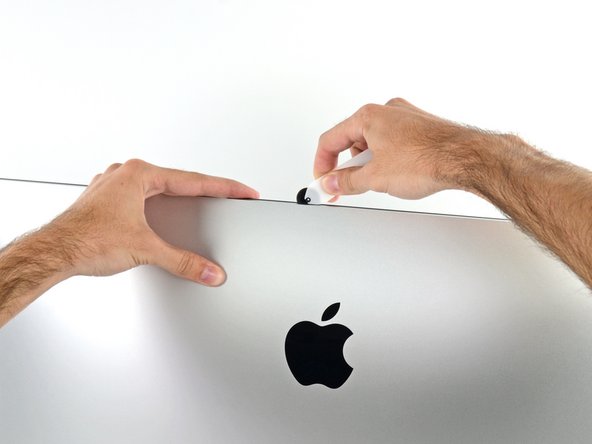
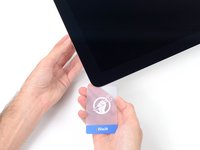
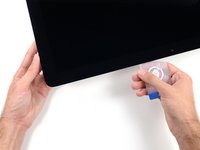
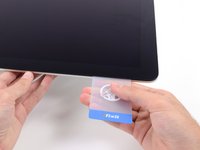
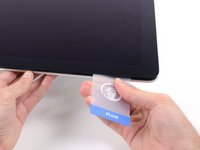
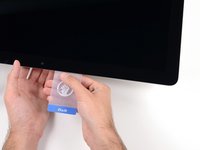
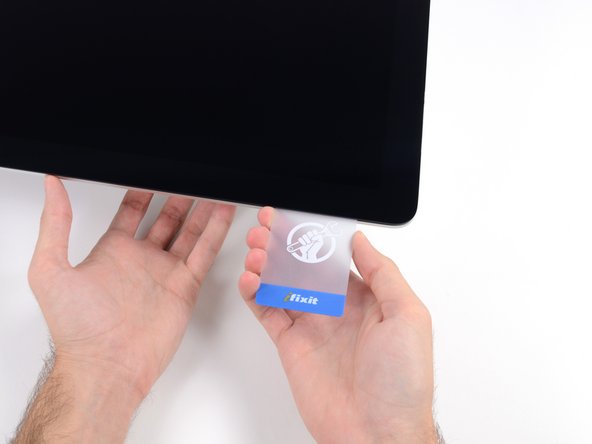
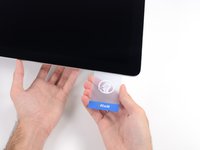
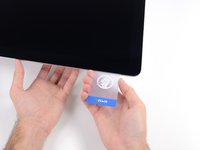
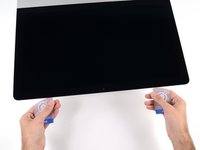
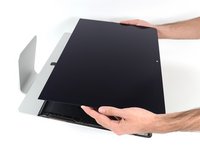
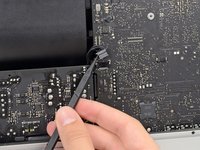
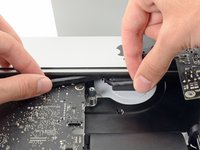
ピザカッターのようにツールを使いますー隙間に沿ってスライスしながら、フォーム製接着剤を切り込んでください。
-
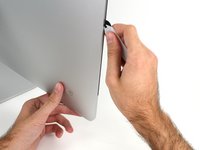
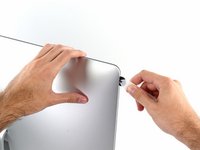
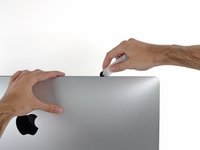
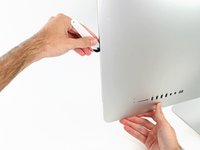
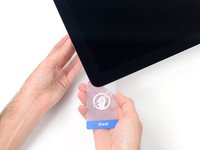
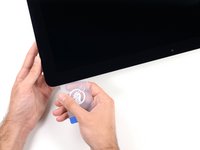
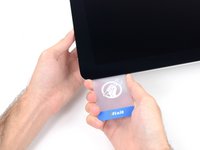
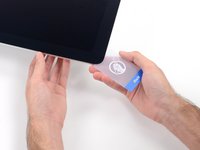
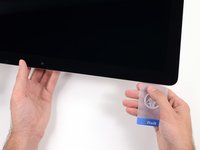
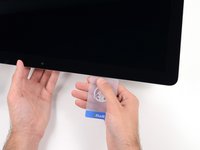
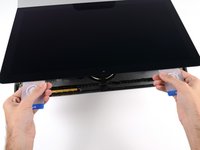
ツールをディスプレイの左側に沿って下側から上部に向けてスライスします。
-
-


オリジナルのパーツと交換用パーツをよく見比べてください。交換用パーツに付いていない残りのコンポーネントや接着シールなどは、インストールする前に新パーツに移植する必要があります。
このデバイスを再組み立てするには、インストラクションを逆の順番に従って作業を進めてください。
e-wasteを処理する場合は、認可済みリサイクルセンターR2を通じて廃棄してください。
修理が上手く進みませんか?ベーシックなトラブルシューティングのページを参照するか、このモデルのアンサーコミュニティに尋ねてみましょう。
48 の人々がこのガイドを完成させました。
以下の翻訳者の皆さんにお礼を申し上げます:
100%

Midori Doiさんは世界中で修理する私たちを助けてくれています! あなたも貢献してみませんか?
翻訳を始める ›

22件のガイドコメント
I attempted this upgrade myself because iFixit labeled this as Moderate difficulty. The entire process took me seven hours from start to finish, and when I was done my computer would not turn on. I tried to do this repair myself because my local computer company wanted $400 to do this upgrade using Apple RAM, and I couldn’t afford that at the time. I had to take the iMac in to be serviced when it wouldn’t turn on, and the computer company just quoted me a price of $600 for a new logic board if it was damaged during the upgrade.
I am posting this to warn anyone else who is considering doing this upgrade to hire a certified technician. Do not go by iFixit’s difficulty rating. If you do, you may risk even greater expense if something goes wrong, like it did with my own attempt.
Perhaps iFixit should consider changing the rating on this task to Extremely Difficult, or Advanced, or LOL DON’T EVEN TRY IT to warn any other unsuspecting customers who are looking to save a little money.
It is very likely you just missed plugging in the cable from the power button to the power supply. Very easy to do and very easy for the very small cable to slip behind the power supply and you never notice.
Always a good idea to check each step as you go and read the whole guide from start to finish before you start and also in the process of reassembly.
I did this in about 3-4 hours over a Saturday afternoon. I had previously done hard rive upgrades in a 2009 iMac and a 2012 MBP. I was encouraged by a tech friend and pored over the guide for a few times to get my courage up and then discussed the step by step with him first on a zoom call. The courage is required to remove the screen. After that the guide is very solid and clear and the steps are easy to comprehend though removing the power supply is a bit tricky and the microphone cable can be elusive. The only mistake I made is when reapplying the screen, having already checked function, I got into a sweat and banged to sick it on with the VDU cables not properly connected. I would recommend have some help for the screen re application and talk it through so you avoid that kind of schoolboy error. Having removed the screen and re-applied it I am very happy. A great guide.
Jon H Smith
Sehr gute Beschreibung, jedoch stellt sich mir eine Frage nach dem Wieder zusammen setzen benötige ich doch einen Vergleichsweisen Kleber der meinen Bildschirm auf den Rahmen setzt. Damit er nicht herunter fällt. Gibt es da welche zu kaufen oder hält das wieder von alleine?
Ich habe einen IMAC 4k 21´Zoll 2019 und möchte gerne Arbeitsspeicher und CPU tauschen.
id did it in 3,5 hours, no problems at all, everything works as described.