この翻訳は機械によって生成されたものであり、まだ人間による校正は行われていません。 日本語を話せますか? レビューはこちらから。
はじめに
このガイドを参照して、お持ちの光学ドライブをアップグレードまたは交換しましょう。
必要な工具と部品
-
-
-
-
iMacを裏返し、スタンド側を下にして平らな面に置きます。
-
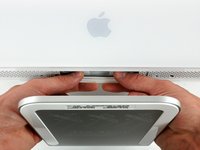
iMacからフロントベゼルを取り外すため、同時に以下の操作を行います:
-
親指でRAMアームを押し込み、iMacを下に押さえます。
-
人差し指でフロントベゼルの小さなブリッジ部分を手前に引きます。
-
人差し指でフロントベゼルを上に引き上げます。
-
小さなブリッジ部分がRAMアームを通過したら、フロントベゼルの下端を持ち上げ、リアケースの下端から外れるまで浮かせて取り外します。
-
-
この手順で使用する道具:Plastic Cards$2.99
-
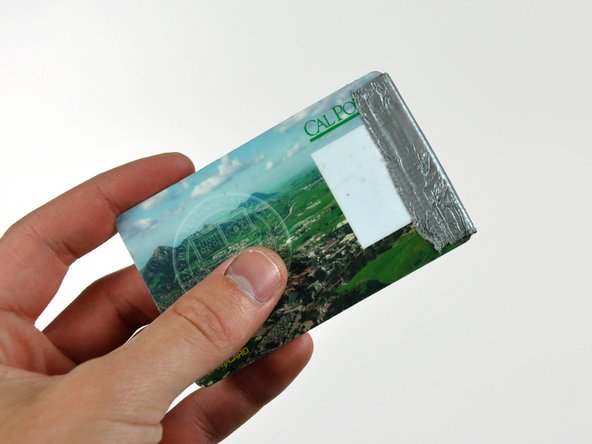
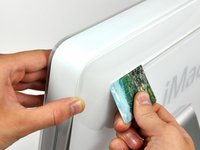
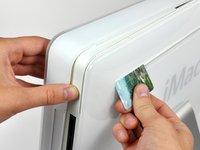
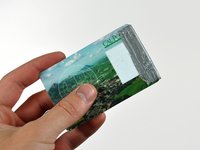
エアベントスロットの角(リアケース上部付近)に、プラスチックカードを差し込みます。
-
カードをiMacの上部に向かって押し込み、フロントベゼルのラッチを解放します。
-
フロントベゼルをリアケースから引き離します。
-
フロントベゼルの反対側でも同様の作業を行います。
-
ベゼルが解放されない場合は、下端をリアケース側に押し戻してから、再度この開放作業を行ってください。
-
-
-
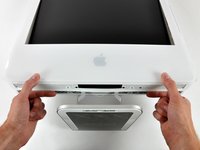
iMacのスタンド側を下にしてテーブルの上に置きます。
-
ベゼルの下端を持ち上げ、iMac本体から引き離すように回転させます。その際、RAMアームが引っかからないよう注意してください。
-
取り外したベゼルをiMac本体の上に置きます。
-
-
-
-
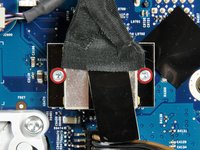
ディスプレイケーブルをロジックボードに固定している4.8 mmのトルクスネジ(T6)を2本取り外します。
-
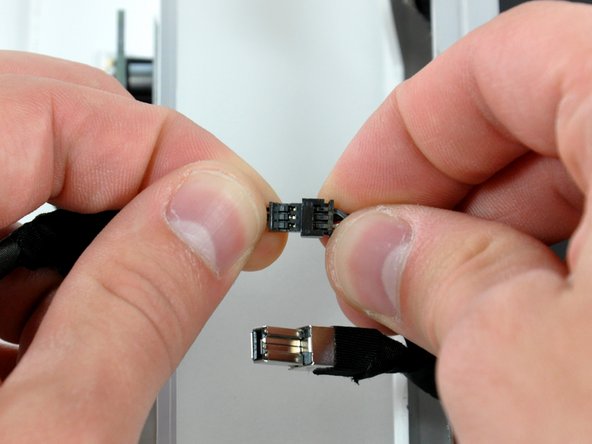
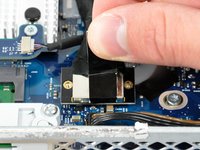
ディスプレイケーブルのコネクタの黒いタブを掴み、ロジックボードから真上に引き抜きます。
-
-
-
この手順で使用する道具:TR10 Torx Security Screwdriver$5.99
-
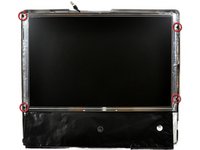
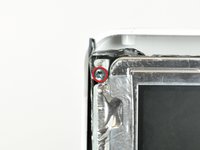
ディスプレイをリアケースに固定している、頭部厚さ2 mmの8 mmトルクスT10ネジを4本外します。
-
-
-
-
-
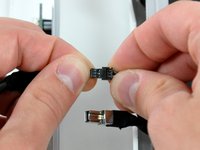
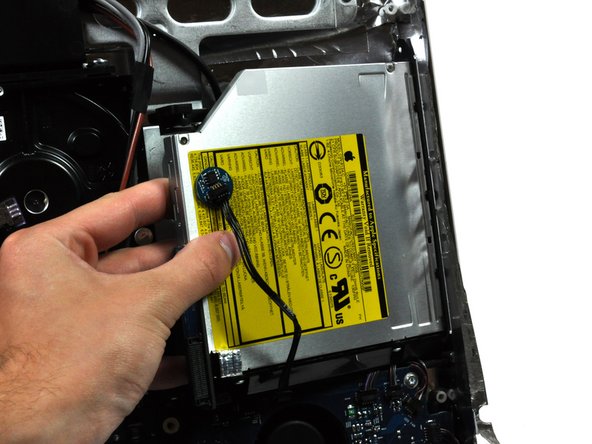
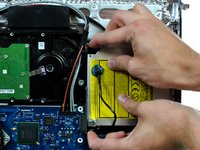
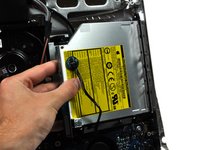
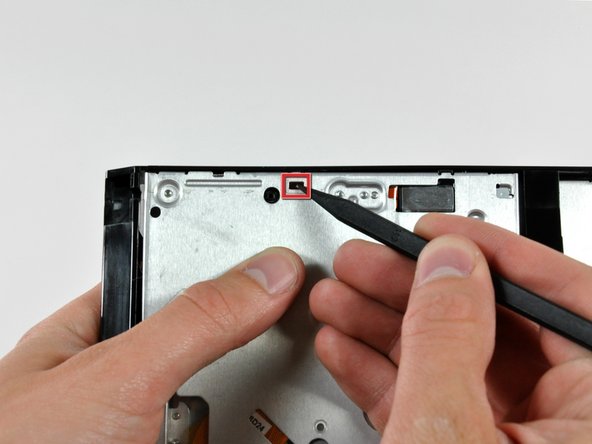
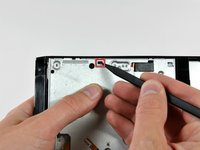
スパッジャーの平らな先端を使用して、光学ドライブの天面に接着されている光学ドライブ熱センサーをこじ開けて取り外します。
-
このセンサーを新しいドライブへ忘れずに移し替えてください。
-


 FixBotに聞いてみる














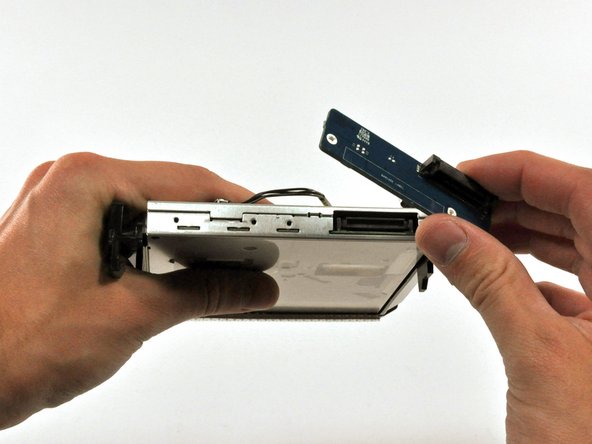
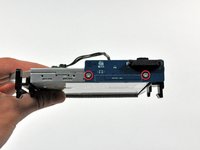
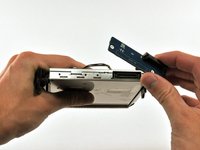

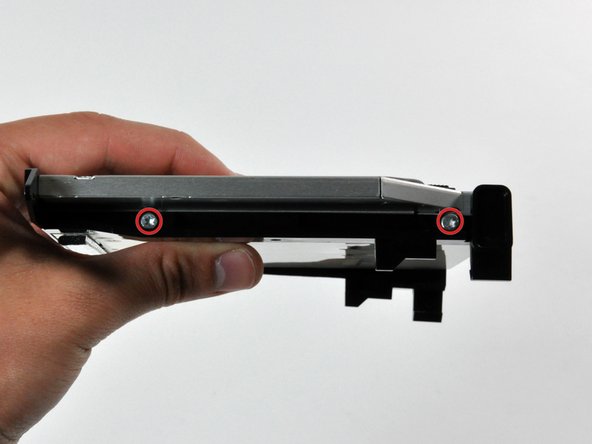
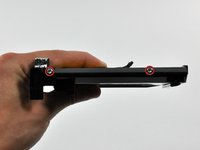
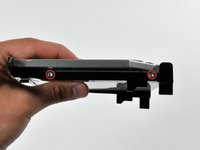




デバイスを再度組み立てるには、この説明書の逆の順番で組み立ててください。
26 の人々がこのガイドを完成させました。
以下の翻訳者の皆さんにお礼を申し上げます:
100%


これらの翻訳者の方々は世界を修理する私たちのサポートをしてくれています。 あなたも貢献してみませんか?
翻訳を始める ›

2件のガイドコメント
There are two things not mentioned in this guide (which is, all-in-all very good)
1. There is a short lead connected through the EMI shielding at the top of the IMac to th right (inside vie) of the camera board, to a very small daughter card marked Apple 820 2009-A 2006 srewed to the inside upper ABS case surface by a single 1mm torx screw. The lead s othere end goes to the power board. Check this has not been severed. I extended mine.
2. The Super drive DVD drive is very difficult to re-position because apart from the mounting frame ears mentioned, there are two "dowels" moulded into the ABS bezel. If these are not correctly aligned when fitting, then the CD/DVD will not eject because of the mis-alinement. The ears can be difficult to release because the unit is forced against the logic board at the point where the board to drive connector is situated.
nick watts - 返信 共有
I didn't buy a DVD I'm taking it out of my other 27" IMAC I'm hoping this works as there was no mention of what drive to use buy but this is an excellent guide and I hope others have easier time also I'm replacing the screen new>(LP171WU1 (TL)(A3) LINES in it from walmart $54.00 and got a deal on V4 adapter. Thank you all for this info .
