はじめに
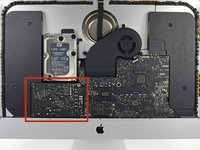
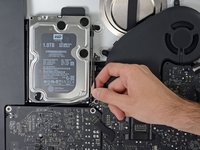
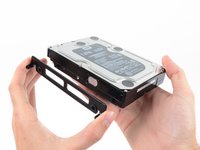
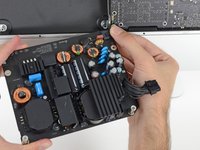
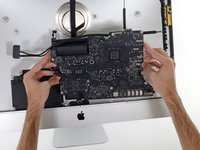
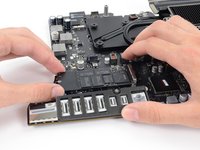
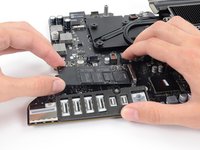
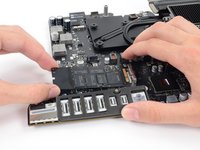
iMacがソリッドステートドライブまたはFusionDriveで構成されている場合は、ロジックボード裏側にブレードSSDが搭載されています。 このガイドを参照して、ブレードSSDにアクセスして取り外します。
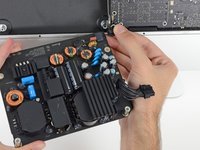
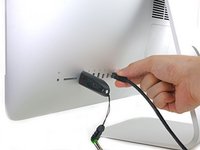
iMacの解体作業を始める前に: コンピューターの電源を切り、電源ボタンを10秒間押し続け、コンデンサを放電してください。
厳重にご注意ください 電源の裏側にあるコンデンサのリード線や露出したはんだ接合部に絶対に触れないでください。 ボードの端だけを持ってください。
必要な工具と部品
-
この手順で使用する道具:iMac Intel 27" Cardboard Service Wedge$4.99
-
ヒンジが勝手に動くと、iMacはバランスを失い、作業が難しくなります。 修理はiMacを寝かせた状態で完了することもできますが、iMac用サービスウェッジを使用すれば、より迅速かつ簡単に修理できます。
-
iFixitのダンボール製サービスウェッジを使用する場合、こちらの組み立て方法を参照してください。
-
-
この手順で使用する道具:Plastic Cards$2.99
-
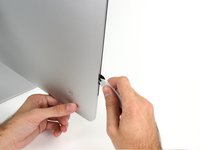
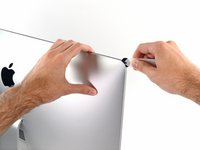
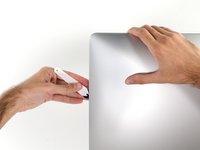
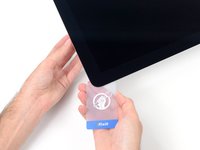
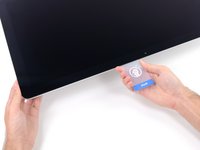
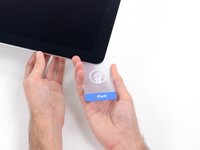
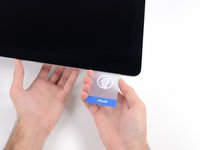
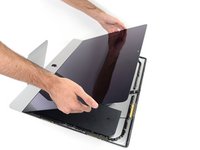
iMacのスクリーンを上向きに配置します。
-
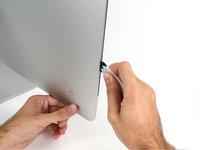
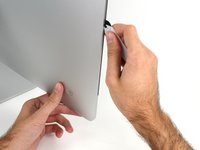
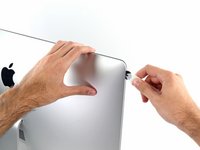
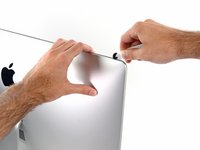
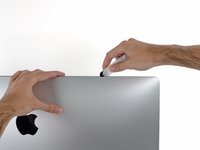
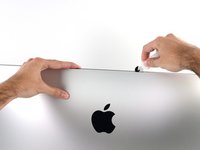
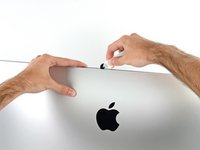
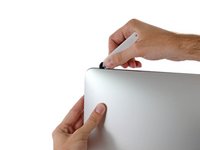
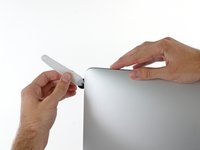
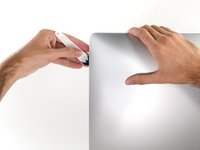
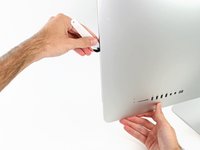
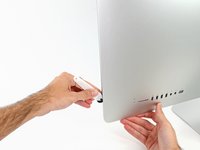
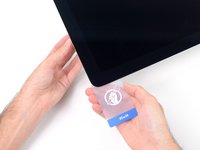
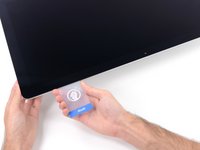
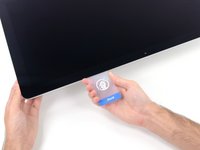
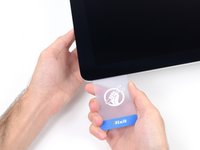
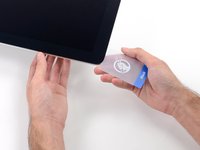
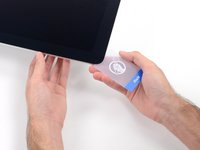
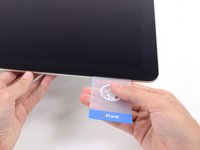
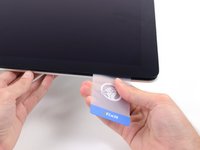
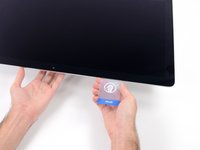
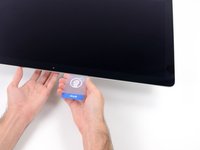
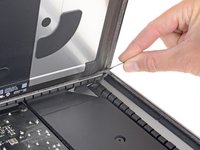
iMacの右上コーナーの、ディスプレイとフレームの間にプラスチックカードを挿入します。
-
-
-
-
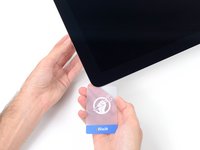
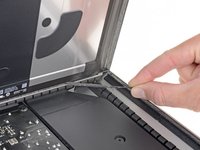
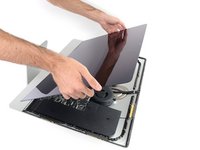
下部端のディスプレイ用接着ストリップの先端にある小さなタブを摘んで、iMacの上部に向けて接着剤を引き抜いて外します。
-
他の接着ストリップについても、この手順を繰り返します。
-
-
-
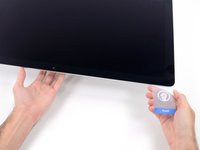
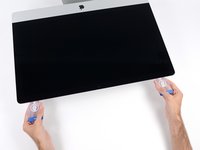
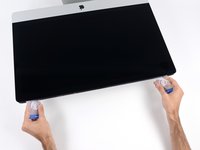
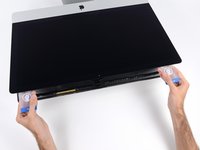
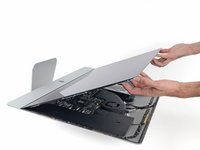
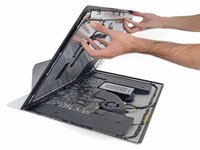
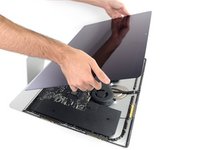
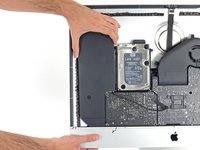
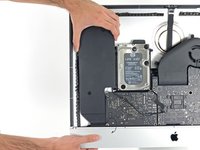
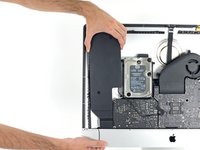
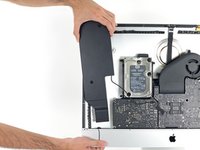
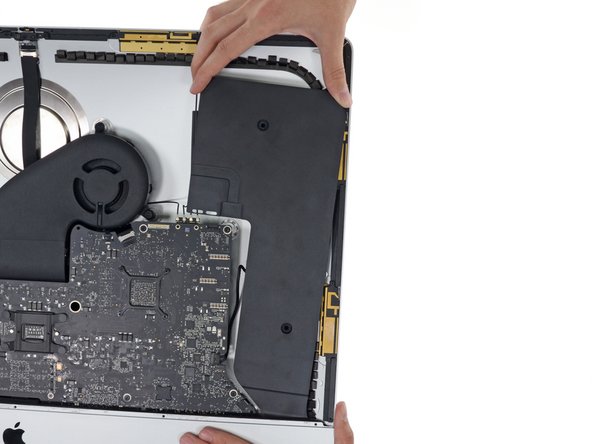
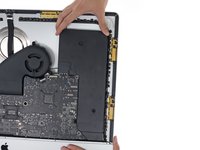
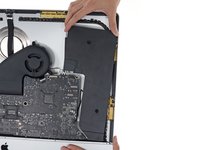
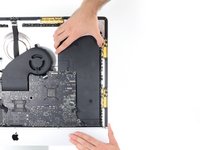
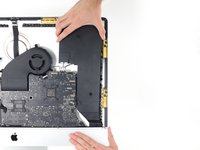
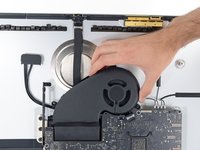
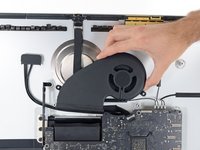
ディスプレイをフレームから持ち上げ、iMacから取り外します。 ディスプレイの表面を平らで柔らかい表面上に置きます。
-
あるいは片側ずつゆっくり持ち上げて、残りの接着剤を剥がす場合があります。
-
-
-
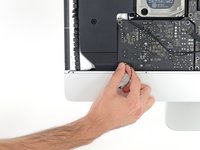
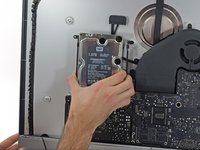
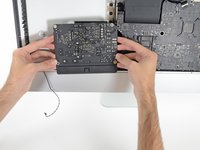
プラスドライバーを使って、サポートブラケットを固定している3.2mmネジを9本外します。
-
ネジにアクセスするには、iMacの下側端に沿って留められたディスプレイ用接着ストリップを剥がす必要があります。
-
-
-
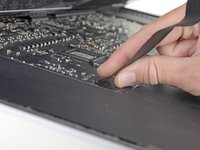
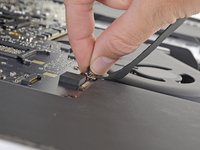
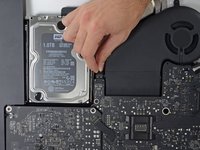
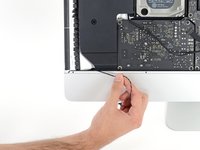
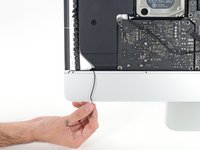
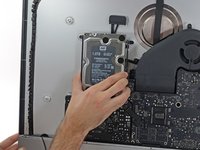
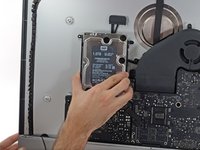
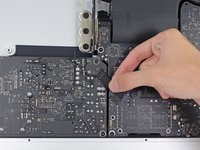
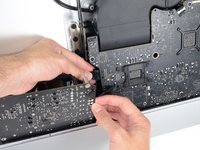
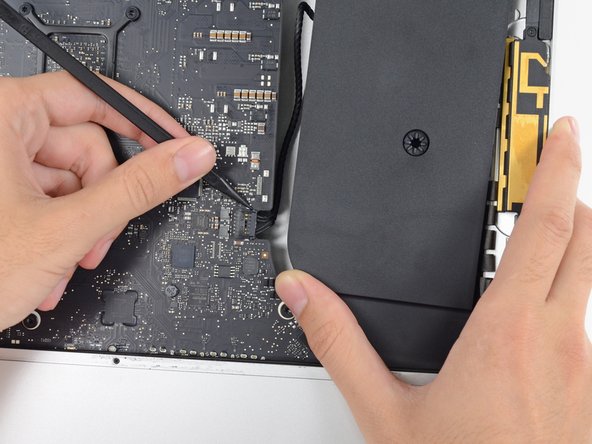
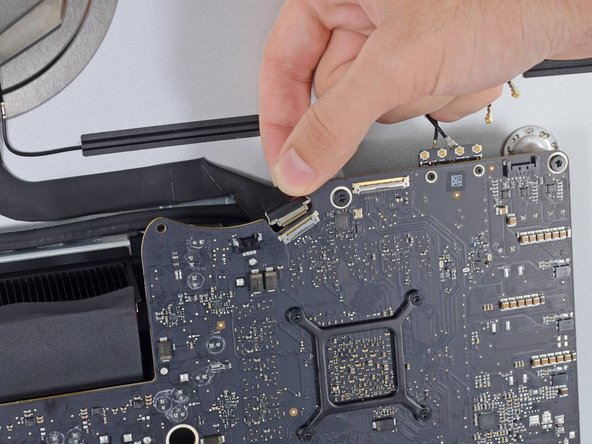
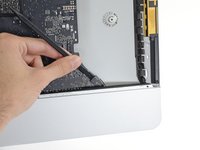
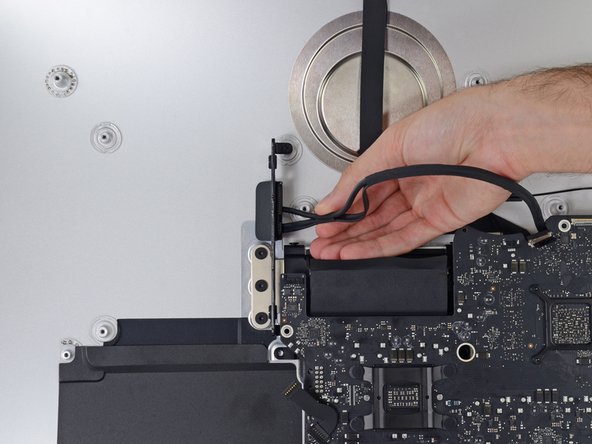
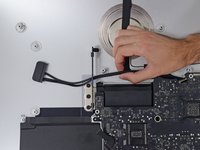
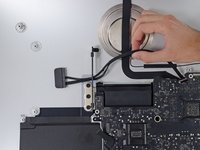
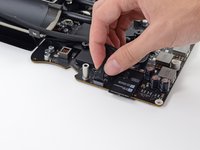
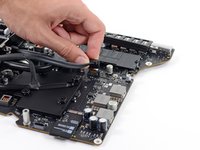
SATA電源ケーブルの端子を引き上げ取り外します。
-
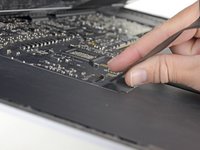
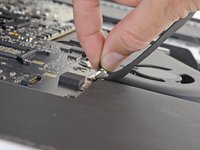
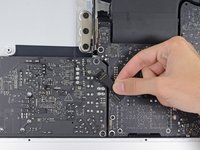
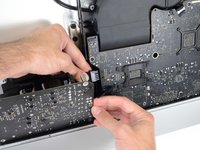
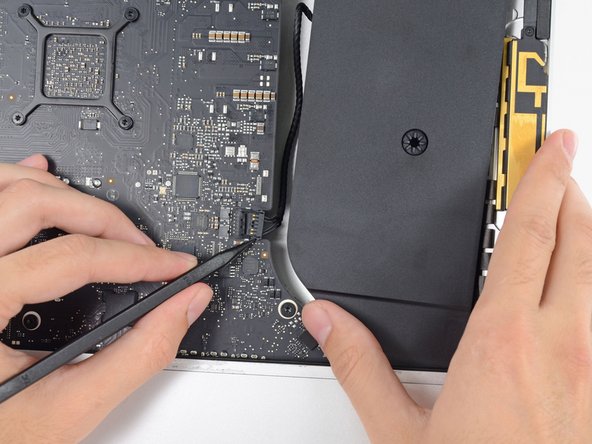
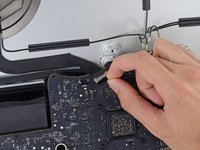
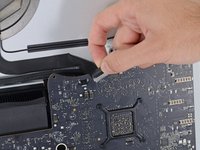
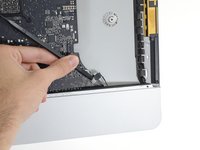
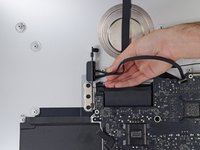
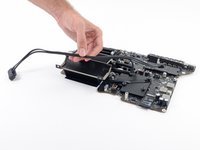
ロックタブを押しながら、コネクタをまっすぐ引き上げて、SATAデータケーブルコネクタのプラグを抜きます。
-
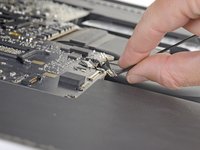
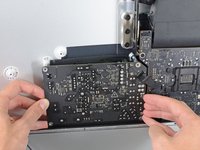
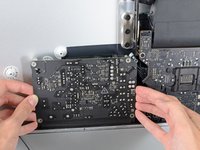
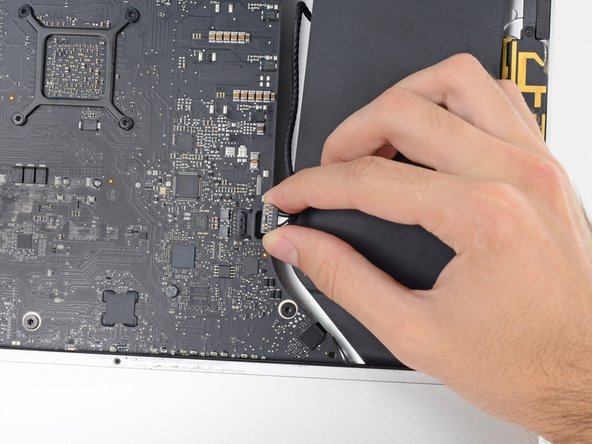
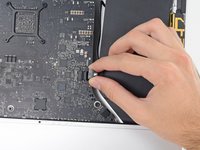
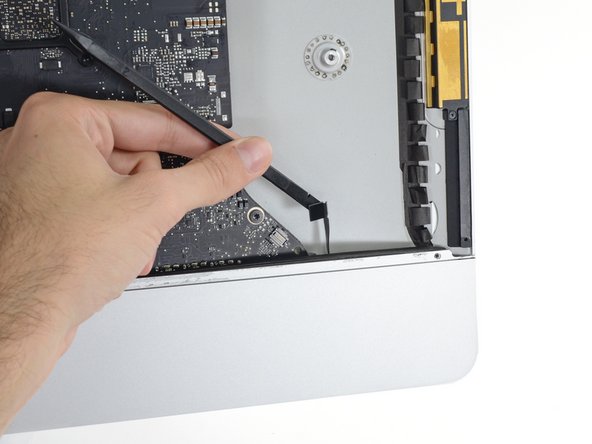
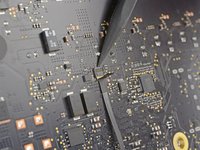
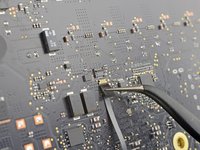
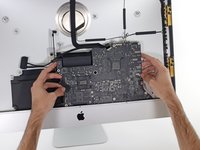
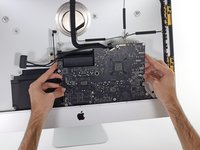
作業の邪魔にならないように、また傷つかないようにSATAケーブルをロジックボードから取り外します。
-


オリジナルのパーツと交換用パーツをよく見比べてください。交換用パーツに付いていない残りのコンポーネントや接着シールなどは、インストールする前に新パーツに移植する必要があります。
このデバイスを再組み立てするには、インストラクションを逆の順番に従って作業を進めてください。
e-wasteを処理する場合は、認可済みリサイクルセンターR2を通じて廃棄してください。
修理が上手く進みませんか?ベーシックなトラブルシューティングのページを参照するか、アンサーコミュニティに尋ねてみましょう。
48 の人々がこのガイドを完成させました。
以下の翻訳者の皆さんにお礼を申し上げます:
100%

Midori Doiさんは世界中で修理する私たちを助けてくれています! あなたも貢献してみませんか?
翻訳を始める ›

11件のガイドコメント
is there any way to replace the I.O without swapping the motherboard?
From cutting through the adhesive to the smoke test this was just under a four hour job for me. One adhesive strip left a complete layer of glue on one side of the screen, and it took me the better part of an hour, about half my supply of wipes, and a plastic razor blade just to clean that one edge up. I’d break the time down as: removing, cleaning, or reapplying adhesives, 2 hours; non-adhesive disassembly, 50 minutes; reassembly, 40 minutes; “oh crap, where’s that tool?” 15 minutes; and about 10 minutes for cleanup, including vacuuming out the fan, heat sink, and vents.
Hi there, I need your professional help. I followed all instructions to change my iMac 2017 27" 5K fusion drive with a Samsung EVO 970 PLUS 2TB (with upgraded firmware) for macOS bootable drive and extra EVO 860 SSD 4TB data drive. Then updated to Monterey. My first test was 1200w 2900r, which was different from the youtube video which was roughly 3Krw. Why was that? Then after a few days of work, the mac froze during youtube watch and again during excel spreadsheet, and restarted with a "?" in a folder. I made an online hardware check all OK, then performed first aid, and again all OK. Then rebooted to the same "?" screen. And then rebooted again and now it works. So far! I see in the system prefs - Link Width x1. I made the speed test again and the reading now is roughly 700rw. Screenshots and sys error report bellow. What have I done wrong? And what to do to fix it all? Thanks!
Peter Lane - 返信
Did anyone already thought or experienced to just cut out a square at the back of the frame? its not elegant but my imacs back just faces the wall :) for thermal reasons i can imagine just to stick it back.
It's a shame Apple couldn't manage to put this on the front of the logic board--such a pain (by design).