メインコンテンツにスキップ

左側 Joy-Con 充電レールの交換

英語
日本語

手順 11を翻訳中

手順11
Left Joy-Con Charging Rail Replacement: 手順 0、 2の画像 1 Left Joy-Con Charging Rail Replacement: 手順 0、 2の画像 2
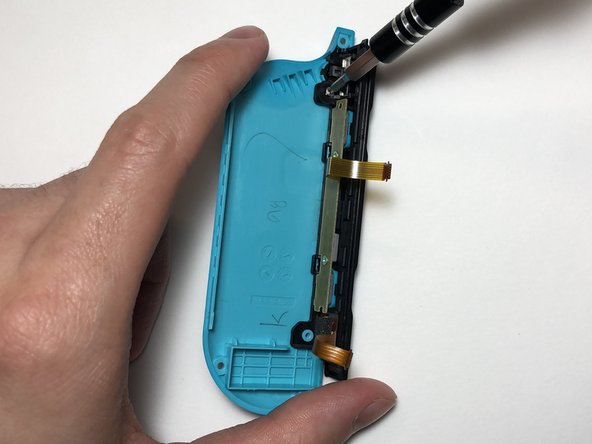
  • Align the charging rail with the two standoffs on the back shell.

  • Secure the rail onto the back shell using the 2 mm Phillips #000 screws.

バックシェルの2つのスタンドオフネジと充電レールの位置合わせをします。

2 mm #000 プラスネジを留めて、バックシェルと充電レールを固定します。

クリエイティブコモンズのオープンソース著作権のもと、あなたの投稿は著作権の対象となります