メインコンテンツにスキップ

左側 Joy-Con 充電レールの交換

英語
日本語

手順 10を翻訳中

手順10
Left Joy-Con Charging Rail Replacement: 手順 0、 3の画像 1 Left Joy-Con Charging Rail Replacement: 手順 0、 3の画像 2 Left Joy-Con Charging Rail Replacement: 手順 0、 3の画像 3
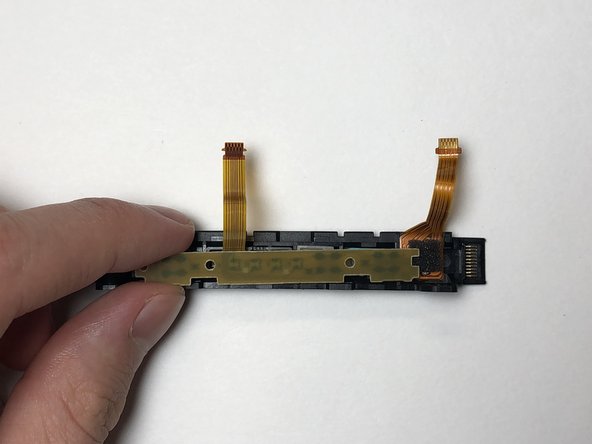
  • Place the SL, SR and sync buttons into the new charging rail and make sure the tabs on the SL and SR buttons fit into their respective socket grooves.

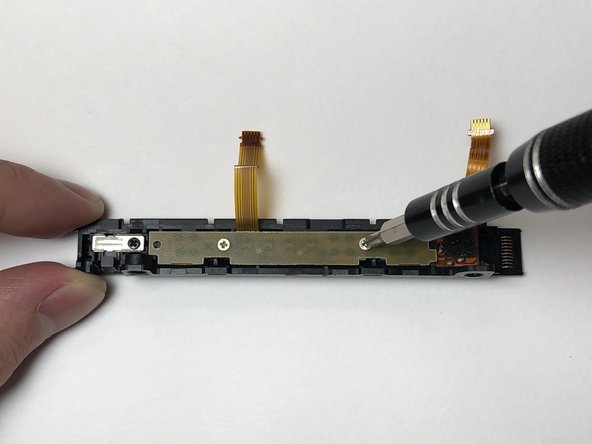
  • Place the PCB over the buttons and secure it in place using the two golden 3 mm Phillips #000 screws.

  • Potential for device damage. If the buttons are not properly placed into the charging rail, proceeding to screw in the PCB will cause it to warp.

SL、SR、同期ボタンを新しい充電レールに取り付けて、SLボタンとSRボタンのタブが各ソケットの溝に収まっているか確認します。

プリント基板をボタン上に乗せて、ゴールドの3mm #000プラスネジ2本を取り付けます。

デバイスが破損する可能性があります。ボタンが充電用レールに正しく装着されていないと、プリント基板が反ってしまいます。

クリエイティブコモンズのオープンソース著作権のもと、あなたの投稿は著作権の対象となります