この翻訳は機械によって生成されたものであり、まだ人間による校正は行われていません。 この言語を話せますか? レビューはこちら.
はじめに
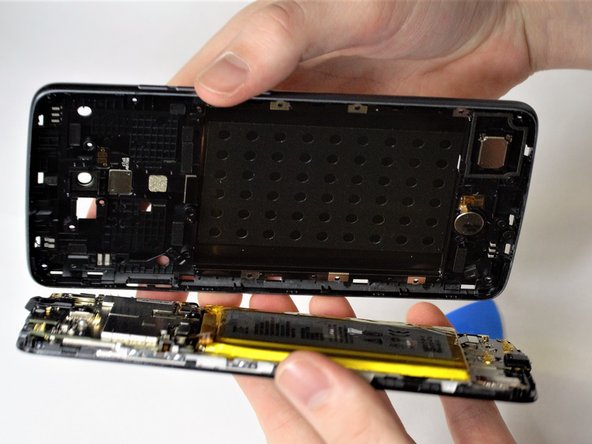
この修理ガイドでは、ZTE Max XLのフロントカメラを交換する手順を詳しく説明します。カメラの交換が必要かどうかを確認するには、トラブルシューティングガイドを参照してください。
必要な工具と部品
-
-
-
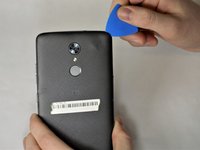
SIM取り出しツールを使用して、SIMカードトレイを取り外します。SIMカードトレイ付近の側面にある穴にツールを挿入してください。
 FixBotに聞いてみる
-
-
-
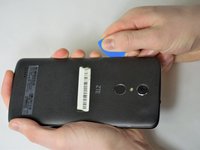
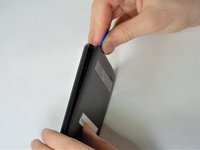
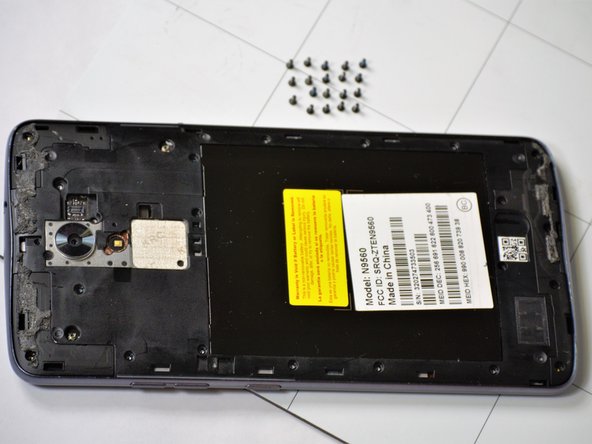
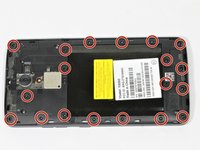
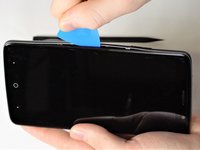
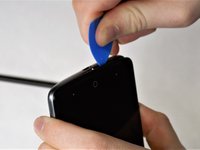
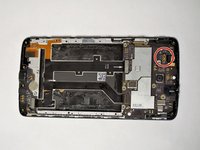
隅から開始し、iFixitキットのプラスチック製オープニングピックをプラスチック製背面カバーの下に差し込み、背面カバーと本体をつなぐタブを外していきます。タブは上下に3個ずつ、左右に6個ずつあります。
-
-
-
-
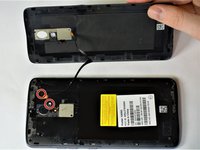
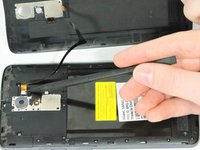
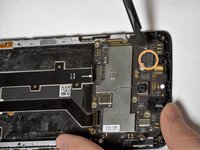
リボンワイヤを固定している3.4 mmのJIS #00ネジが2本あります。1本はロックステッカーの下にある場合があります。JIS #00ドライバーを使用してネジを外します。
-
-
-
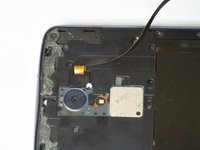
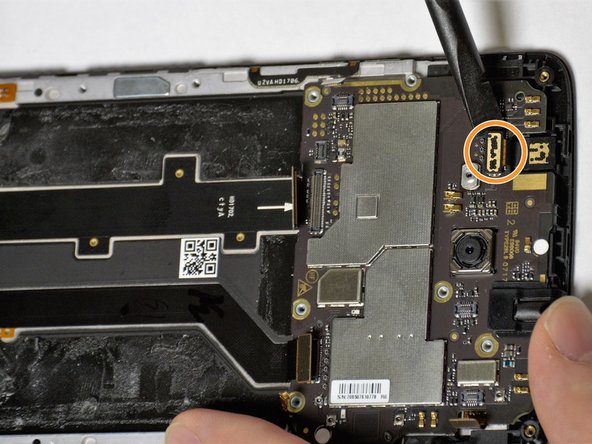
これで携帯電話の内部部品にアクセスできるようになりました。スパッジャーを使用して金属製のコネクタを跳ね上げ、カメラを解放します。
-
カメラ自体は軽量ですので、コネクタを外す際は紛失しないよう注意してください。
-
-


デバイスを再組み立てするには、これらのインストラクションを逆の順番に従って作業を進めてください。
ある他の人がこのガイドを完成しました。
以下の翻訳者の皆さんにお礼を申し上げます:
100%

Translation Botさんは世界中で修理する私たちを助けてくれています! あなたも貢献してみませんか?
翻訳を始める ›
チーム

UW Stout, Team S8-G2, Ogden Spring 2018 UW Stout, Team S8-G2, Ogden Spring 2018人のメンバー
UWSTOUT-OGDEN-S18S8G2
4 メンバー
35のガイドは作成済み