メインコンテンツにスキップ
リペアコミュニティに参加 - アカウントの作成

YCCTEAM YCC-SW4001 Shoulder Buttons Replacement

必要な工具と部品

  1. YCCTEAM YCC-SW4001 Shoulder Buttons Replacement, Front Case: 手順 1、 1の画像 1
    • Use a Phillips screwdriver to remove the eight 9.15 mm screws that secure the rear case.

    FixBotに聞いてみる

    コメントを追加

  2. YCCTEAM YCC-SW4001 Shoulder Buttons Replacement: 手順 2、 3の画像 1 YCCTEAM YCC-SW4001 Shoulder Buttons Replacement: 手順 2、 3の画像 2 YCCTEAM YCC-SW4001 Shoulder Buttons Replacement: 手順 2、 3の画像 3
    • Use an opening pick to pry the back cover off of the controller.

    FixBotに聞いてみる

    コメントを追加

  3. YCCTEAM YCC-SW4001 Shoulder Buttons Replacement: 手順 3、 1の画像 1
    • Use a Phillips screwdriver to remove the three 9.15 mm screws from the back of the controller.

    FixBotに聞いてみる

    コメントを追加

  4. YCCTEAM YCC-SW4001 Shoulder Buttons Replacement, Remove two additional screws: 手順 4、 1の画像 1
    • On some models there are two more Phillips head screws on the sides that need to be removed before the front and back panels can be separated.

    FixBotに聞いてみる

    コメントを追加

  5. YCCTEAM YCC-SW4001 Shoulder Buttons Replacement: 手順 5、 3の画像 1 YCCTEAM YCC-SW4001 Shoulder Buttons Replacement: 手順 5、 3の画像 2 YCCTEAM YCC-SW4001 Shoulder Buttons Replacement: 手順 5、 3の画像 3
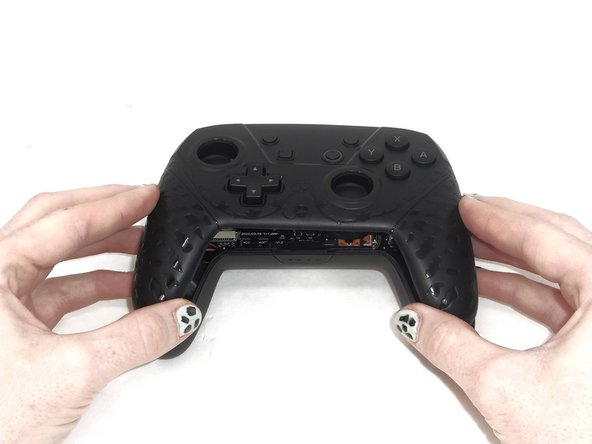
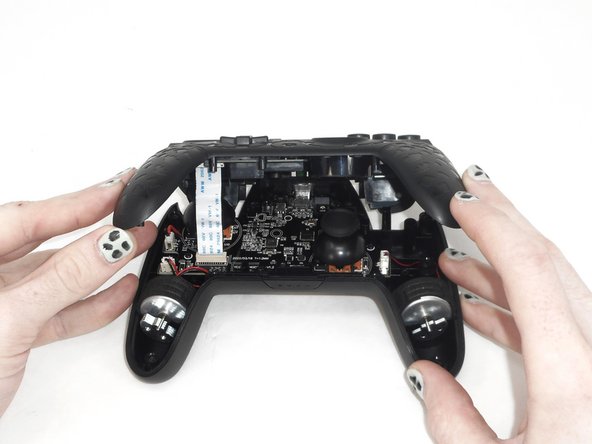
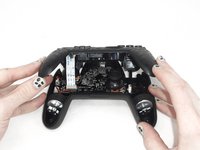
    • Slightly lift the front case.

    • Do not remove the front cover completely; it is still attached to the motherboard by a white ribbon cable.

    FixBotに聞いてみる

    コメントを追加

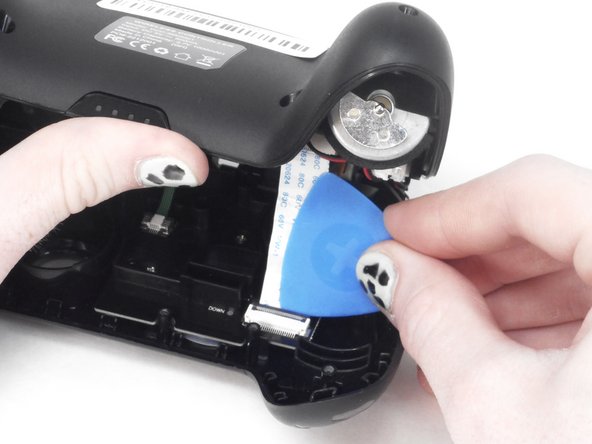
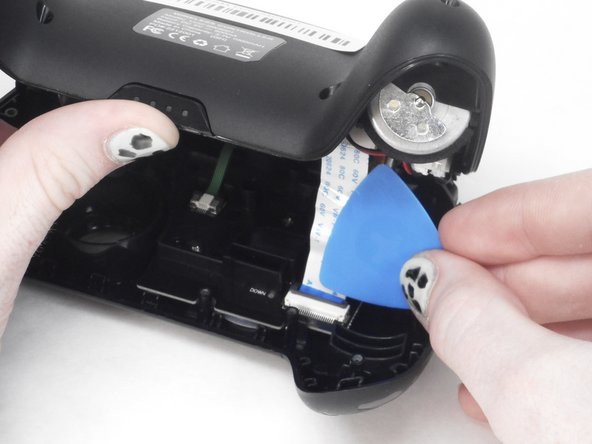
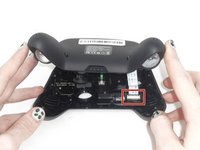
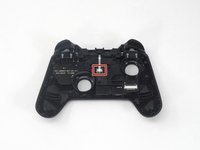
  6. YCCTEAM YCC-SW4001 Shoulder Buttons Replacement: 手順 6、 3の画像 1 YCCTEAM YCC-SW4001 Shoulder Buttons Replacement: 手順 6、 3の画像 2 YCCTEAM YCC-SW4001 Shoulder Buttons Replacement: 手順 6、 3の画像 3
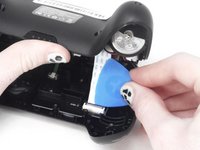
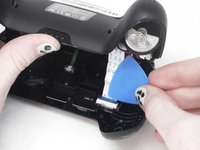
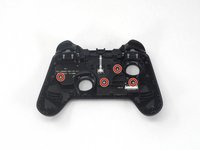
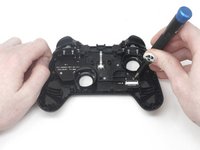
    • Use the tip of the opening pick to flip up the black locking flap of the ZIF connector.

    • The black flap holds the white ribbon cable in place.

    FixBotに聞いてみる

    コメントを追加

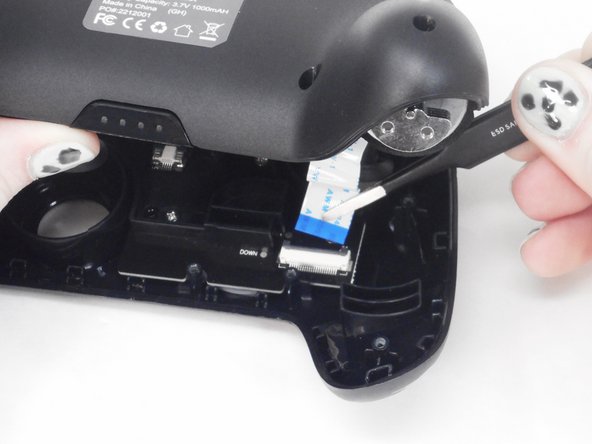
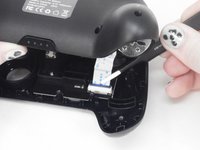
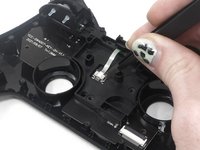
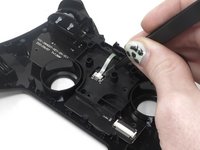
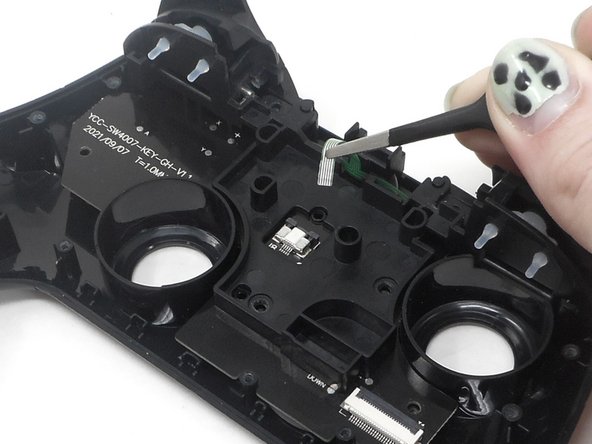
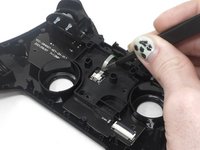
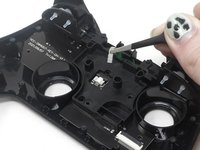
  7. YCCTEAM YCC-SW4001 Shoulder Buttons Replacement: 手順 7、 2の画像 1 YCCTEAM YCC-SW4001 Shoulder Buttons Replacement: 手順 7、 2の画像 2
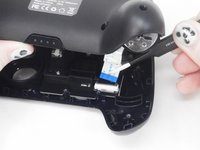
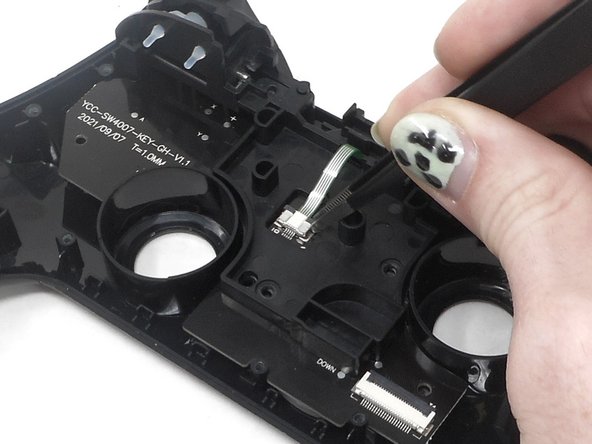
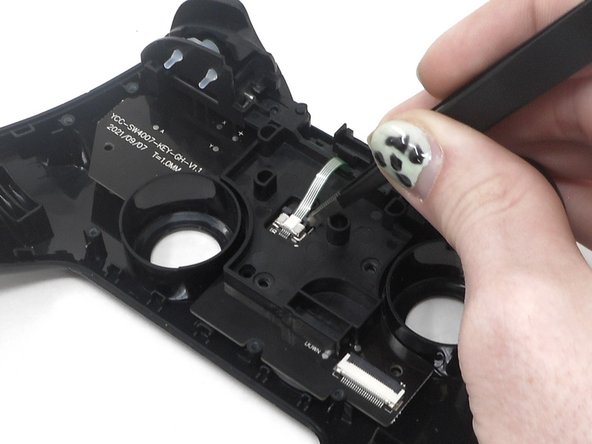
    • Use tweezers to disconnect the white ribbon cable from the ZIF connector.

    FixBotに聞いてみる

    コメントを追加

  8. YCCTEAM YCC-SW4001 Shoulder Buttons Replacement: 手順 8、 1の画像 1
    • Remove the front case.

    FixBotに聞いてみる

    コメントを追加

  9. YCCTEAM YCC-SW4001 Shoulder Buttons Replacement, Shoulder Buttons: 手順 9、 3の画像 1 YCCTEAM YCC-SW4001 Shoulder Buttons Replacement, Shoulder Buttons: 手順 9、 3の画像 2 YCCTEAM YCC-SW4001 Shoulder Buttons Replacement, Shoulder Buttons: 手順 9、 3の画像 3
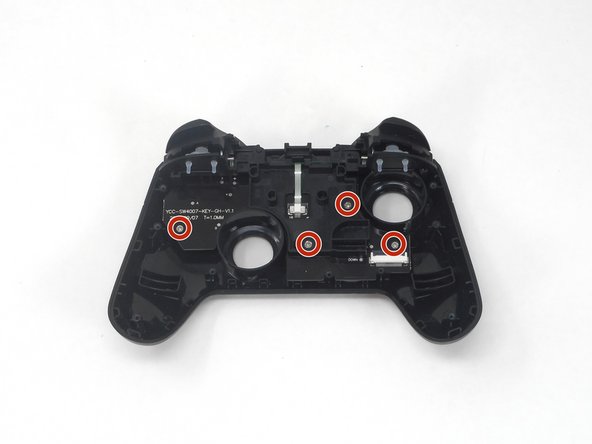
    • Flip over the front cover and remove the four 5.8 mm screws from the rear of the front cover using a Phillips screwdriver.

    FixBotに聞いてみる

    コメントを追加

  10. YCCTEAM YCC-SW4001 Shoulder Buttons Replacement: 手順 10、 3の画像 1 YCCTEAM YCC-SW4001 Shoulder Buttons Replacement: 手順 10、 3の画像 2 YCCTEAM YCC-SW4001 Shoulder Buttons Replacement: 手順 10、 3の画像 3
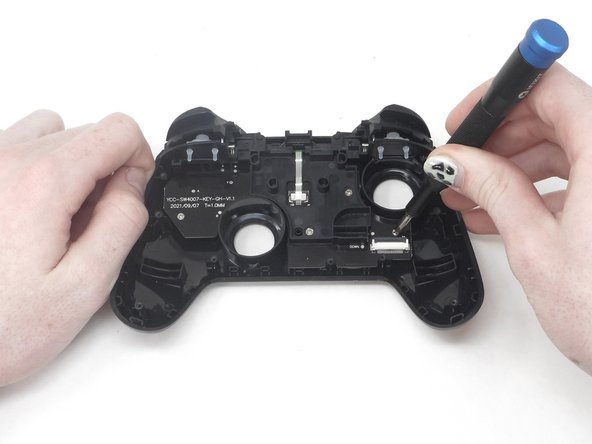
    • Flip up the ZIF locking flap.

    FixBotに聞いてみる

    コメントを追加

  11. YCCTEAM YCC-SW4001 Shoulder Buttons Replacement: 手順 11、 2の画像 1 YCCTEAM YCC-SW4001 Shoulder Buttons Replacement: 手順 11、 2の画像 2
    • Disconnect the cable from the ZIF connector using tweezers or by hand.

    FixBotに聞いてみる

    コメントを追加

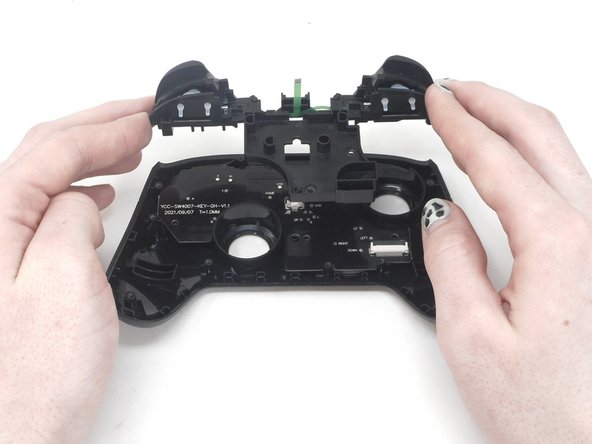
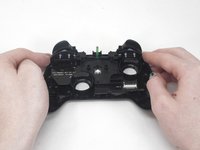
  12. YCCTEAM YCC-SW4001 Shoulder Buttons Replacement: 手順 12、 2の画像 1 YCCTEAM YCC-SW4001 Shoulder Buttons Replacement: 手順 12、 2の画像 2
    • Remove the circuit board and shoulder buttons assembly from the front cover.

    FixBotに聞いてみる

    コメントを追加

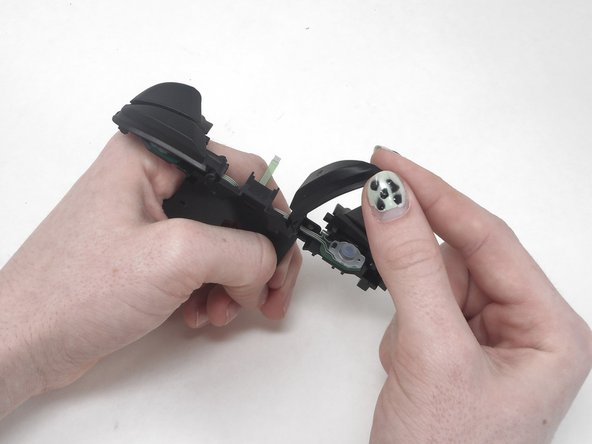
  13. YCCTEAM YCC-SW4001 Shoulder Buttons Replacement: 手順 13、 3の画像 1 YCCTEAM YCC-SW4001 Shoulder Buttons Replacement: 手順 13、 3の画像 2 YCCTEAM YCC-SW4001 Shoulder Buttons Replacement: 手順 13、 3の画像 3
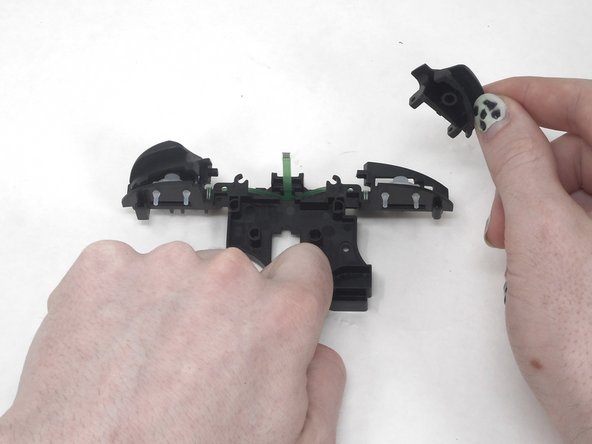
    • Remove the R button by hand.

    FixBotに聞いてみる

    コメントを追加

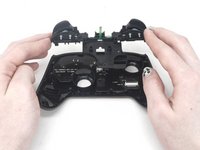
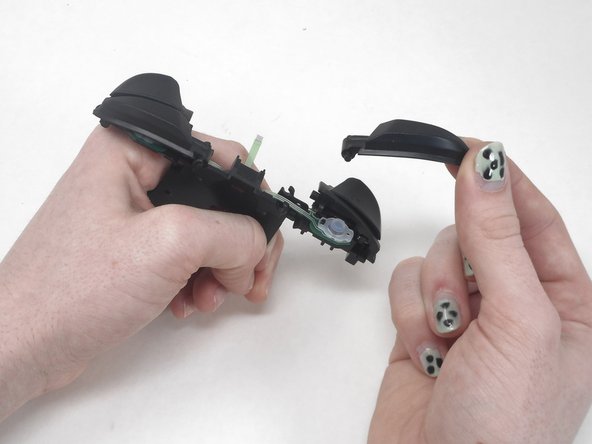
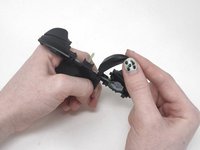
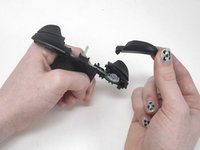
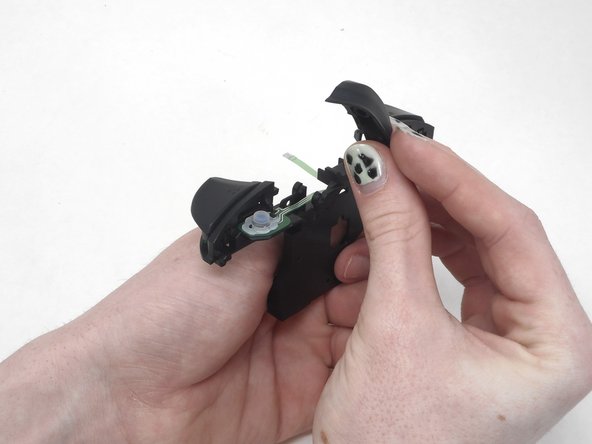
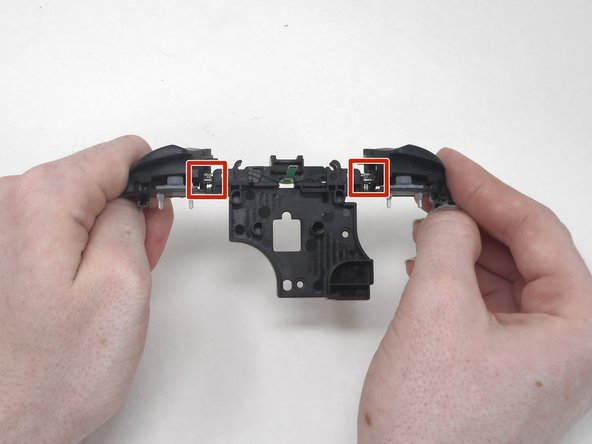
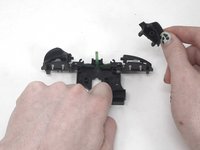
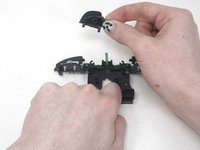
  14. YCCTEAM YCC-SW4001 Shoulder Buttons Replacement: 手順 14、 3の画像 1 YCCTEAM YCC-SW4001 Shoulder Buttons Replacement: 手順 14、 3の画像 2 YCCTEAM YCC-SW4001 Shoulder Buttons Replacement: 手順 14、 3の画像 3
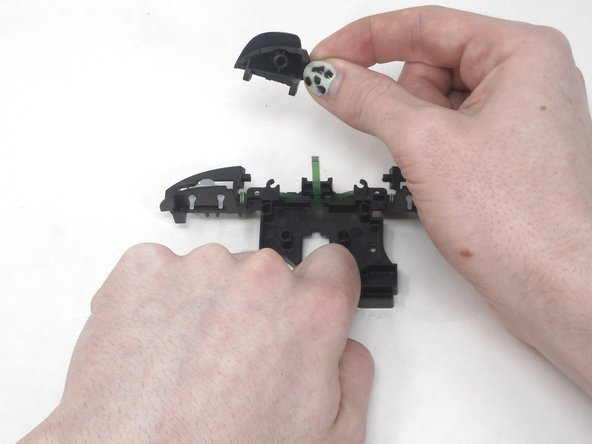
    • Remove the L button by hand.

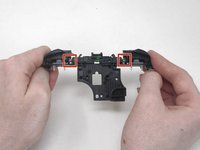
    • Flip the shoulder buttons attachment and look at the metal rods.

    FixBotに聞いてみる

    コメントを追加

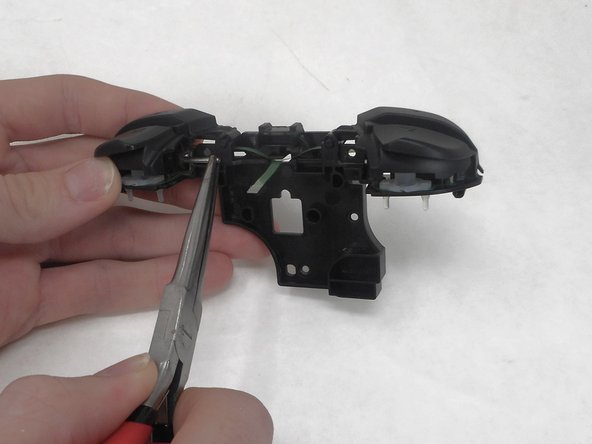
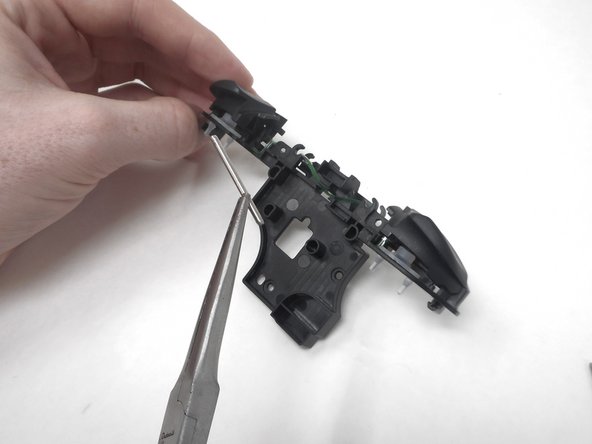
  15. YCCTEAM YCC-SW4001 Shoulder Buttons Replacement: 手順 15、 3の画像 1 YCCTEAM YCC-SW4001 Shoulder Buttons Replacement: 手順 15、 3の画像 2 YCCTEAM YCC-SW4001 Shoulder Buttons Replacement: 手順 15、 3の画像 3
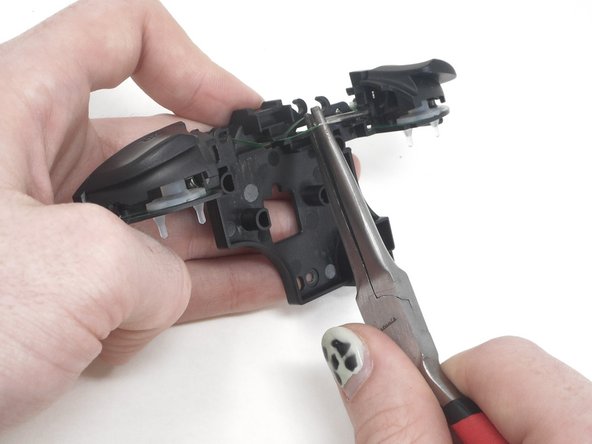
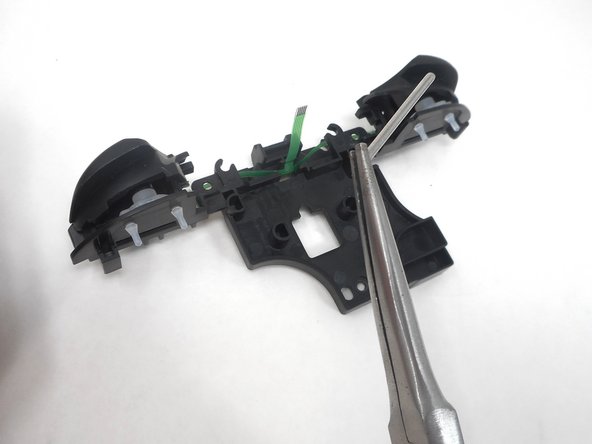
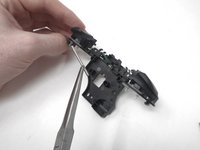
    • Remove the metal rod under "ZL" using the small needle nose pliers.

    FixBotに聞いてみる

    コメントを追加

  16. YCCTEAM YCC-SW4001 Shoulder Buttons Replacement: 手順 16、 3の画像 1 YCCTEAM YCC-SW4001 Shoulder Buttons Replacement: 手順 16、 3の画像 2 YCCTEAM YCC-SW4001 Shoulder Buttons Replacement: 手順 16、 3の画像 3
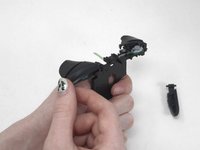
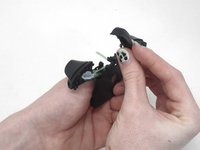
    • Remove the metal rod under "ZR" using small needle nose pliers.

    FixBotに聞いてみる

    コメントを追加

  17. YCCTEAM YCC-SW4001 Shoulder Buttons Replacement: 手順 17、 3の画像 1 YCCTEAM YCC-SW4001 Shoulder Buttons Replacement: 手順 17、 3の画像 2 YCCTEAM YCC-SW4001 Shoulder Buttons Replacement: 手順 17、 3の画像 3
    • Remove the ZL and ZR buttons by hand.

    FixBotに聞いてみる

    コメントを追加

終わりに

To reassemble your device, follow these instructions in reverse order.

キャンセル: このガイドを終了できませんでした。

作成者

2人の作成者と共同で作成されました。

Sam Borwick

メンバー登録日: 02/15/24

333 ポイント

2のガイドは作成済み

チーム

University of Memphis, Team 1-1, Sneed Spring 2024 University of Memphis, Team 1-1, Sneed Spring 2024人のメンバー

UM-SNEED-S24S1G1

3 メンバー

6のガイドは作成済み

0件のガイドコメント

コメントを追加

統計データ:

過去 24時間: 0

過去 7 日: 2

過去 30 日: 22

今までの合計 424