はじめに
If your screen is unresponsive, refer to this guide. It provides step-by-step instructions for removing and replacing the screen of the Xgody D300. When followed carefully, these steps should ensure the device functions properly.
必要な工具と部品
-
-
Place the phone on a flat surface with the back facing up and the screen facing down.
-
Next, use the pry tool to remove the case cover.
 FixBotに聞いてみる
-
-
-
After removing the case cover, locate the indentation in the battery enclosure.
-
Next, use a finger or pry tool to lift the battery and remove it from the housing.
-
-
この手順で使用する道具:Tweezers$4.99
-
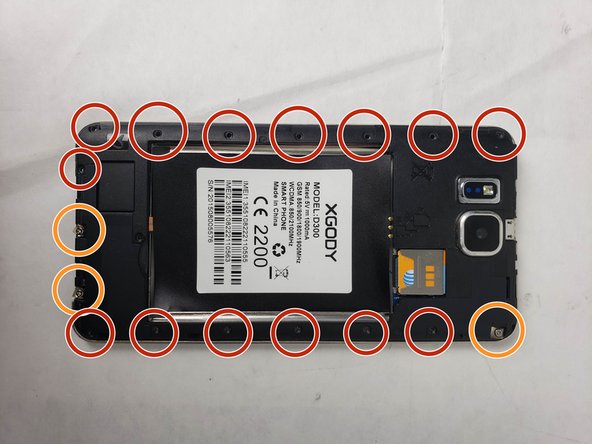
Next, remove the battery housing/protective cover using a Phillips #00 screwdriver.
-
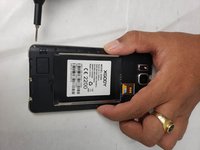
Use the Phillips #00 screwdriver to remove the screws securing the protective housing to the smartphone. There should be fourteen screws measuring 3 mm in length and one screw measuring 6 mm.
-
Three of the screws will remain attached to the protective housing and can be identified by a metal plate underneath them. In total, there are 18 screws.
-
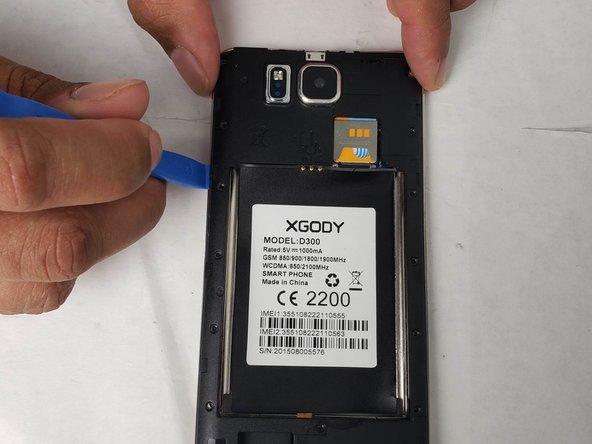
After loosening and removing all the screws, use the pry tool and tweezers to lift the housing along the edges. A sticky pad will hold the housing to the smartphone, do not hesitate to give it a firm tug until the housing separates from the sticky pad.
-
-
-
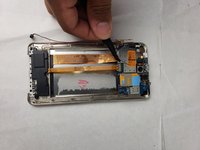
The internal components of the smartphone should now be exposed. To begin removing the motherboard, start by removing the screws securing both the motherboard and the vibrator to the smartphone case.
-
There are three screws securing the motherboard: two in the corners and one on the top right-hand side.
-
The vibrator is held in place by four screws, two at the top and two at the bottom.
-
-
-
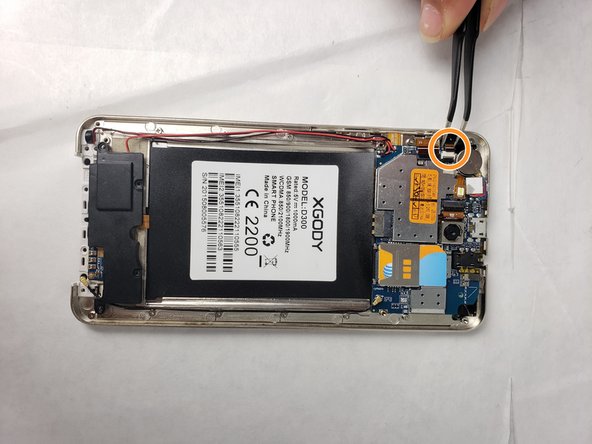
Next, locate the connections for the screen and other devices attached to the smartphone case. There are two connections, both on the right side of the motherboard.
-
One will be black. The other will be a gold orange.
-
Disconnect these connections by using tweezers to grip them and giving them a firm tug until they come loose.
-
-
-
-
Next, disconnect the hard drive from the motherboard by desoldering the connections.
-
The hard drive connections are located at the top of the motherboard, to the right of the forward-facing camera.
-
For soldering help, refer to this link: Soldering Skills
-
-
-
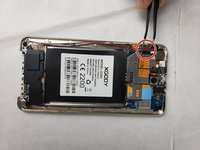
After disconnecting the wires from the motherboard, remove the protective sticker holding the wiring to the smartphone.
-
This sticker will be black, with another white sticker on top that lists the phone's specifications.
-
Using tweezers, grasp a corner of the sticker and pull until it comes off the smartphone.
-
-
-
Once the sticker is removed and the wires are free to move, remove the speaker from its housing.
-
The speaker is located on the bottom left side of the smartphone and is connected to the motherboard by a red and black wire.
-
To remove the speaker from its housing, use a pair of tweezers to grasp the speaker and pull firmly till it is free of the housing.
-
-
-
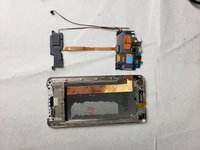
The motherboard should now be free from the smartphone. To finish removing it, use your fingers or tweezers to lift the board and set it aside.
-
Insert your new Motherboard.
-
-
-
After removing the motherboard, locate the three screws attaching the speaker grill to the bottom of the device. Remove these screws using a 00 Philips head screwdriver.
-
-
-
Once the screws holding the speaker grill to the smartphone case have been removed, use tweezers to lift the speaker grill.
-
The speaker grill will remain attached to the device but needs to be moved out of the way to remove the case retainer.
-
Fold the speaker grill over onto the area where the vibrator was previously located.
-
-
-
Now that the case retainer is accessible, remove it by grasping it with your fingers or tweezers and giving it a firm tug until it comes free from the device.
-
This will expose the screen cover.
-
-
-
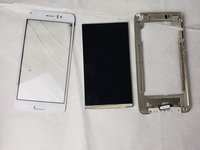
Next, remove the screen cover by following the exposed edge with your finger or a pry tool to break it free from the sticky tack holding it to the screen.
-
Once all the sticky tack has been loosened, the screen cover will come off.
-
-
-
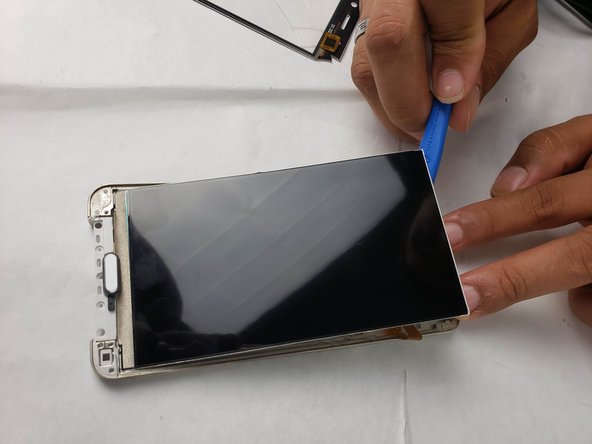
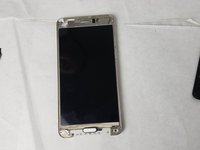
Place your phone so the screen is facing up.
-
Use the iFixit pry tool to separate the LCD screen from the phone housing, starting from any edge.
-
Fully remove the LCD screen from the housing.
-


To reassemble your device, follow the steps in reverse order. Take your e-waste to an R2 or e-Stewards certified recycler.
2 の人々がこのガイドを完成させました。
チーム

Embry-Riddle Aeronautical University, Team S24-G5, McClure Fall 2019 Embry-Riddle Aeronautical University, Team S24-G5, McClure Fall 2019人のメンバー
ERAU-MCCLURE-F19S24G5
4 メンバー
20のガイドは作成済み