ビデオの概要
-
-
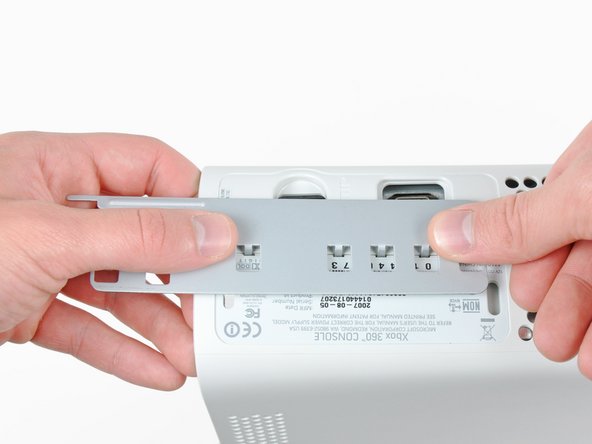
スパッジャーの平面側先端を、フェイスプレートと電源ボタン付近の外側ケースの間に差し込みます。
-
スパッジャーをフェイスプレートの端に沿ってスライドして、コンソール正面側に固定されているクリップを外します。
-
-
-
-
スパッジャーの先端を使って、メタルケース上のイジェクトボタンを固定しているクリップを外します。
-
スパッジャーの平面側先端を、イジェクトボタンと光学ドライブの間に差し込みます。
-
イジェクトボタンを固定しているポートからこじ開けて外します。
-
-
-
スパッジャーの平面側先端を、冷却ファンダクトの上部の小さな長方形の開口部分に差し込みます。
-
ファンダクトの固定クリップを慎重に外します。
-
Xbox 360の開口ツールでも対応できます。
-
-
-
スパッジャーの平面側先端を使って、RFモジュールの上部と左端に沿って、RFモジュールシールドを固定しているクリップを外します。
-
RFモジュールシールドをコンソールから取り出します。
-
-
-
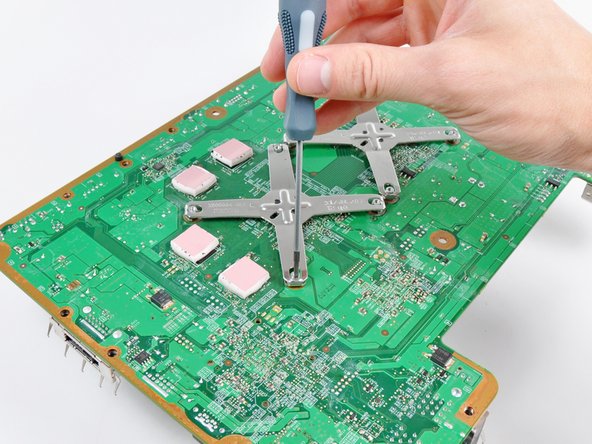
小さなマイナスドライバーの先端を、ヒートシンク上のXクランプと固定ポストの間に差し込みます。
-
固定ポスト上に生じる小さな溝の上にXクランプが持ち上がるまで、固定ポストよりXクランプをこじ開けて外します。
-
-
-
小さいマイナスドライバーの先端を、ヒートシンク上のXクランプと固定ポストの間に差し込みます。
-
Xクランプを、固定ポスト内の小さな溝の上まで持ち上げるまで、保持ポストからこじ開けます。
-
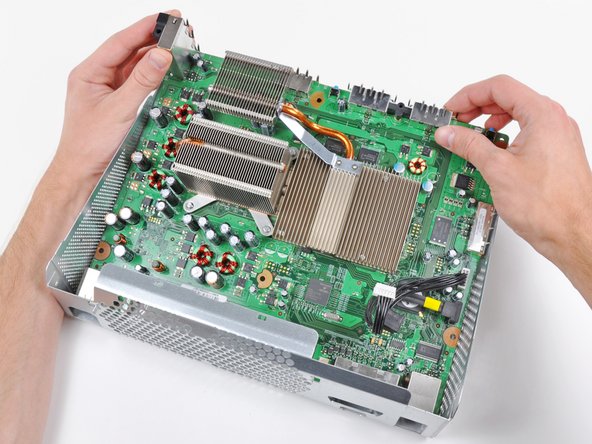
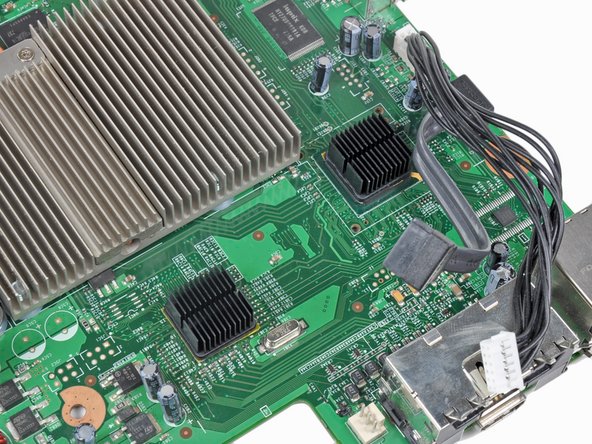
マザーボードからCPUヒートシンクを取り出します。
-
-
-
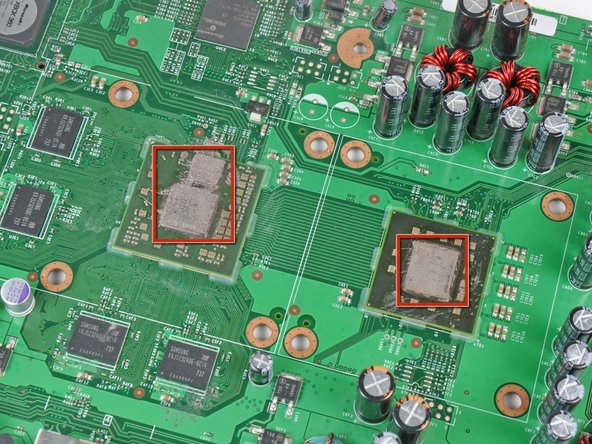
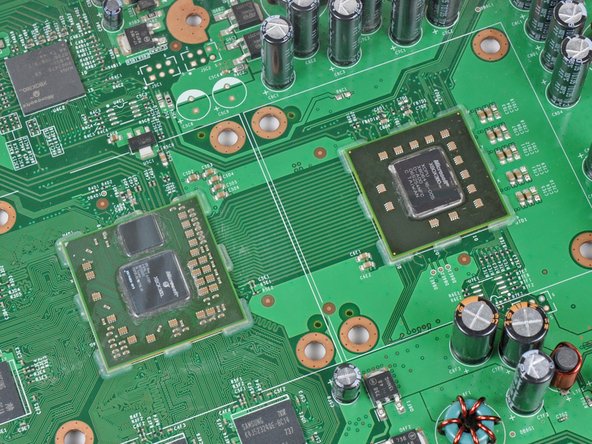
両プロセッサからヒートシンクを取り外した後、プラスチック製のスパッ ジャーで両プロセッサとヒートシンクの内側の面に残っている古い放熱グリスを全て除去してください。
-


628 の人々がこのガイドを完成させました。
以下の翻訳者の皆さんにお礼を申し上げます:
100%

Midori Doiさんは世界中で修理する私たちを助けてくれています! あなたも貢献してみませんか?
翻訳を始める ›

69 件のコメント
I didn't have a heat gun so I disabled the fan and left the 360 on for 1/2 hour to heat up the weak solder points and then let it cool down for 1/2 hour before re-assembling the 360. This gave me all green lights.
ChasCam580 - 返信
Unfortunately this repair only lasted a few months on my xbox, going to try it again and hope for better results.
When you take it apart, I recommend following our reflow guide before installing the RROD fix kit. I recently did this to an X360 that the RROD kit fixed only momentarily and afterwards it worked good as new.
I did the relowing of the motherboard this weekend, hopefully it lasts longer than the previous repair.
zima539 -
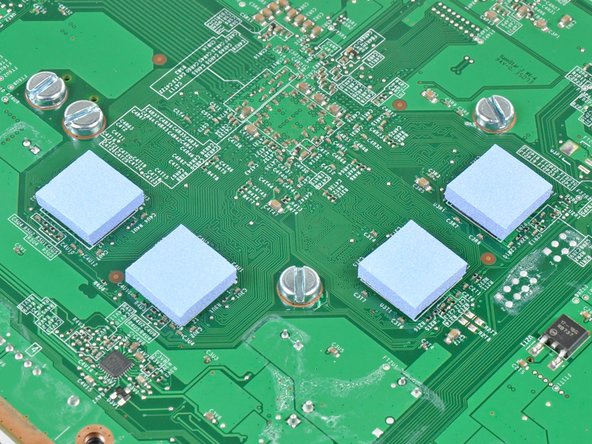
I followed this guide and even performed the reflowing procedure. It worked perfectly. I noticed that when I took my Xbox 360 apart there were no existing thermal pads on the RAM chips on the underside of the mobo. Perhaps this caused the problem...? Either way this guide was thorough and easy to follow. Be sure to read ahead a step or two because some things are described generally in one step, then in better detail in the step after.