メインコンテンツにスキップ
リペアコミュニティに参加 - アカウントの作成

VTech InnoTab 2 Headphone Jack Replacement

必要な工具と部品

    1. VTech InnoTab 2 Headphone Jack Replacement, Battery: 手順 1、 3の画像 1 VTech InnoTab 2 Headphone Jack Replacement, Battery: 手順 1、 3の画像 2 VTech InnoTab 2 Headphone Jack Replacement, Battery: 手順 1、 3の画像 3
      • Apply slight pressure and slide the button above the battery cabinet to the right to open.

      • Remove battery cabinet cover by sliding away from the center of device.

      • This device requires 4AA batteries to function without the AC adaptor.

      FixBotに聞いてみる

      コメントを追加

    1. VTech InnoTab 2 Headphone Jack Replacement, Back Panel: 手順 2、 3の画像 1 VTech InnoTab 2 Headphone Jack Replacement, Back Panel: 手順 2、 3の画像 2 VTech InnoTab 2 Headphone Jack Replacement, Back Panel: 手順 2、 3の画像 3
      • Remove all nine plastic caps from the back of the device using the plastic opening tool.

      • These covers are made of hard plastic so they may be difficult to remove.

      FixBotに聞いてみる

      コメントを追加

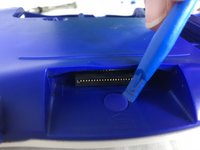
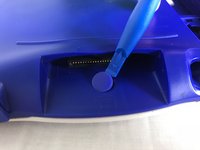
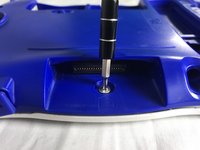
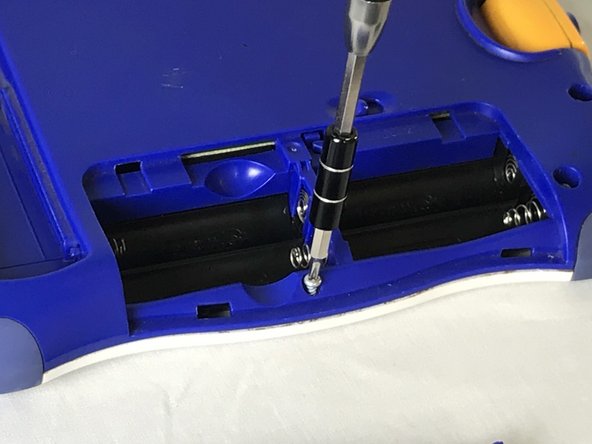
    2. VTech InnoTab 2 Headphone Jack Replacement: 手順 3、 3の画像 1 VTech InnoTab 2 Headphone Jack Replacement: 手順 3、 3の画像 2 VTech InnoTab 2 Headphone Jack Replacement: 手順 3、 3の画像 3
      • Remove the hard rubber tab located by the cartridge slot using the plastic opening tool.

      • Be careful not to apply excessive force.

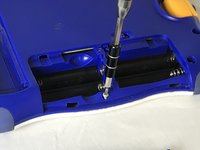
      • Once the rubber tab is removed unscrew the single 7 mm screw using a J0 screwdriver.

      FixBotに聞いてみる

      コメントを追加

    3. VTech InnoTab 2 Headphone Jack Replacement: 手順 4、 2の画像 1 VTech InnoTab 2 Headphone Jack Replacement: 手順 4、 2の画像 2
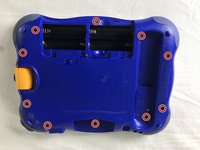
      • Remove all ten 7mm screws from the back panel of the device using a JO bit screwdriver.

      • Do not use excessive force while removing the screws to prevent damaging the plastic case.

      FixBotに聞いてみる

      コメントを追加

    4. VTech InnoTab 2 Headphone Jack Replacement: 手順 5、 2の画像 1 VTech InnoTab 2 Headphone Jack Replacement: 手順 5、 2の画像 2
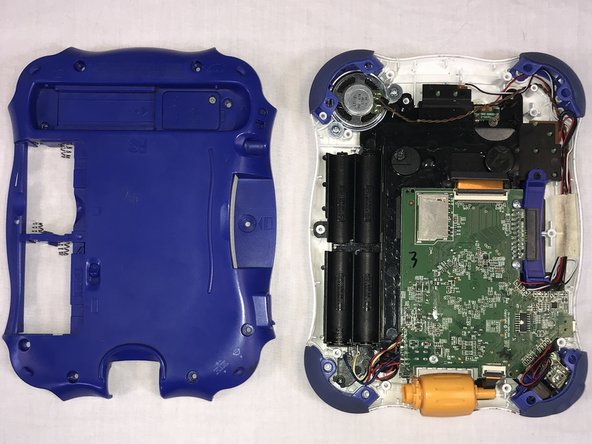
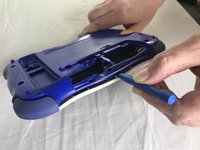
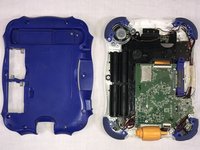
      • Using the plastic opening tool, detach the back plate from the front piece.

      • Do not use excessive force. If the back plate does not gently come on double check that all screws were removed.

      • Once the back panel is removed, you will be able to see the motherboard and other components within the device.

      FixBotに聞いてみる

      コメントを追加

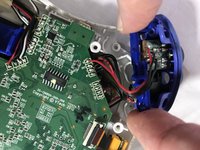
    1. VTech InnoTab 2 Headphone Jack Replacement, Headphone Jack: 手順 6、 3の画像 1 VTech InnoTab 2 Headphone Jack Replacement, Headphone Jack: 手順 6、 3の画像 2 VTech InnoTab 2 Headphone Jack Replacement, Headphone Jack: 手順 6、 3の画像 3
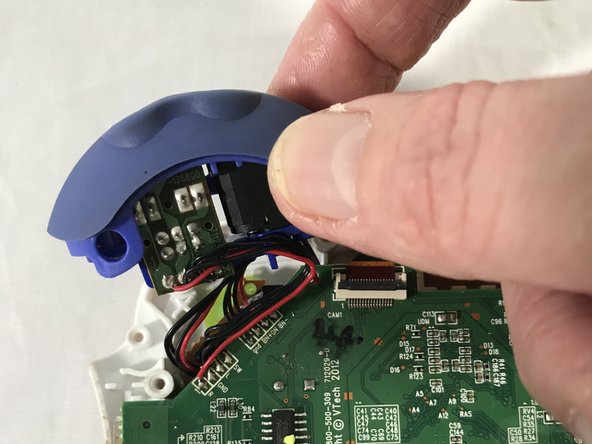
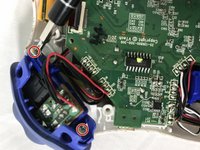
      • Remove the two 7 mm screws from the left bumper of the device using a JO screwdriver.

      • Be careful not to pull to hard when removing the bumper to avoid damage to the circuit.

      FixBotに聞いてみる

      コメントを追加

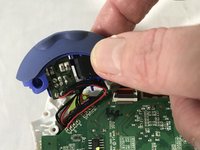
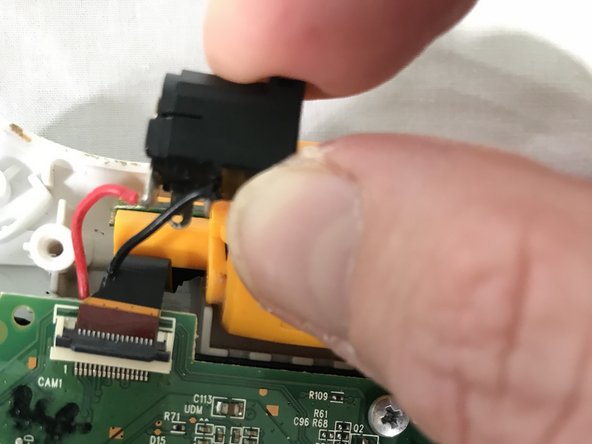
    2. VTech InnoTab 2 Headphone Jack Replacement: 手順 7、 3の画像 1 VTech InnoTab 2 Headphone Jack Replacement: 手順 7、 3の画像 2 VTech InnoTab 2 Headphone Jack Replacement: 手順 7、 3の画像 3
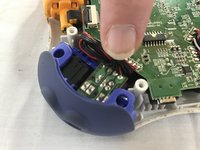
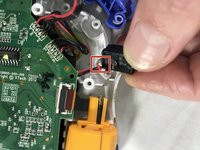
      • Use your fingers to gently remove the headphone jack.

      • De-solder the points shown to fully remove the headphone jack from the motherboard.

      • A soldering guide offered by IFIXIT can be found here Soldering Skills

      FixBotに聞いてみる

      コメントを追加

終わりに

To reassemble your device, follow these instructions in reverse order.

キャンセル: このガイドを終了できませんでした。

作成者

1人の作成者と共同作成されました。

Roberto Valdes

メンバー登録日: 10/18/17

302 ポイント

3のガイドは作成済み

チーム

USF Tampa, Team S1-G85, Cagle Fall 2017 USF Tampa, Team S1-G85, Cagle Fall 2017人のメンバー

USFT-CAGLE-F17S1G85

2 メンバー

30のガイドは作成済み

0件のガイドコメント

コメントを追加

統計データ:

過去 24時間: 1

過去 7 日: 8

過去 30 日: 24

今までの合計 530