はじめに
このガイドを使用して、Steam Deck OLEDのSSDを交換またはアップグレードしてください。Steam Deck OLED のSSDは、シングルサイドM.2 2230で構成されています。
デバイスの修理中は、一般的な 静電気放電(ESD)の安全手順に従ってください。
これらの手順は、SSDを物理的に取り外して交換する方法のみを説明しています。OSをインストールし、交換したSSDを意図したとおりに機能させるには、追加のソフトウェアツールと手順が必要です。
Valveの Steam Deck リカバリー方法 に従って、SteamOSでSteam DeckのSSDをリカバリ、修復してください。 Windowsのインストールについては、公式リソースよりこちらを参照してください。
必要な工具と部品
-
-
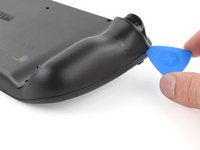
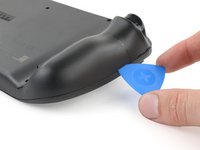
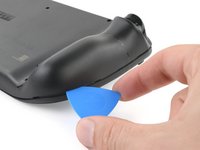
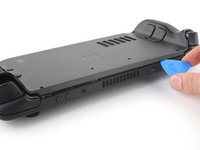
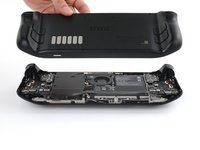
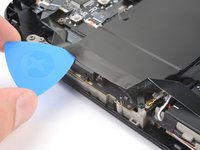
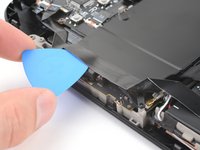
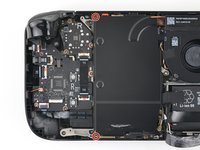
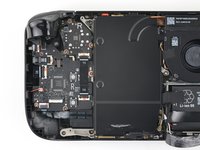
バックカバーとフロントシェルの間、トリガーの1つ近くに、オープニングピックを斜め上向きに差し込みます。
-
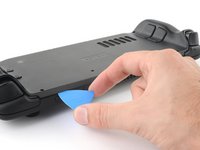
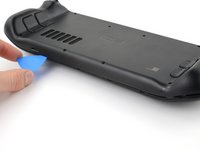
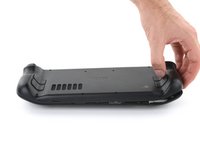
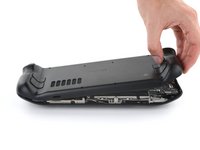
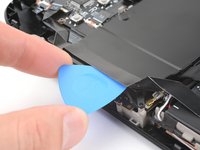
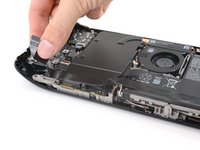
ハンドルの端に沿ってピックをスライドさせ、フロントシェルを固定しているクリップを外します。
-
-
-
-
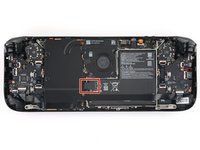
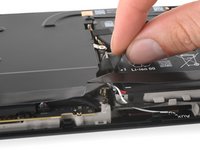
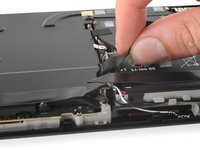
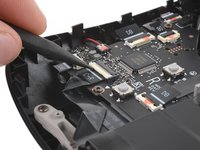
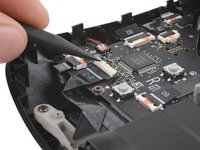
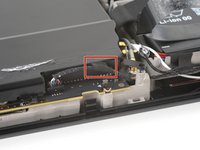
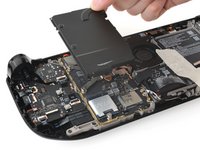
バッテリーの左側にあるバッテリーケーブルプルタブを握ります。
-
バッテリーケーブルをマザーボードシールドからまっすぐ(バッテリーの方向) にしっかりと引っ張って外します。
-
-
この手順で使用する道具:Tweezers$4.99
-
-
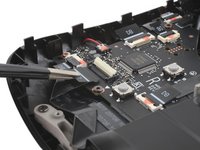
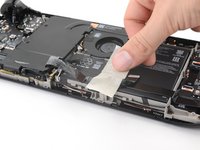
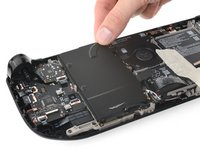
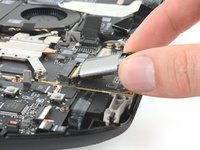
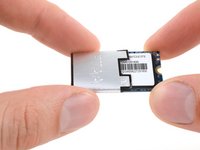
SSDからシールドをスライドさせて外します。
-
シールドが引っかかっていると感じたら、シールドを剥がして外します。再利用する場合は、できるだけ良い状態に保つように注意してください。
-
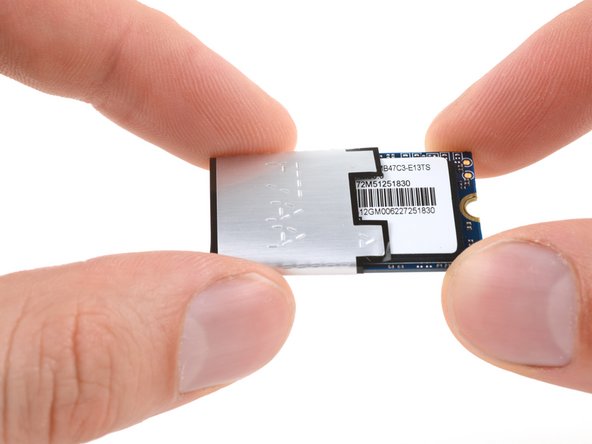
SSDのみが残ります。
-


デバイスを再組み立てするには、これらのインストラクションを逆の順番に従って作業を進めてください。
SteamOSでSteam Deck OLEDのSSDをリカバリー、修復、再イメージするには、Valveの Steam Deckリカバリー方法に従ってください。.
e-wasteを処理する場合は、認可済みリサイクルセンターR2を通じて廃棄してください。
修理がうまく進みませんか?ベーシックなトラブルシューティングを試してみるか、Steam Deck OLEDのアンサーコミュニティを参照してください。
37 の人々がこのガイドを完成させました。
以下の翻訳者の皆さんにお礼を申し上げます:
100%

Midori Doiさんは世界中で修理する私たちを助けてくれています! あなたも貢献してみませんか?
翻訳を始める ›

チーム

6件のガイドコメント
Hardest part is unclipping the clips XD
I have completed this but there are ways this could be done better and safely. I have left comments under each step. Step 6 to disconnect the battery should be after Step 10. In my case, the connector did not come out and the pull tab nearly separated creating a risk for damage if I had proceeded further. Removing the shield gives much better access so you can wiggle the connector out using your nail..
Step 8 is to separate the cable adhesive. Every build may have different amount of adhesive applied making this a risky venture. In trying to separate the cable, a lot of force was needed in my deck which could have damaged the cable. A guide on YouTube was to simply work around this. I wish I had seen it prior to have completely avoided this risk.
All in all, I will say a version 2 of this guide is needed.
this is true
Two things that could be helpful for anyone attempting this :
1. If it's your first time opening a deck, the hardest part is to open up the shell. After removing the screws You just need the guitar pick plastic thing. Taking your time is key and will make it way less likely to scratch the case or break a tab as you'll apply just enough force to unclip.
2. If you've already opened a regular deck and it's your first OLED, in some ways it's easier but in others a bit harder: when I attempted step 6 the battery connector wouldn't budge so I just left it plugged (the battery was almost empty and the deck was in battery storage mode, though). I did step 7 but skipped step 8 and simply folded the whole cable + shield part over the battery while replacing the SSD.
On reassembly, no point in tightening the screws too much, it increases the risk of stripping the screw or breaking the screw threads.
Good luck! (and DON'T FORGET TO REMOVE THE SD CARD BEFORE YOU START!)
You can totally skip the step 8 if you unplug the interconnection cable and gently remove ONLY the adesive of the speaker, there is no need to unglue the interconnection cable from the motherboard shield, just remove the two shields' screw and carefully lift it up to easily access to the ssd.