メインコンテンツにスキップ
リペアコミュニティに参加 - アカウントの作成

Sega Dreamcast Fan Replacement

必要な工具と部品

  1. Sega Dreamcast Fan Replacement, Expansion Bay: 手順 1、 2の画像 1 Sega Dreamcast Fan Replacement, Expansion Bay: 手順 1、 2の画像 2
    • Verify that the console is disconnected from the AC outlet before you begin.

    • Flip the console over on its back.

    • Take note of your model number, in case replacement parts are needed.

    FixBotに聞いてみる

    コメントを追加

  2. Sega Dreamcast Fan Replacement: 手順 2、 3の画像 1 Sega Dreamcast Fan Replacement: 手順 2、 3の画像 2 Sega Dreamcast Fan Replacement: 手順 2、 3の画像 3
    • Remove the expansion bay by applying pressure to the small clip on the expansion bay while prying it away from the console.

    FixBotに聞いてみる

    コメントを追加

  3. Sega Dreamcast Fan Replacement, Top Cover: 手順 3、 1の画像 1
    • Locate and remove all four black 12mm Phillips #02 screws from the underside of the console.

    • Note: Remove the expansion bay to locate the fourth screw

    FixBotに聞いてみる

    コメントを追加

  4. Sega Dreamcast Fan Replacement: 手順 4、 1の画像 1
    • Internal components can be loose. Be careful that they do not fall out when removing the cover.

    • Turn the console right side up.

    • Remove the top cover by gently lifting the upper portion of the console.

    FixBotに聞いてみる

    コメントを追加

  5. Sega Dreamcast Fan Replacement, Fan: 手順 5、 1の画像 1
    • Remove the white fan header by gently pulling it away from from the controller port.

    • The white fan header may already be detached if you have completed the Controller Port Disassembly Guide.

    FixBotに聞いてみる

    コメントを追加

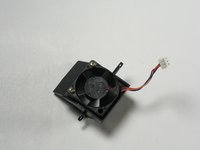
  6. Sega Dreamcast Fan Replacement: 手順 6、 1の画像 1
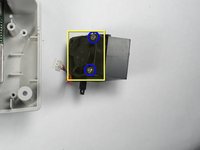
    • Remove the two 8.5mm Philips #00 screws from the fan bracket.

    FixBotに聞いてみる

    コメントを追加

  7. Sega Dreamcast Fan Replacement: 手順 7、 2の画像 1 Sega Dreamcast Fan Replacement: 手順 7、 2の画像 2
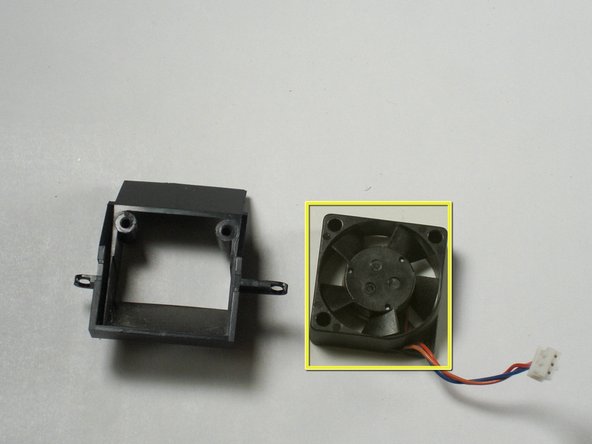
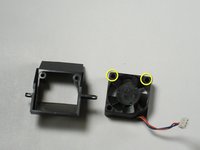
    • Remove the two 17.5mm Philips #00 screws from the fan bracket.

    • Remove the fan from the bracket.

    FixBotに聞いてみる

    コメントを追加

  8. Sega Dreamcast Fan Replacement, Fan: 手順 8、 2の画像 1 Sega Dreamcast Fan Replacement, Fan: 手順 8、 2の画像 2
    • Connect the new fan to the fan bracket using two 17.5mm Philips #00 screws.

    • Replace the fan bracket in the Dreamcast using two 8.5mm Philips #00 screws.

    FixBotに聞いてみる

    コメントを追加

終わりに

To reassemble your device, follow these instructions in reverse order.

キャンセル: このガイドを終了できませんでした。

6 の人々がこのガイドを完成させました。

作成者

5人の作成者と共同で作成されました。

Thorr686

メンバー登録日: 11/06/09

528 ポイント

2のガイドは作成済み

チーム

Cal Poly, Team 5-1, Regan Fall 2009 Cal Poly, Team 5-1, Regan Fall 2009人のメンバー

CPSU-REGAN-F09S5G1

5 メンバー

29のガイドは作成済み

0件のガイドコメント

コメントを追加

統計データ:

過去 24時間: 4

過去 7 日: 16

過去 30 日: 93

今までの合計 20,598