メインコンテンツにスキップ
リペアコミュニティに参加 - アカウントの作成

Samsung SGH A707 Display Replacement

必要な工具と部品

  1. Samsung SGH A707 Display Replacement, Battery: 手順 1、 1の画像 1
    • Press on the markings on the cover and pull it down to reveal the battery.

    FixBotに聞いてみる
    コメントを追加

  2. Samsung SGH A707 Display Replacement: 手順 2、 1の画像 1
    • Use your fingers to pull the battery out of its position. You may also flip the phone and the battery will fall out.

    FixBotに聞いてみる
    コメントを追加

  3. Samsung SGH A707 Display Replacement: 手順 3、 1の画像 1
    • Here is the phone without the battery.

    FixBotに聞いてみる

    コメントを追加

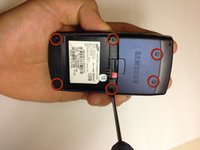
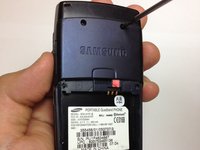
  4. Samsung SGH A707 Display Replacement, Motherboard: 手順 4、 2の画像 1 Samsung SGH A707 Display Replacement, Motherboard: 手順 4、 2の画像 2
    • Unscrew the six screws on the back of the phone using the Phillips #0 screw driver.

    FixBotに聞いてみる

    コメントを追加

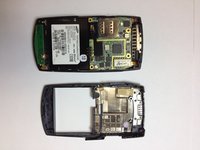
  5. Samsung SGH A707 Display Replacement: 手順 5、 1の画像 1
    • Use the prying tool the pry off the phone's plastic frame.

    FixBotに聞いてみる

    コメントを追加

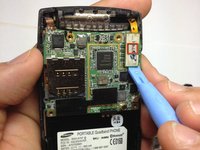
  6. Samsung SGH A707 Display Replacement: 手順 6、 3の画像 1 Samsung SGH A707 Display Replacement: 手順 6、 3の画像 2 Samsung SGH A707 Display Replacement: 手順 6、 3の画像 3
    • Use the prying tool to disconnect the rectangular connector.

    FixBotに聞いてみる

    コメントを追加

  7. Samsung SGH A707 Display Replacement: 手順 7、 1の画像 1
    • Use the prying tool to disconnect the small connector.

    FixBotに聞いてみる

    コメントを追加

  8. Samsung SGH A707 Display Replacement: 手順 8、 1の画像 1
    • Gently pull off the circuit board.

    FixBotに聞いてみる

    コメントを追加

  9. Samsung SGH A707 Display Replacement: 手順 9、 1の画像 1
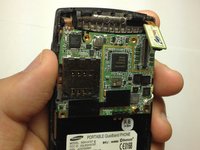
    • Here is the phone without the logic board.

    FixBotに聞いてみる

    コメントを追加

  10. Samsung SGH A707 Display Replacement, Front Pane: 手順 10、 2の画像 1 Samsung SGH A707 Display Replacement, Front Pane: 手順 10、 2の画像 2
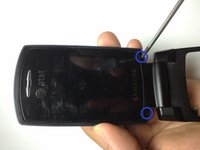
    • Use the Phillips #0 screw driver to remove the two screws.

    • Place the screws in a safe place.

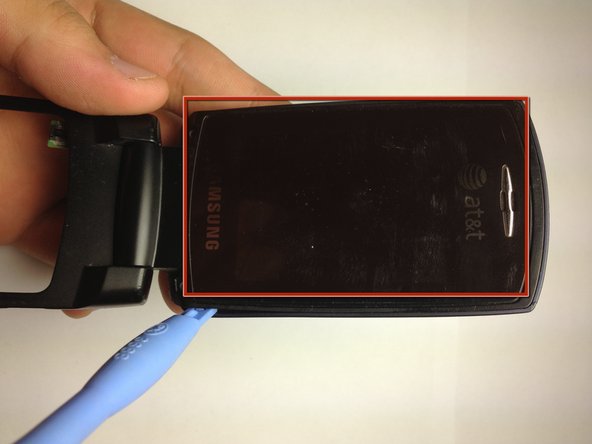
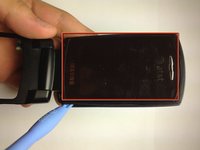
    • Use the prying tool to gently pry the screen off, by slowly moving the prying tool around the entire edge of the screen (roughly highlighted with a red rectangle). You must be very gentle, otherwise the screen will crack.

    FixBotに聞いてみる

    コメントを追加

  11. Samsung SGH A707 Display Replacement: 手順 11、 1の画像 1
    • Now we have access to the camera.

    • We also have access to the speakers.

    • Disconnect the flat cable to separate the two pieces.

    FixBotに聞いてみる

    コメントを追加

  12. Samsung SGH A707 Display Replacement: 手順 12、 1の画像 1
    • Samsung SGH A707

    FixBotに聞いてみる

    コメントを追加

  13. Samsung SGH A707 Display Replacement, Display: 手順 13、 1の画像 1
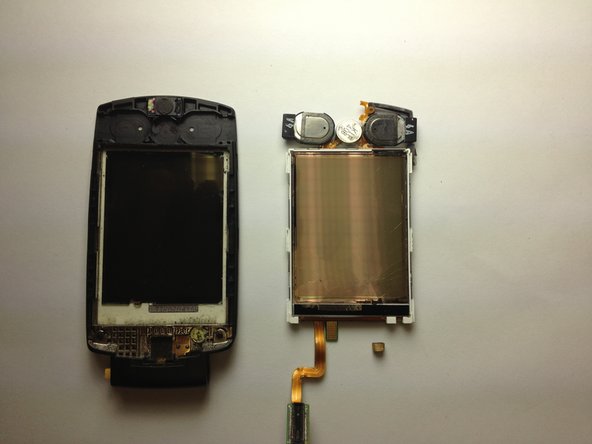
    • Separate the two flaps to make handling easier.

    • Use a screw driver to press a latch in along the axis of the hinge and simultaneously pull the pieces apart.

    • Gently pull the flat cable through the hinge.

    FixBotに聞いてみる

    コメントを追加

  14. Samsung SGH A707 Display Replacement: 手順 14、 1の画像 1
    • Use the prying tool to separate the screen from the rest of the phone.

    • Be careful not to lose the little cube of foam and wire that is under the circuit board. It is important in connecting two different circuits and must be placed back when the phone is reassembled.

    FixBotに聞いてみる

    コメントを追加

  15. Samsung SGH A707 Display Replacement: 手順 15、 2の画像 1 Samsung SGH A707 Display Replacement: 手順 15、 2の画像 2
    • Samsung SGH A707

    FixBotに聞いてみる

    コメントを追加

終わりに

To reassemble your device, follow these instructions in reverse order. Take your e-waste to an R2 or e-Stewards certified recycler.

キャンセル: このガイドを終了できませんでした。

作成者

6人の作成者と共同で作成されました。

yfm

メンバー登録日: 11/06/12

25 ポイント

7のガイドは作成済み

チーム

University of Maryland, Team 1-1, Calloway Fall 2012 University of Maryland, Team 1-1, Calloway Fall 2012人のメンバー

UMD-CALLOWAY-F12S1G1

4 メンバー

15のガイドは作成済み

0件のガイドコメント

コメントを追加

統計データ:

過去 24時間: 0

過去 7 日: 6

過去 30 日: 31

今までの合計 1,806