この翻訳は、ソースガイドの最新の更新を反映していない可能性があります。 翻訳の更新に協力してください。 または ソースガイドを参照してください。
必要な工具と部品
-
この手順は未翻訳です。 翻訳を手伝う。
-
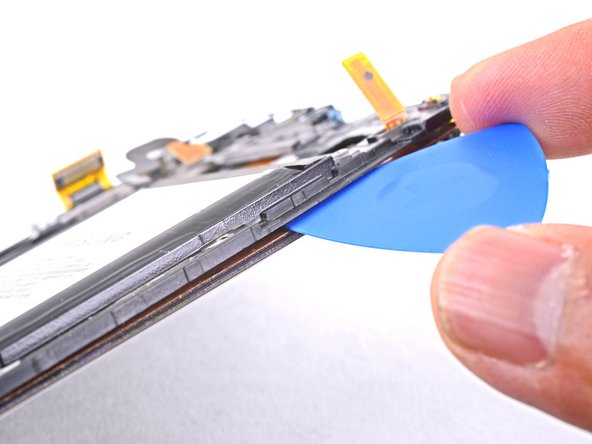
Prepare an iOpener and apply it to the left edge of the display for about two minutes.
-
-
この手順は未翻訳です。 翻訳を手伝う。
-
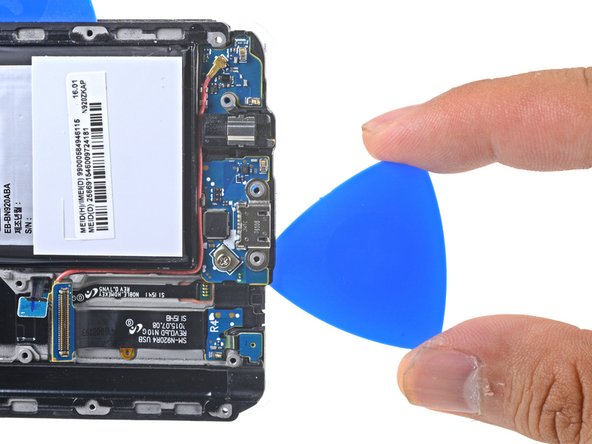
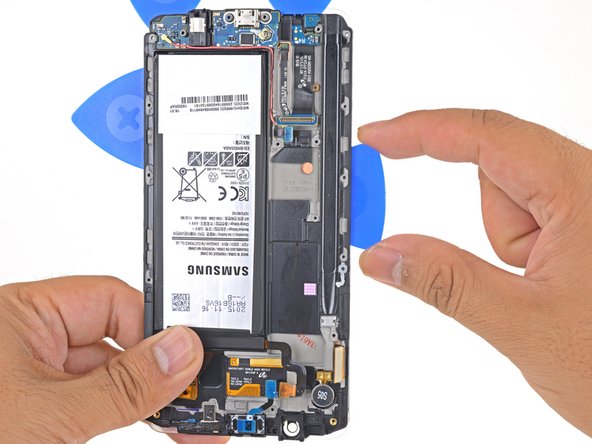
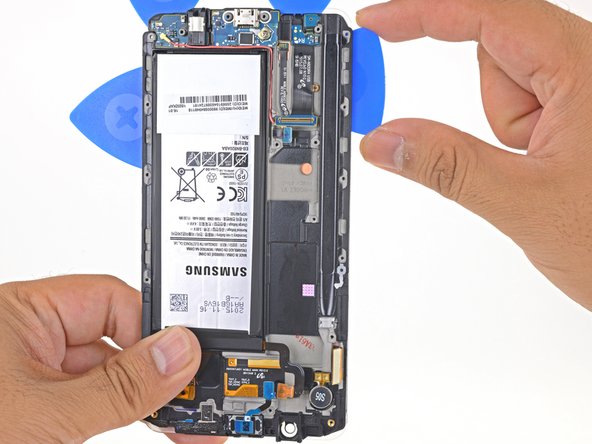
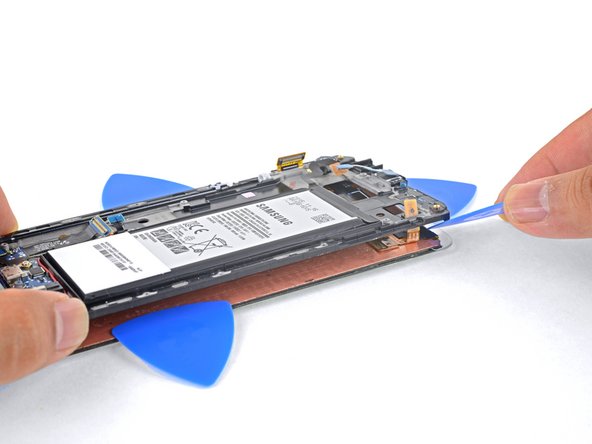
Slide the opening pick down the battery-side of the phone, separating the adhesive.
-
Stop when you get to the bottom of the battery to avoid damaging delicate capacitive buttons at the bottom of the display.
-
Go slowly so that the tip doesn't slip out of the seam. If sliding becomes difficult, reheat and reapply the iOpener.
-
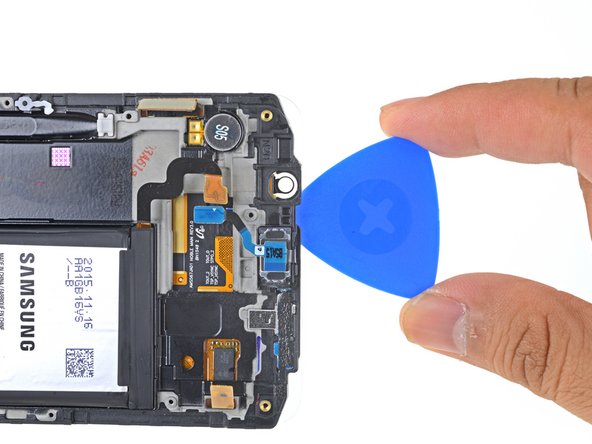
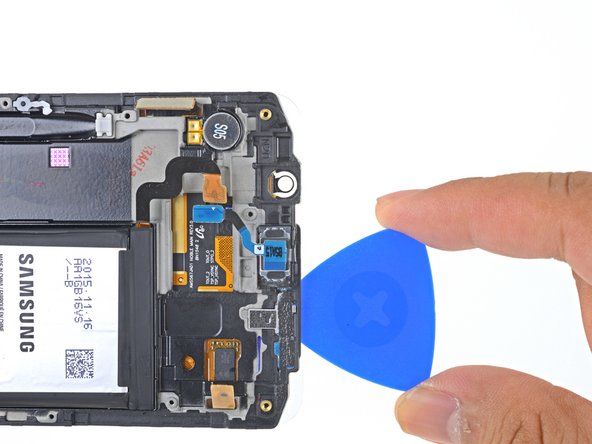
Leave the pick in place and grab a second pick as you proceed to the next step. Leaving the pick inserted can help prevent the glue you just separated from re-adhering.
-
-
この手順は未翻訳です。 翻訳を手伝う。
-
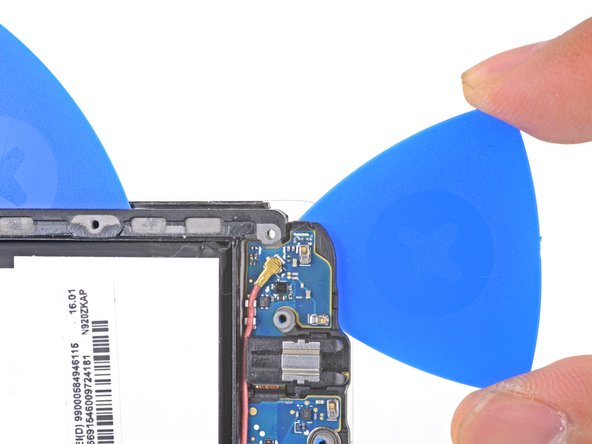
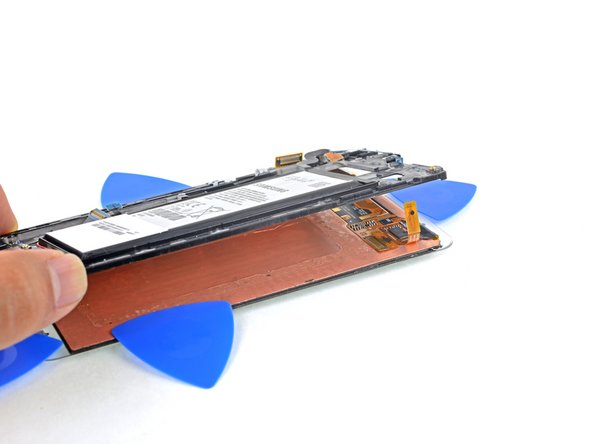
Heat an iOpener and apply it to the non-battery-edge of the phone.
-
Insert a pick no more than 0.25 inches (~6 mm) into the bottom edge of the phone.
-
Carefully slide the pick along the edge, starting at the headphone jack, until you reach just past the charging port.
-
-
-
この手順は未翻訳です。 翻訳を手伝う。
-
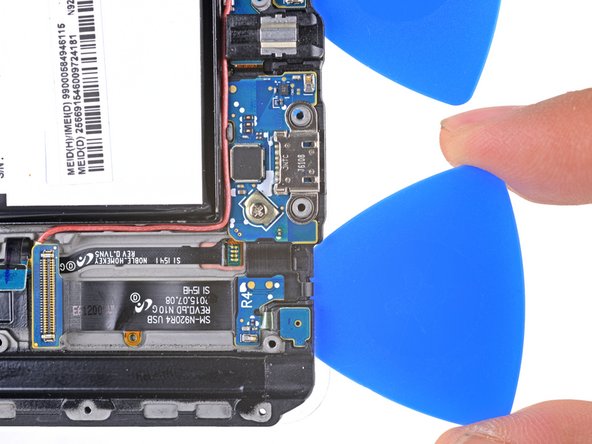
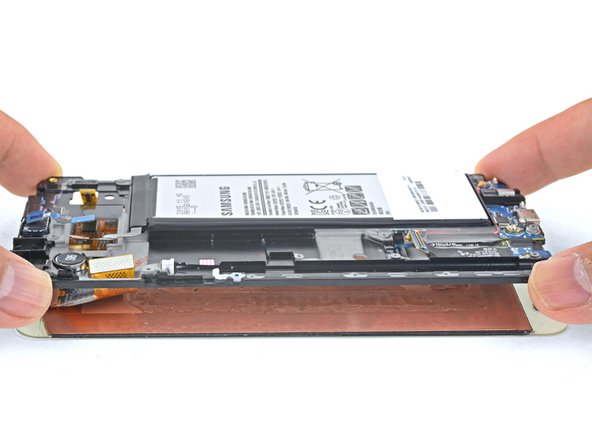
Heat an iOpener and apply it to the non-battery-edge of the phone.
-
Slide an opening pick down the non-battery-edge of the phone, separating the adhesive.
-
-
この手順は未翻訳です。 翻訳を手伝う。
-
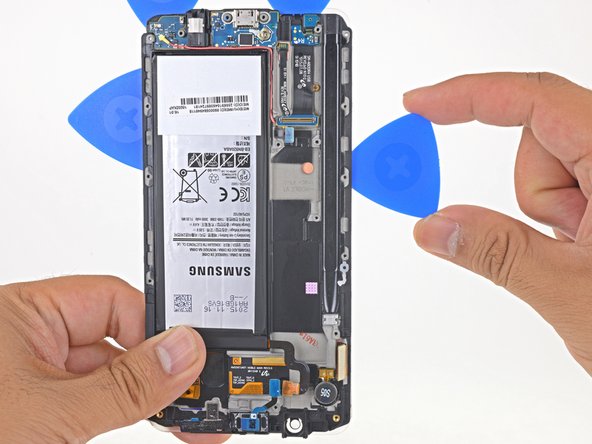
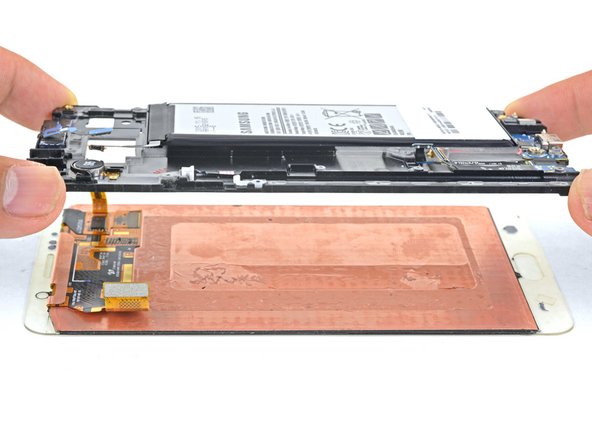
Heat an iOpener and apply it to the non-battery-edge of the phone.
-
Cut along the top edge of the phone, making sure not to insert the pick more than 0.25 inches (~6 mm) to avoid damaging the front-facing sensors.
-