はじめに
If your Rienok S1 Mini charging port is damaged, follow these instructions to replace it.
The charging port allows the battery to be charged and the speaker to turn on, making it a necessary part for the speaker to function. If the port is damaged, it will need to be replaced by following the instructions here.
This guide does require soldering, and, If not done correctly, can damage the motherboard. For more information on soldering, see How To Solder and Desolder Connections.
Before beginning, ensure the power is off.
必要な工具と部品
-
-
-
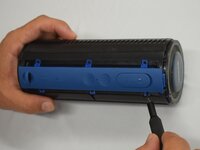
Start with the buttons panel up and facing you.
-
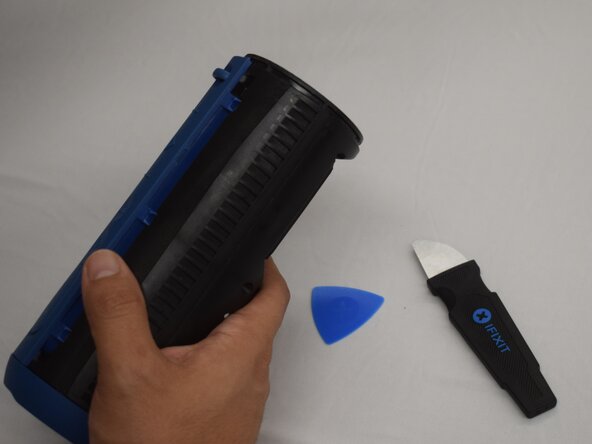
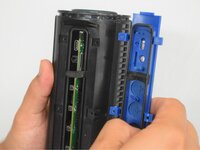
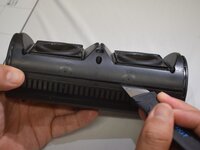
Wedge in one iFixit opening pick, and apply outward pressure to pop out one side of the grille.
-
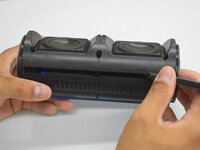
Using a second pick, slide from the first pick towards the opposite end until one whole side is popped out.
 FixBotに聞いてみる
-
-
-
While holding the other side open so it doesn't snap closed, wedge in one opening pick into one corner of the closed side.
-
Apply outward pressure until that side also pops out.
-
Using a second opening pick, slide from the first one until both sides have popped out.
-
-
-
Pull outward on one end, while holding the other open.
-
Pull in the opposite direction on the top or bottom rings while slightly rotating the center until the whole grille is removed.
-
-
-
-
-
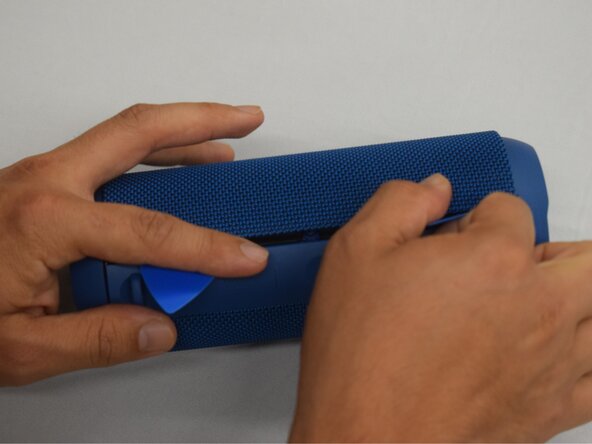
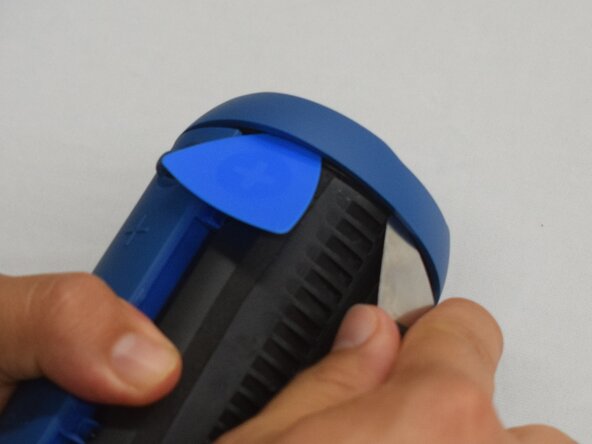
Wedge an iFixit opening pick into the space between the ring and the housing.
-
Insert a Jimmy into the gap created.
-
Apply an out-and-upward pressure with the Jimmy to disconnect the plastic clips surrounding the ring.
-
Work the Jimmy around the ring, disconnecting the clips along the way until they are all disconnected.
-
-
-
After removing the first ring, turn the device to the other side.
-
Repeat the previous step to remove the second ring.
-
-
-
-
-
-
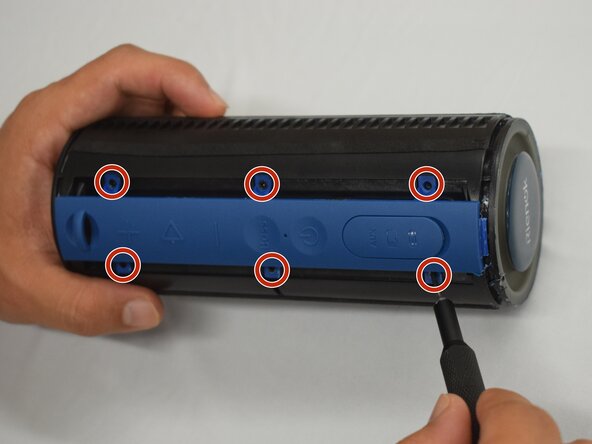
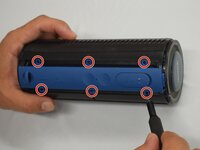
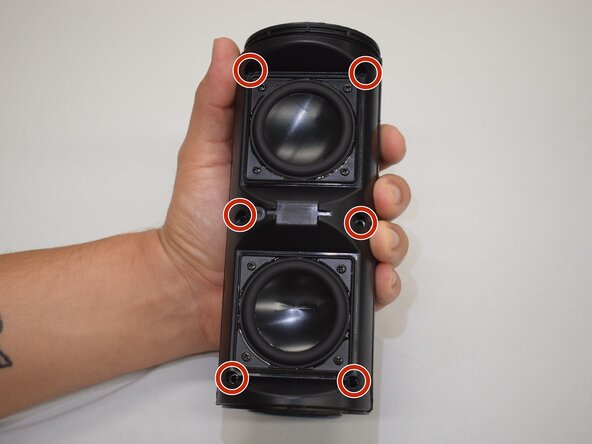
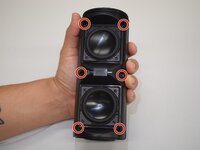
Remove the six 8 mm black screws using a Phillips #000 screwdriver.
-
-
-
-
-
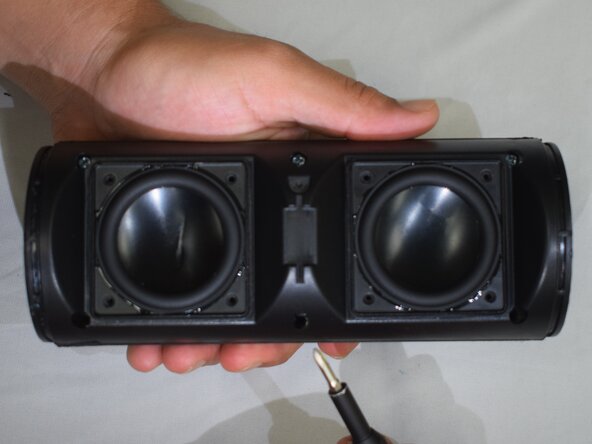
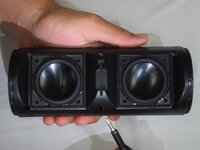
Hold the device with the speakers facing up.
-
Remove the six 10 mm silver screws connecting the two halves of the case with a Phillips #1 screwdriver.
-
-
-
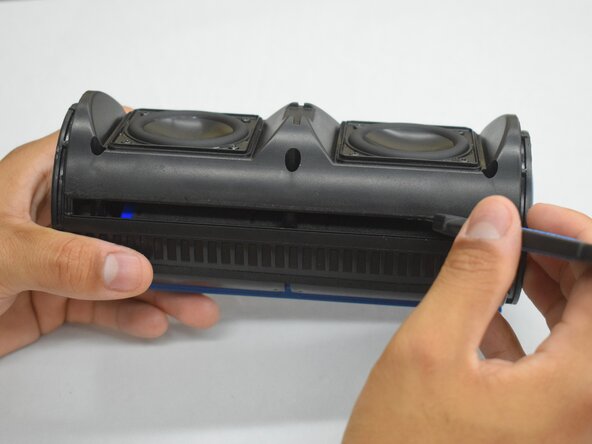
Insert a Jimmy into the seam between both halves.
-
Lightly twist the Jimmy until a small gap appears.
-
Work the Jimmy across the length creating and widening the gap as you go across.
-
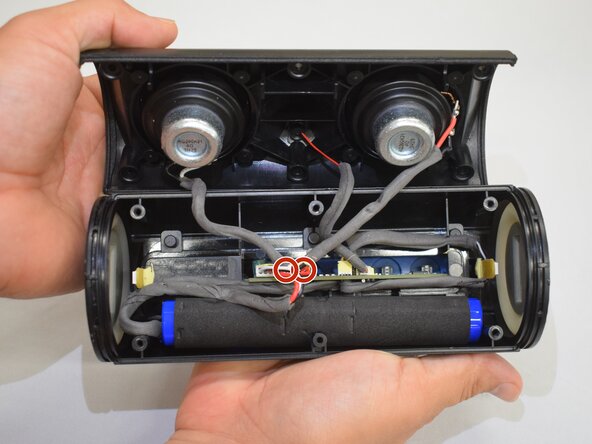
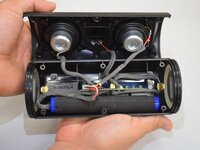
With the gap across the whole length, grasp both halves and lightly pull apart.
-
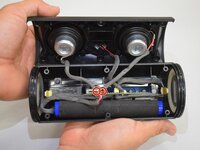
DO NOT yank apart; the two halves are still connected by a few cords.
-
-
-
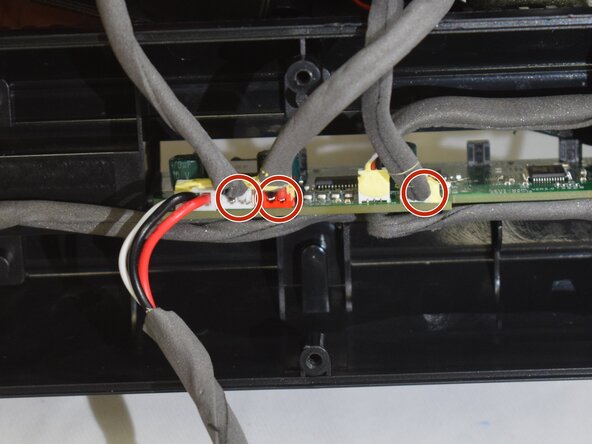
Remove the foam glue from the plugs.
-
Grip the plugs with your fingernails, and gently pull each plug until all three are disconnected.
-
-
-
-
-
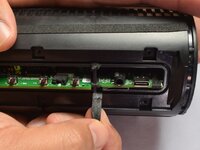
Grasp the rubber stop and lightly pull down to allow the motherboard to be removed.
-
-
-
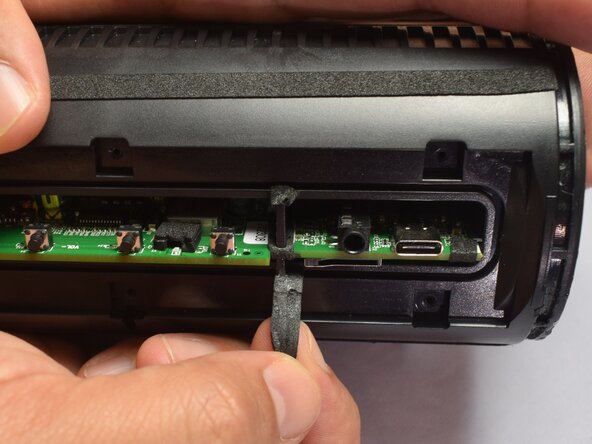
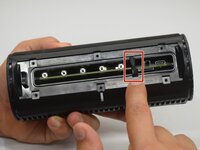
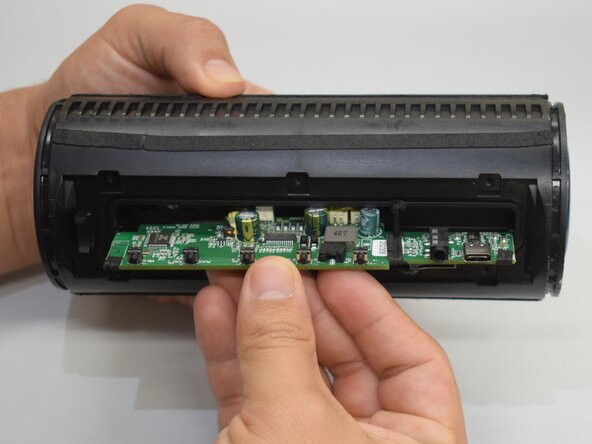
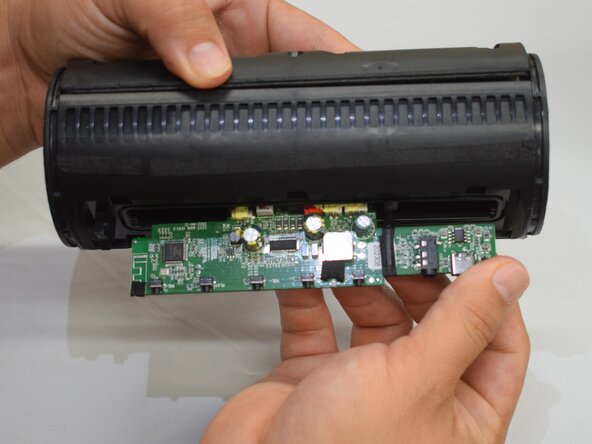
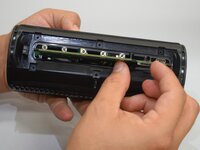
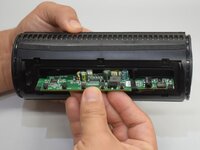
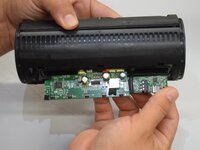
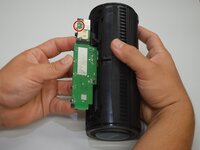
Grasp the motherboard and lightly wiggle the motherboard out until the point you see here.
-
-
-
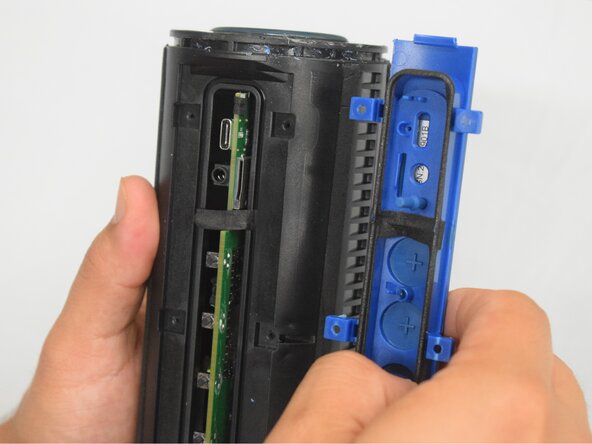
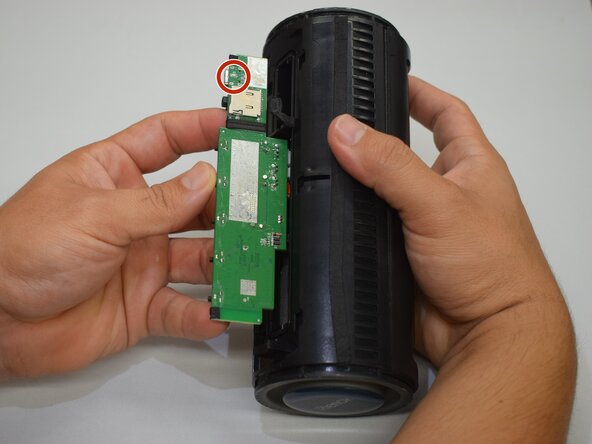
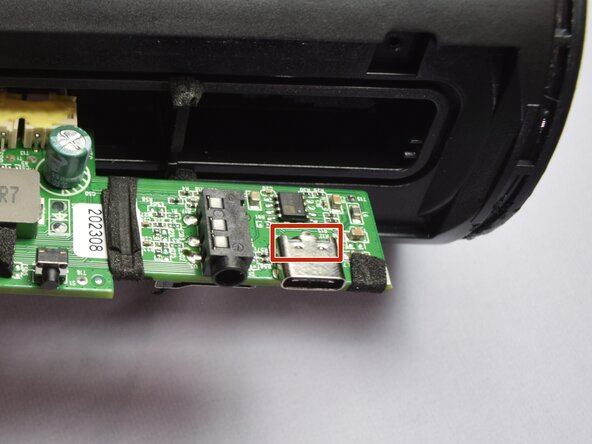
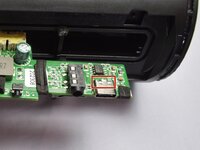
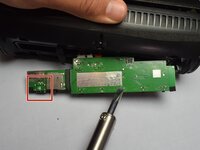
The charging port can be located here.
-
Prop the case so that the top side of the motherboard is facing you, and prepare the space for soldering.
-
-
-
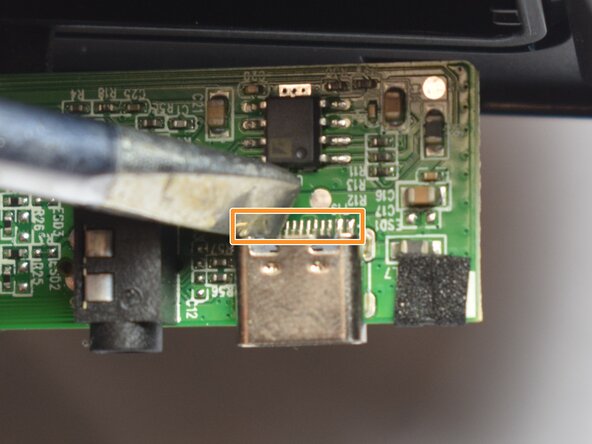
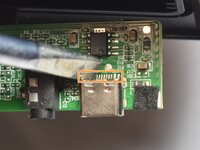
Locate the charging port on top of the motherboard, and look at the back end of it for a row of contacts.
-
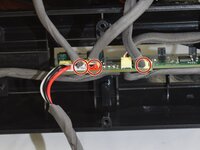
Desolder this row of contacts that directs power into the motherboard, ensuring all solder is off the contacts.
-
Flip and prop the motherboard up with the bottom side facing you.
-
-
-
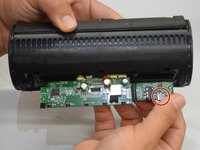
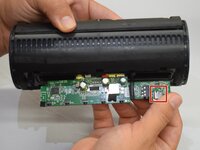
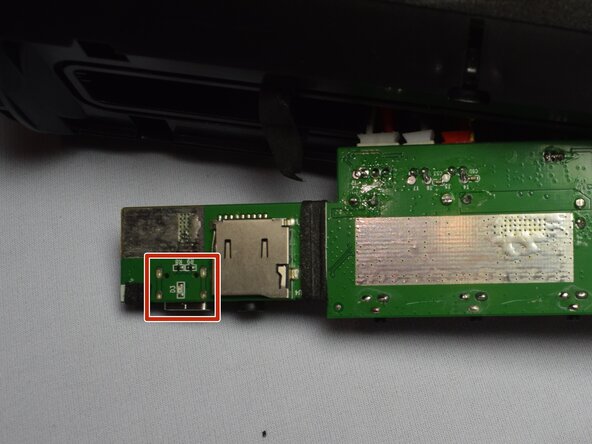
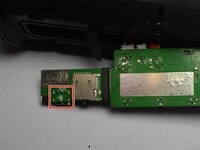
The charging port can be located on the underside of the motherboard here.
-
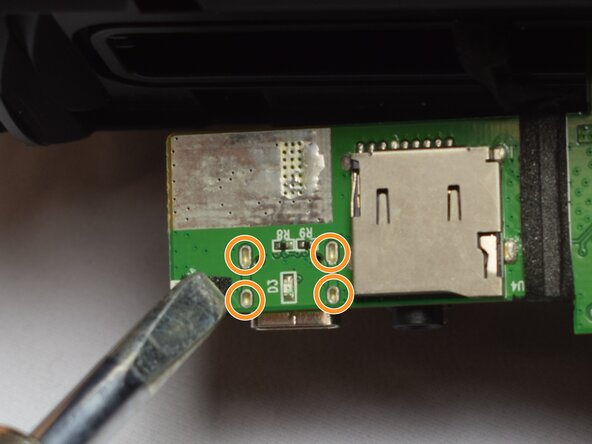
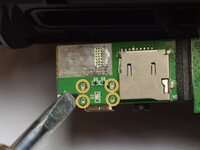
Desolder the four connections that connect the charging port to the motherboard.
-
Resolder the new charging port in the same locations.
-
-














To reassemble your device, follow these instructions in reverse order.

チーム

CSU Los Angeles, Team 7-1, Kershman Spring 2025 CSU Los Angeles, Team 7-1, Kershman Spring 2025人のメンバー
CSULA-KERSHMAN-S25S7G1
5 メンバー
40のガイドは作成済み
