はじめに
This process requires desoldering and the removal of many components. For more on information about soldering see here. However, replacing the screen for this device is not as difficult as screen replacement for many other devices.
必要な工具と部品
-
-
-
Remove the two 7 mm screws on the top of the device using a J00 Phillips screwdriver and by turning the screws counterclockwise.
 FixBotに聞いてみる
-
-
-
Pry the seam between the screen and the case on all four sides with a large plastic opening tool until the plastic case comes off.
-
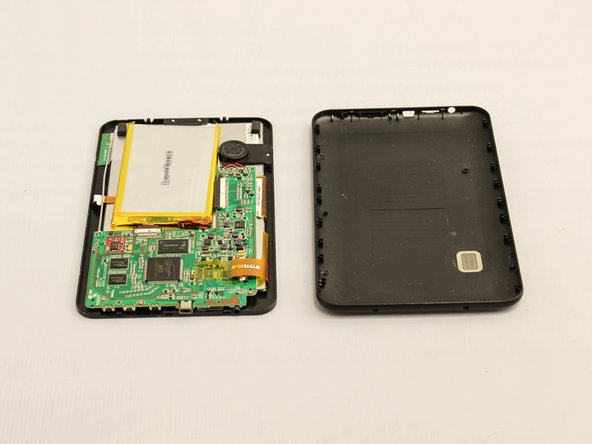
Lift the device off of the case and flip over the device so that it sits screen side down.
-
The device is now free from the plastic casing.
-
-
この手順で使用する道具:Plastic Cards$2.99
-
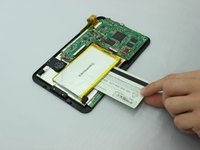
Wedge a plastic card beneath the battery unit.
-
Wiggle the card side to side and up and down gently until the glue sealing the battery to the device is broken.
-
-
-
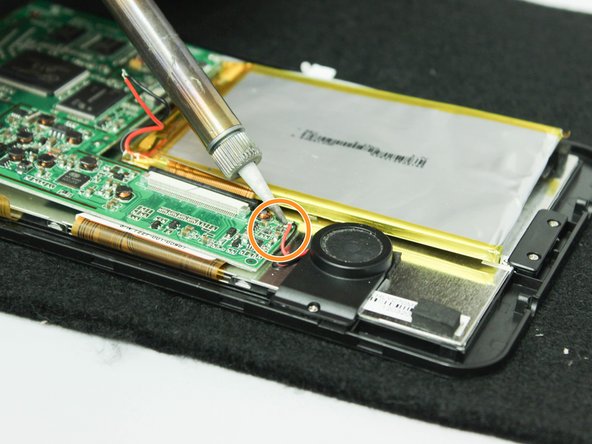
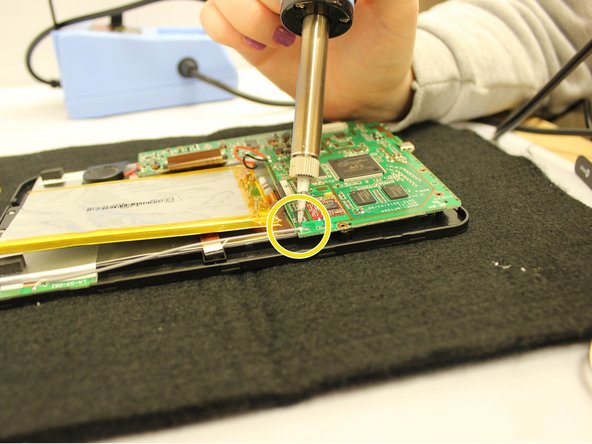
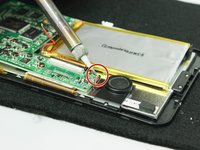
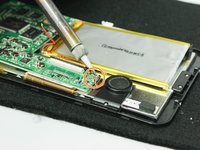
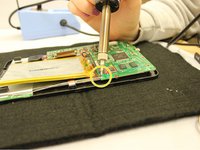
Desolder the following components from the motherboard.
-
Desolder from the motherboard the red wire that connects to the speaker unit.
-
Desolder from the motherboard the black wire that connects to the speaker unit.
-
Desolder from the motherboard the gray wire that runs along the edge of the device.
-
-
この手順で使用する道具:Tweezers$4.99
-
Use tweezers to unstick the medium width yellow ribbon cable from the motherboard.
-
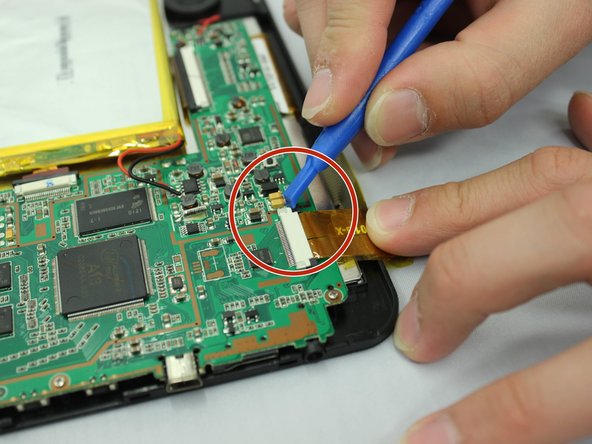
Use a small opening tool to slide the two small black holding clips off of the white connector to which the medium width yellow ribbon cable is attached.
-
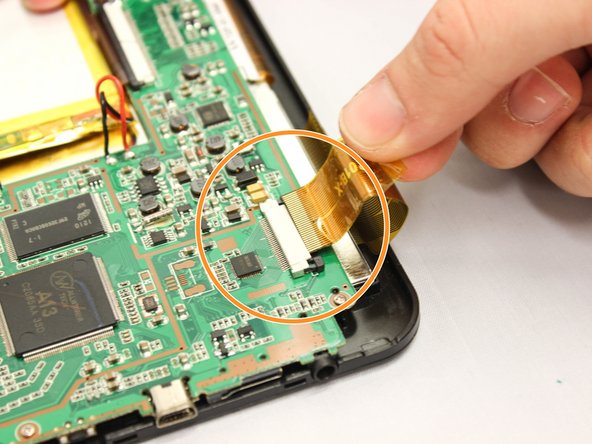
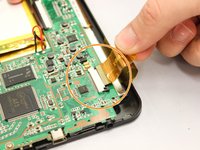
Use your fingers to gently pull the medium width yellow ribbon cable out of the white connector.
-
Repeat the last two actions to disconnect the narrower yellow ribbon cable and the wider yellow ribbon cable from the motherboard.
-
The motherboard and battery will now be detached from any ribbon cables connecting to the device.
-
-
-
-
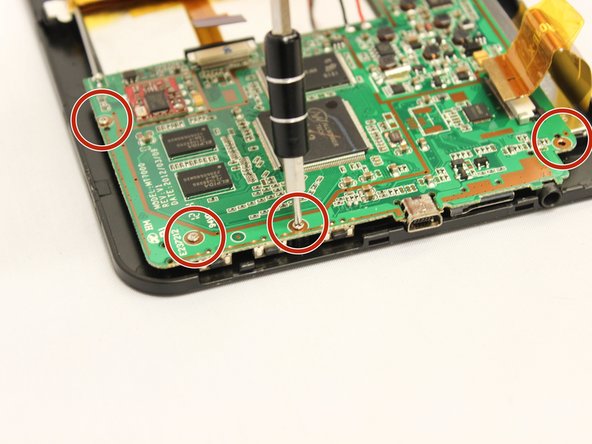
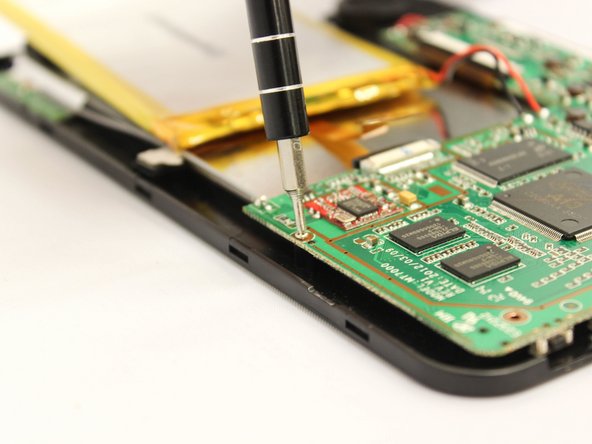
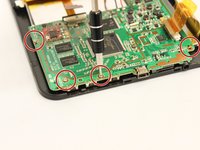
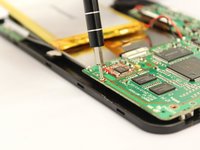
Use the PH000 screwdriver remove the four 5 mm screws along the bottom edge of the motherboard, turning them counterclockwise.
-
-
-
Remove the 5mm screw that holds the speaker unit on to the display unit using a J000 screwdriver, turning the screws counterclockwise.
-
-
-
Using a J000 Philips head screwdriver, remove the two 5mm screws that hold the display unit down at the bottom of the device, turning the screws counterclockwise.
-
-
-
Lift the small black display protector that was between the screws and the display unit using your forefinger and thumb.
-
-
-
Using both hands, lift up the device.
-
Using your fingers, push upward from below on the screen until the screen and display unit pop out of the black plastic frame.
-
Set the screen and display unit screen-side down.
-
-
-
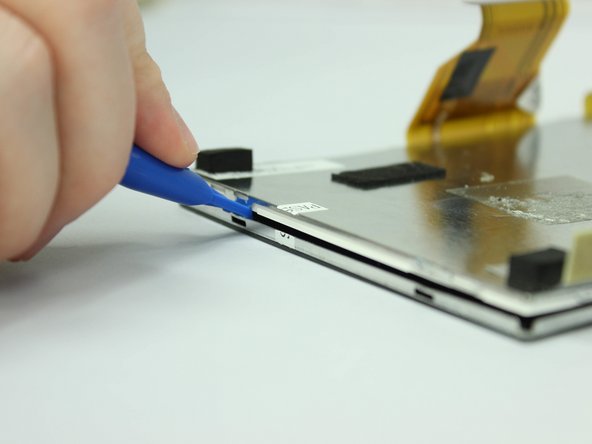
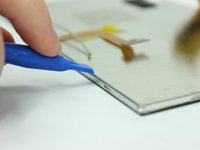
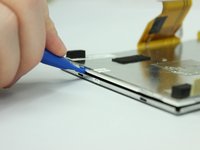
Wedge the large plastic opening tool into one of the notches on the edge of the screen and display unit.
-
Pry until a small tab pops out of the notch.
-
Repeat on every notch around the edge of the screen and display unit.
-
-
-
Using your fingers, lift the display unit off of the screen.
-
The screen is now replaceable.
-
-










To reassemble your device, follow these instructions in reverse order.
ある他の人がこのガイドを完成しました。

チーム

Eastern Washington University, Team 2-2, Plummer Fall 2015 Eastern Washington University, Team 2-2, Plummer Fall 2015人のメンバー
EWU-PLUMMER-F15S2G2
4 メンバー
6のガイドは作成済み
