メインコンテンツにスキップ
リペアコミュニティに参加 - アカウントの作成

Philips EP models: pump replacement

必要な工具と部品

    1. Philips EP models: pump replacement, Philips EP Model Coffee Makers: 手順 1、 2の画像 1 Philips EP models: pump replacement, Philips EP Model Coffee Makers: 手順 1、 2の画像 2
      • Never forget: Unplug the power cord!

      • Remove all attachments, like the water reservoir, the brewing chamber, the bean compartment lid, and the drip tray. Remove all of the coffee beans.

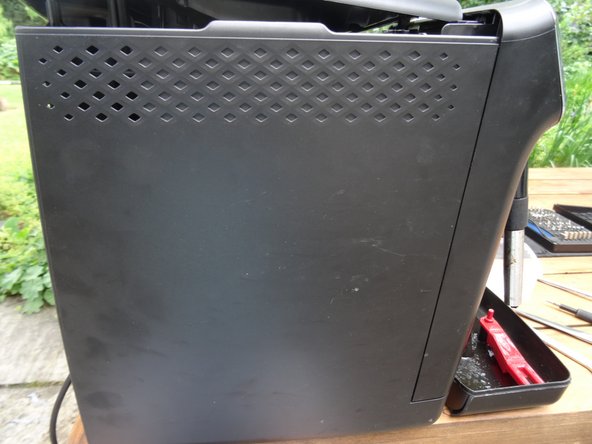
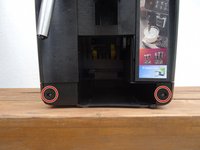
      • Turn the machine around so the back is facing you. Remove the two T10 Torx screws at the bottom edge. Pull out the back at the bottom edge and lift it down.

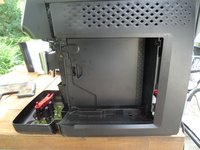
      • It's important that the parts are readily visible:

      • The motherboard

      • The pump

      • The flow meter

      • The heating element

      FixBotに聞いてみる

      コメントを追加

    2. Philips EP models: pump replacement: 手順 2、 1の画像 1
      • Unscrew the three T10 Torx screws in the coffee bean compartment.

      FixBotに聞いてみる

      コメントを追加

    3. Philips EP models: pump replacement: 手順 3、 3の画像 1 Philips EP models: pump replacement: 手順 3、 3の画像 2 Philips EP models: pump replacement: 手順 3、 3の画像 3
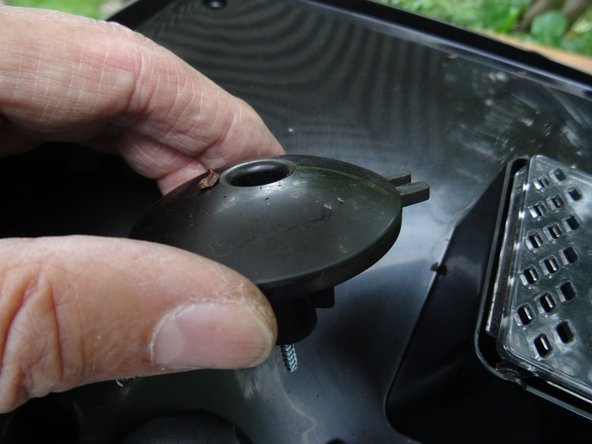
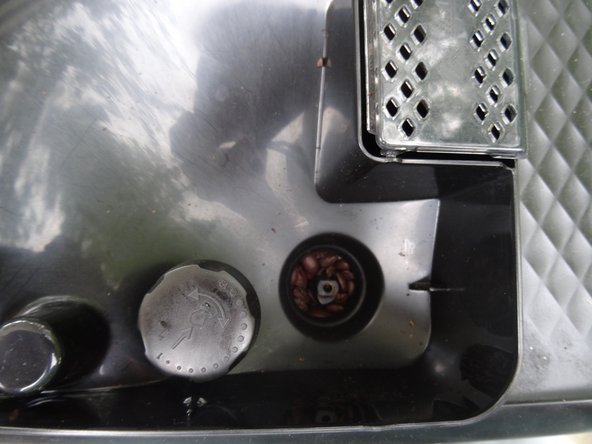
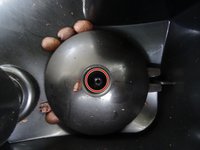
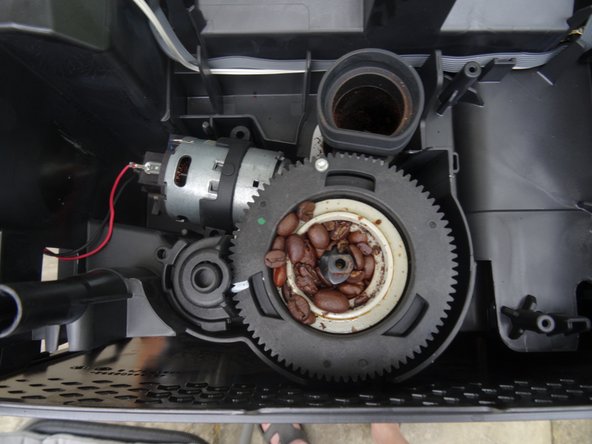
      • Remove all the beans from the opening on the finger guard of the grinder. A T10 Torx screw will become visible.

      • Unscrew the T10 Torx screw from the finger guard.

      • Lift the finger guard up.

      FixBotに聞いてみる

      コメントを追加

    4. Philips EP models: pump replacement: 手順 4、 2の画像 1 Philips EP models: pump replacement: 手順 4、 2の画像 2
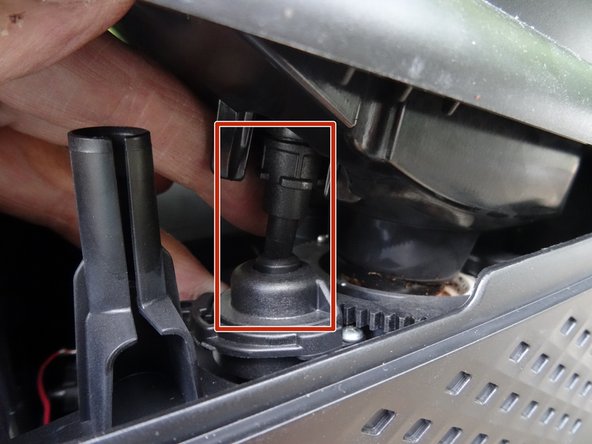
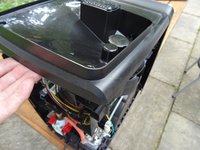
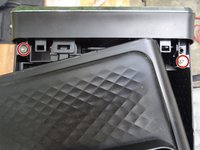
      • Slightly lift the top cover up at the back edge.

      • When putting it back together, make sure the grinder control is sitting right.

      FixBotに聞いてみる

      コメントを追加

    5. Philips EP models: pump replacement: 手順 5、 2の画像 1 Philips EP models: pump replacement: 手順 5、 2の画像 2
      • Pull the upper cover out from under the front cover and lay it slightly offset.

      • Remove both of the T10 Torx screws attached to the side covers.

      • You can remove the top cover completely, especially if you must work on the grinder. But, if you want to see the machine functioning later, then lay it back in its original place.

      • Picture 2 shows the grinder, which can now be easily taken off.

      • If you want to repair the grinder: here are the instructions Replacing the Philips ceramic grinder motor and sensor

      FixBotに聞いてみる

      コメントを追加

    6. Philips EP models: pump replacement: 手順 6、 3の画像 1 Philips EP models: pump replacement: 手順 6、 3の画像 2 Philips EP models: pump replacement: 手順 6、 3の画像 3
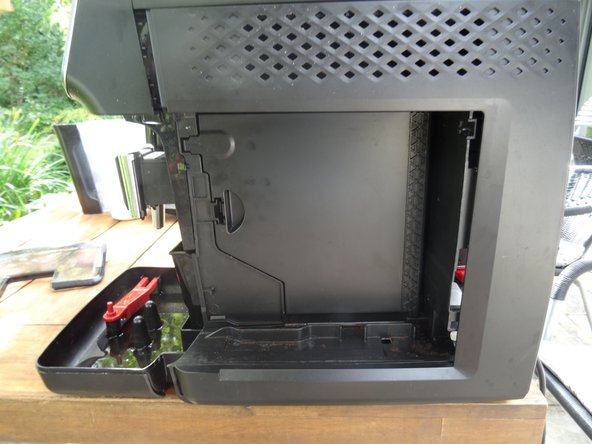
      • Both side panels are still screwed to the lower edge of the front. Unscrew both of the T10 Torx screws out from here.

      • Slide both side panels back a bit, and take them out from the bottom edge.

      FixBotに聞いてみる

      コメントを追加

    1. Philips EP models: pump replacement, Pump: 手順 7、 3の画像 1 Philips EP models: pump replacement, Pump: 手順 7、 3の画像 2 Philips EP models: pump replacement, Pump: 手順 7、 3の画像 3
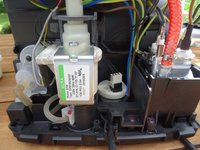
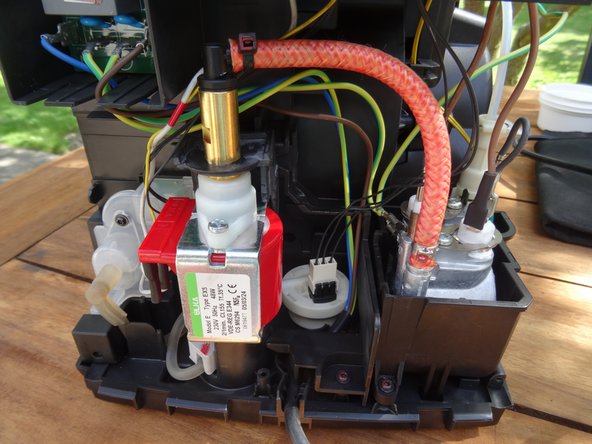
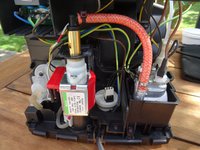
      • The pump is clearly visible in the back. It is installed in a vertical position and held by a rubber bracket.

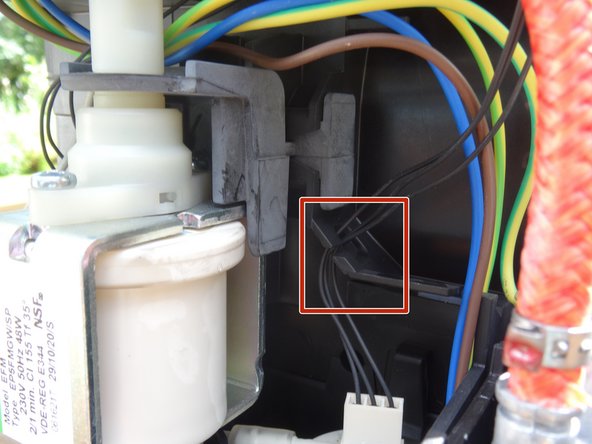
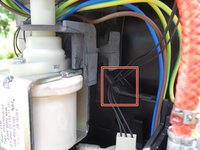
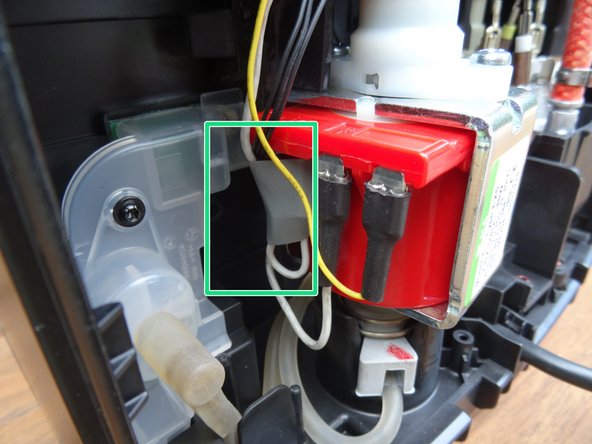
      • To be on the safe side, remove the three black cables of the flowmeter from their holder so that the pump has a free path.

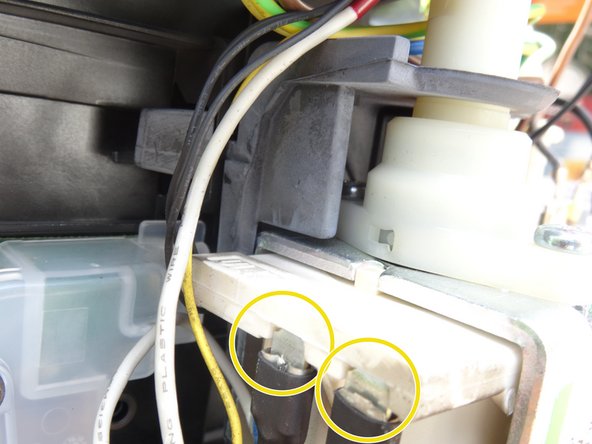
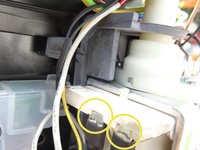
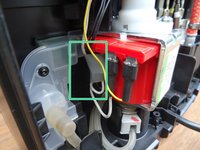
      • Pull the two flat connectors off the pump.

      • The thermal fuse on the cable is glued to the pump at the factory. Carefully scrape off the adhesive and pull the thermal fuse out downwards.

      • When reassembling, attach the thermal fuse to the new pump with a piece of electrical tape.

      FixBotに聞いてみる

      コメントを追加

    2. Philips EP models: pump replacement: 手順 8、 3の画像 1 Philips EP models: pump replacement: 手順 8、 3の画像 2 Philips EP models: pump replacement: 手順 8、 3の画像 3
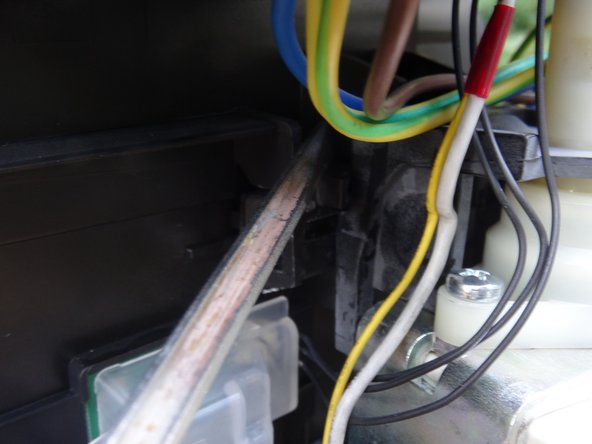
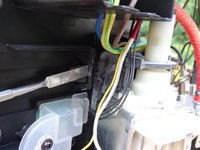
      • The rubber holder for the pump is hooked at the top. Push the rubber hook away from you with a metal spatula and leave the metal spatula in place.

      • Take a strong screwdriver and now push the bracket with a lot of force towards the water tank side until it gradually comes out together with the pump.

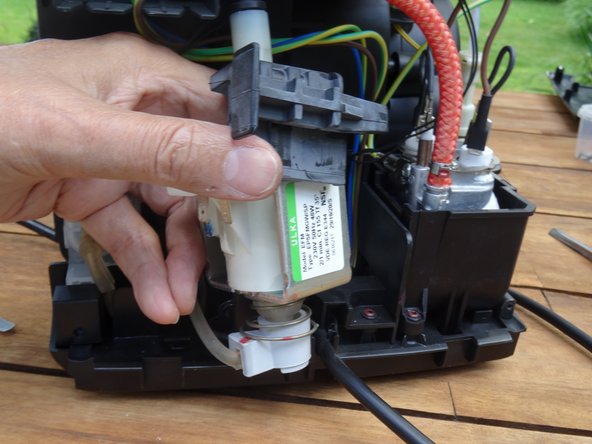
      • Lift out the pump. It is still connected with two hoses.

      FixBotに聞いてみる

      コメントを追加

    3. Philips EP models: pump replacement: 手順 9、 1の画像 1
      • Pull the pump out of the lower water connection.

      • Insert a 12 mm open-end wrench into the upper pump outlet.

      • Turn the black connection slightly counterclockwise until it comes loose.

      • Turn the pump all the way out.

      • Take care of the seal on the upper connection. Replace it if necessary when replacing the pump.

      FixBotに聞いてみる

      コメントを追加

    4. Philips EP models: pump replacement: 手順 10、 3の画像 1 Philips EP models: pump replacement: 手順 10、 3の画像 2 Philips EP models: pump replacement: 手順 10、 3の画像 3
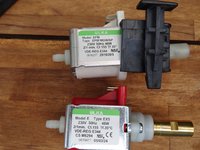
      • The factory-installed pump was an Ulka EP5FMGW. Replace it with an Ulka EX5, which has a metal fitting.

      • Ulka pumps can be opened and possibly repaired, but replacement is usually better.

      • Secure the thermal fuse to the pump with electrical tape.

      FixBotに聞いてみる

      コメントを追加

終わりに

Follow the steps in reverse order to reassemble your device.

キャンセル: このガイドを終了できませんでした。

5 の人々がこのガイドを完成させました。

以下の翻訳者の皆さんにお礼を申し上げます:

de en

100%

oldturkey03さんは世界中で修理する私たちを助けてくれています! あなたも貢献してみませんか?
翻訳を始める ›

作成者

1人の作成者と共同作成されました。

VauWeh

メンバー登録日: 10/19/15

339,205 ポイント

311のガイドは作成済み

チーム

Repair is War on Entropy Repair is War on Entropy人のメンバー

Community

39 メンバー

2,866のガイドは作成済み

0件のガイドコメント

コメントを追加

統計データ:

過去 24時間: 11

過去 7 日: 164

過去 30 日: 733

今までの合計 13,782