メインコンテンツにスキップ
リペアコミュニティに参加 - アカウントの作成

Pentax Optio WG-2 LCD Screen Replacement

必要な工具と部品

    1. 注意: 手順 1-6 は、作業進行中としてマークされている ガイド から引用されています。

      Pentax Optio WG-2 LCD Screen Replacement, Back Case: 手順 1、 2の画像 1 Pentax Optio WG-2 LCD Screen Replacement, Back Case: 手順 1、 2の画像 2
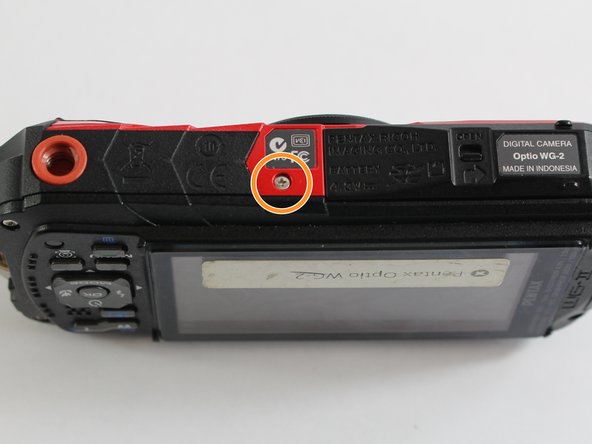
      • Remove all four 1 mm JIS #00 screws from the back of the camera.

      FixBotに聞いてみる

      コメントを追加

    2. Pentax Optio WG-2 LCD Screen Replacement: 手順 2、 1の画像 1
      • Use your finger to peel the grip off the top of the camera.

      • For best results, start from the right side of the camera, opposite the buttons.

      • Once the grip is removed, you will most likely lose the water-tight seal.

      FixBotに聞いてみる

      コメントを追加

    3. Pentax Optio WG-2 LCD Screen Replacement: 手順 3、 1の画像 1
      この手順で使用する道具:
      Tweezers
      $4.99
      • Use the tweezers to remove the two buttons from the top of the camera.

      • The buttons may fall out while removing the grip.

      FixBotに聞いてみる

      コメントを追加

    4. Pentax Optio WG-2 LCD Screen Replacement: 手順 4、 3の画像 1 Pentax Optio WG-2 LCD Screen Replacement: 手順 4、 3の画像 2 Pentax Optio WG-2 LCD Screen Replacement: 手順 4、 3の画像 3
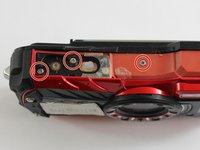
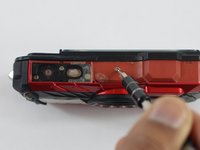
      • Remove the three 1 mm JIS #000 screws from the top.

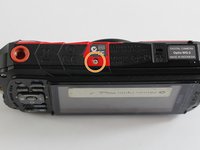
      • Remove the 1 mm JIS #000 screw from the bottom.

      FixBotに聞いてみる

      コメントを追加

    5. Pentax Optio WG-2 LCD Screen Replacement: 手順 5、 1の画像 1
      • Carefully separate the back and the front of the camera.

      • There are three ribbon cables connecting the two boards. Be careful not to tear them.

      FixBotに聞いてみる

      コメントを追加

    6. Pentax Optio WG-2 LCD Screen Replacement: 手順 6、 1の画像 1
      • Use the tip of a spudger to flip up the small retaining flaps on the ribbon cable ZIF connectors.

      • Carefully pull the ribbon cables out of their sockets.

      FixBotに聞いてみる

      コメントを追加

    1. Pentax Optio WG-2 LCD Screen Replacement, LCD Screen: 手順 7、 2の画像 1 Pentax Optio WG-2 LCD Screen Replacement, LCD Screen: 手順 7、 2の画像 2
      この手順で使用する道具:
      Tweezers
      $4.99
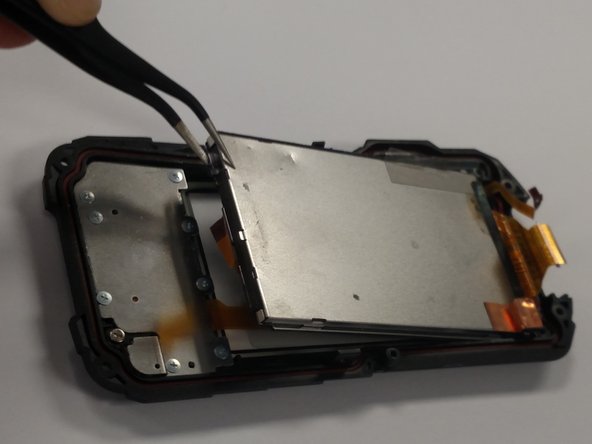
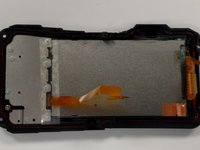
      • Carefully remove the clear tape covering the screws and the ribbon cable.

      • Be careful not to tear the ribbon cable when removing the tape.

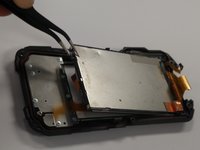
      • We want to remove the larger silver panel (right). The best way to do this is to slightly bend the cover backwards and use the tweezers to grab a corner and slowly lift the screen up and out.

      FixBotに聞いてみる

      コメントを追加

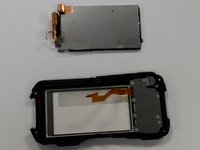
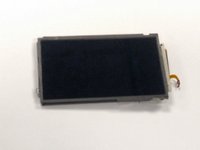
    2. Pentax Optio WG-2 LCD Screen Replacement: 手順 8、 2の画像 1 Pentax Optio WG-2 LCD Screen Replacement: 手順 8、 2の画像 2
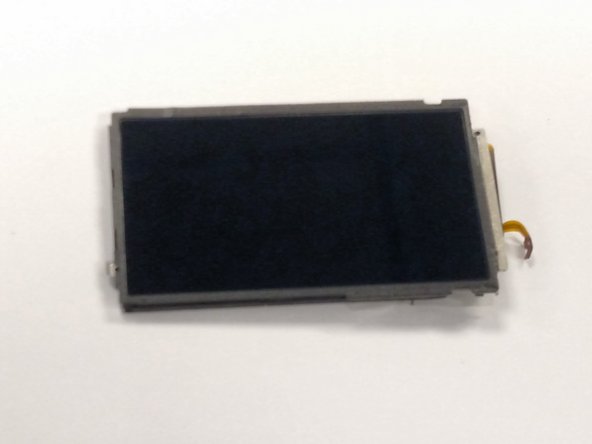
      • Once the screen is removed you should have two pieces as seen in the picture.

      • The screen is the silver rectangle in the top of the picture or the component seen in picture two.

      FixBotに聞いてみる

      コメントを追加

終わりに

To reassemble your device, follow these instructions in reverse order.

キャンセル: このガイドを終了できませんでした。

2 の人々がこのガイドを完成させました。

作成者

7人の作成者と共同で作成されました。

Matthew Bessette

メンバー登録日: 03/04/16

658 ポイント

6のガイドは作成済み

チーム

UMass Dartmouth, Team 6-7, Bhusal Spring 2016 UMass Dartmouth, Team 6-7, Bhusal Spring 2016人のメンバー

UMASSD-BHUSAL-S16S6G7

3 メンバー

6のガイドは作成済み

2件のガイドコメント

Dónde puedo comprar el Display?

Where I can buy the dispaly?

Sebastian Mesa - 返信 共有

opération réussie ça marche nickel la plus grosse difficultée est de remettre correctement les 3 connecteurs

impératif: utiliser les bons outils comme indiqué attention aux vis il y a un petit joint et les longueurs différentes ne pas mélanger !!!

merci pour ce super tuto ….

walchkorn - 返信 共有

コメントを追加

統計データ:

過去 24時間: 3

過去 7 日: 11

過去 30 日: 42

今までの合計 1,371