メインコンテンツにスキップ
リペアコミュニティに参加 - アカウントの作成

Oster 6329 Power Cord Replacement

必要な工具と部品

  1. Oster 6329 Power Cord Replacement, Outer Shell Removal: 手順 1、 2の画像 1 Oster 6329 Power Cord Replacement, Outer Shell Removal: 手順 1、 2の画像 2
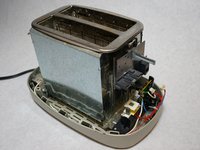
    • Using the Phillips-head #2 screwdriver, unscrew the three 1cm Phillips-head screws on the plastic base of the toaster to separate the outer metal shell from the plastic base.

    FixBotに聞いてみる
  2. Oster 6329 Power Cord Replacement: 手順 2、 1の画像 1
    • Push the plastic push-down handle down and pull the plastic handle straight from metal arm.

    FixBotに聞いてみる
  3. Oster 6329 Power Cord Replacement: 手順 3、 1の画像 1
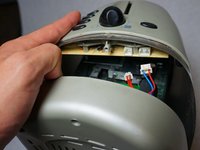
    • Loosen the outer metal shell from the plastic base by holding the plastic base while pulling up on the metal shell.

    • Only lift the outer shell a little so as not to disconnect the cables that connect the circuit board.

    FixBotに聞いてみる
  4. Oster 6329 Power Cord Replacement: 手順 4、 2の画像 1 Oster 6329 Power Cord Replacement: 手順 4、 2の画像 2
    この手順で使用する道具:
    Tweezers
    $4.99
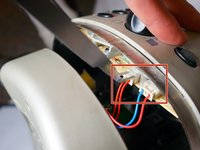
    • Disconnect the cable clips from the circuit board using the tweezers to free the outer metal shell from the plastic base.

    FixBotに聞いてみる
  5. Oster 6329 Power Cord Replacement: 手順 5、 2の画像 1 Oster 6329 Power Cord Replacement: 手順 5、 2の画像 2
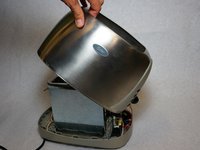
    • Lift the top outer metal shell.

    • Carefully lift the outer metal shell at an angle so as not to damage the components in the front of the toaster.

    FixBotに聞いてみる
  6. Oster 6329 Power Cord Replacement, Power Cord: 手順 6、 1の画像 1
    • Using a flat-head screwdriver, pry the power cord from the base of the toaster.

    FixBotに聞いてみる
  7. Oster 6329 Power Cord Replacement: 手順 7、 1の画像 1
    • Using a flat-head screwdriver, pry the white wire from the base.

    FixBotに聞いてみる
  8. Oster 6329 Power Cord Replacement: 手順 8、 1の画像 1
    • Locate the circuit board at the front of the toaster where the power cord and white wire meet.

    • Pull the circuit board up and out to free the circuit board from the body of the toaster.

    • It is tightly fit and may take moderate force to remove.

    FixBotに聞いてみる
  9. Oster 6329 Power Cord Replacement: 手順 9、 2の画像 1 Oster 6329 Power Cord Replacement: 手順 9、 2の画像 2
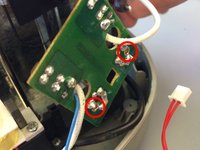
    • Desolder the power cord from the circuit board at the locations show in the diagram.

    • For soldering instructions see the iFixit Soldering Guide.

    • The wires should be free from board when un-soldering is complete.

    FixBotに聞いてみる
  10. Oster 6329 Power Cord Replacement: 手順 10、 2の画像 1 Oster 6329 Power Cord Replacement: 手順 10、 2の画像 2
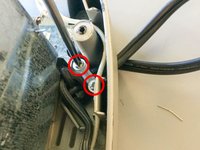
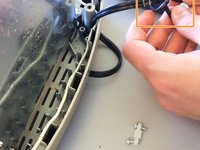
    • Unscrew the two 1.5cm Phillips-head screws at the back of the toaster that are holding the power cord in place to remove the retaining clip.

    • Remove the plastic retaining clip that is holding the cord in place.

    FixBotに聞いてみる
  11. Oster 6329 Power Cord Replacement: 手順 11、 2の画像 1 Oster 6329 Power Cord Replacement: 手順 11、 2の画像 2
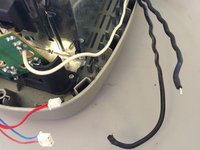
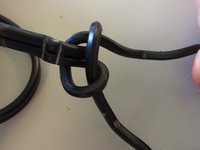
    • Untie the knot in the power cord.

    FixBotに聞いてみる
  12. Oster 6329 Power Cord Replacement: 手順 12、 1の画像 1
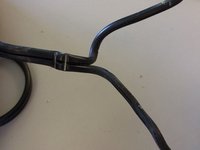
    • Pull the cord from the base to remove the cable.

    FixBotに聞いてみる
終わりに

To reassemble your device, follow these instructions in reverse order.

作成者

6人の作成者と共同で作成されました。

Timothy Grijalva

メンバー登録日: 01/31/14

234 ポイント

2のガイドは作成済み

チーム

Cal Poly, Team 13-15, Regan Winter 2014 Cal Poly, Team 13-15, Regan Winter 2014人のメンバー

CPSU-REGAN-W14S13G15

5 メンバー

6のガイドは作成済み

0件のガイドコメント

コメントを追加

統計データ:

過去 24時間: 1

過去 7 日: 5

過去 30 日: 57

今までの合計 1,303